A seasonal produce guide for the month of April, with tips on how to choose, store and prepare each ingredient! Plus, multiple recipes included for all 8 produce items!
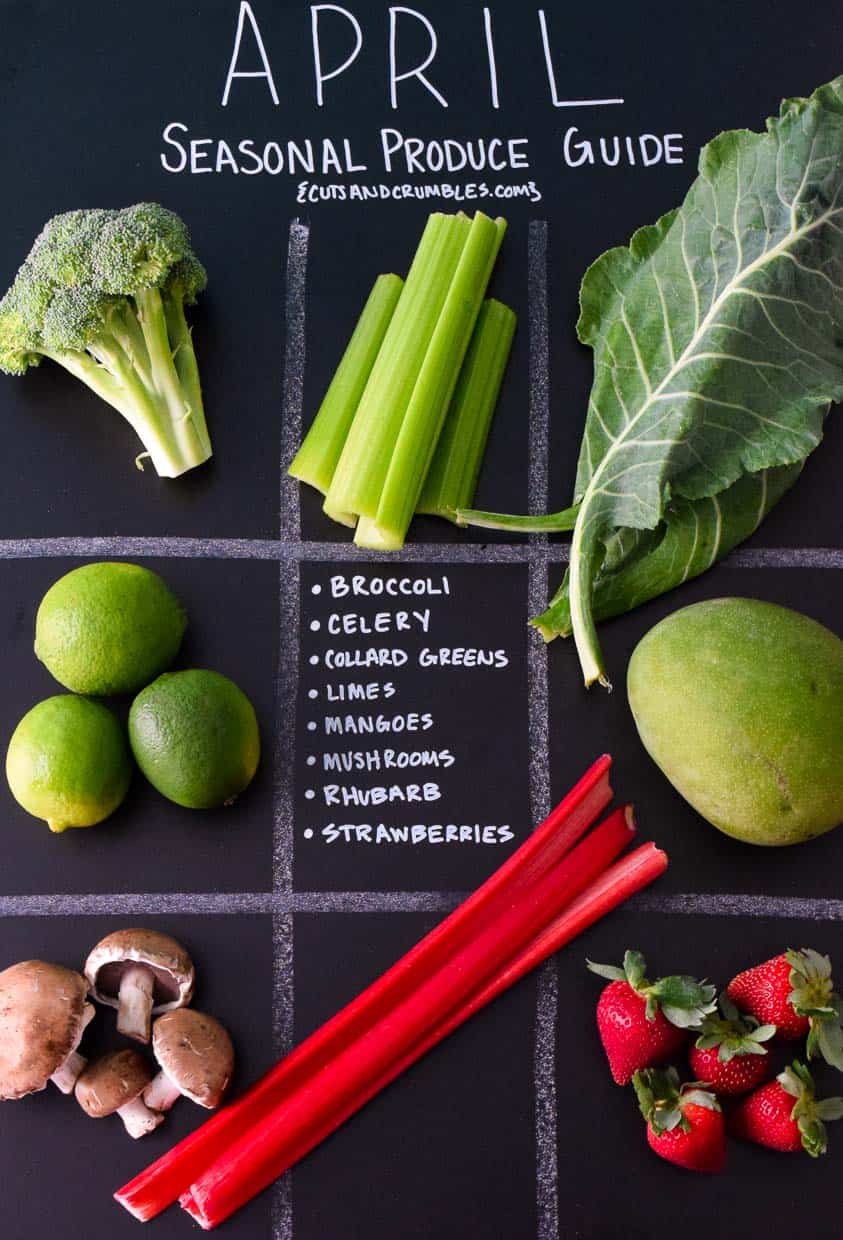
Hi friends! It's my birthday month!! 🙂 With April comes some more fruit (finally!) so it's starting to feel and taste a little more like spring over here in Ohio and I can almost see the light at the end of the tunnel that is leading us into SUMMER!
These monthly seasonal produce guides are designed to help you determine exactly what foods are currently in season, how to choose them and store them, as well as give you some great recipe ideas from fellow food bloggers that incorporate these seasonal finds! There's no need to wait until summer to load up on fresh fruits and veggies, you can totally enjoy them right now!
Eating seasonally will help you save money while increasing the amount of flavor and nutrients you are obtaining from your food. So let's dig into our April Seasonal Produce Guide!
Broccoli
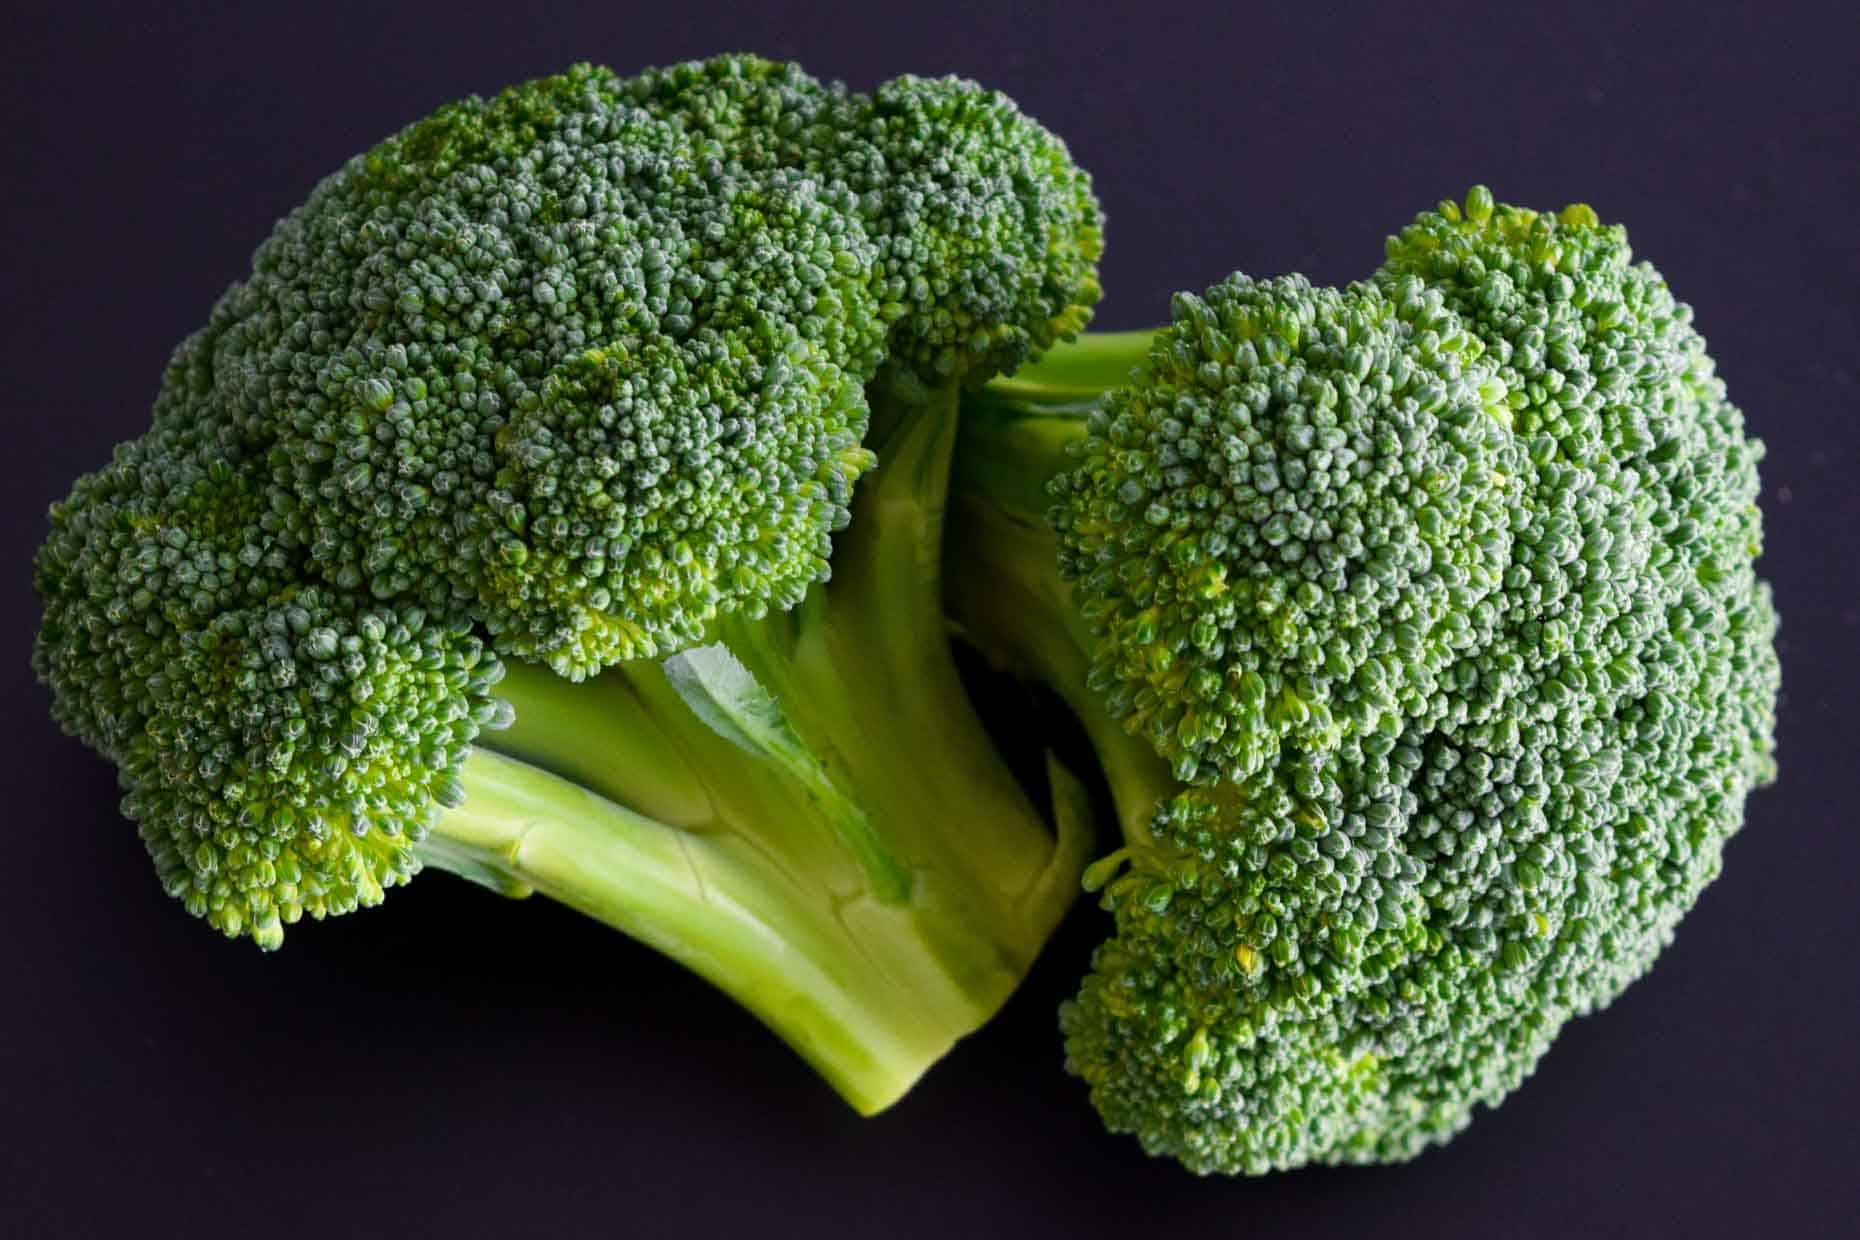
Broccoli's peak season is October-April and although we already talked about it during the January Seasonal Produce guide, it's too much of a classic to not bring it back during its final peak month! I'll give you some fresh recipes this time around, but the tips and tricks for choosing and storing will, of course, be the same!
- How to choose it:
- The broccoli should be an even, dark green color with tight florets and firm stalks. The more compact the clusters of florets are, the fresher the broccoli is! The older it gets, the more it will start to spread out and the more the florets will begin to yellow. (Older, yellowed florets will work well in soups or stocks.)
- The cut ends of the stalk should look fresh and not dried out.
- Choose broccoli that looks heavy for its size.
- How to store it:
- You can mist the heads of the broccoli, but do not wash it (too much moisture may cause molding.)
- You can wrap the broccoli in a damp paper towel, but you don’t want to store it in a plastic bag because broccoli needs proper air circulation.
- Store the broccoli in the refrigerator and eat within 3-5 days.
- How to prepare it:
Celery
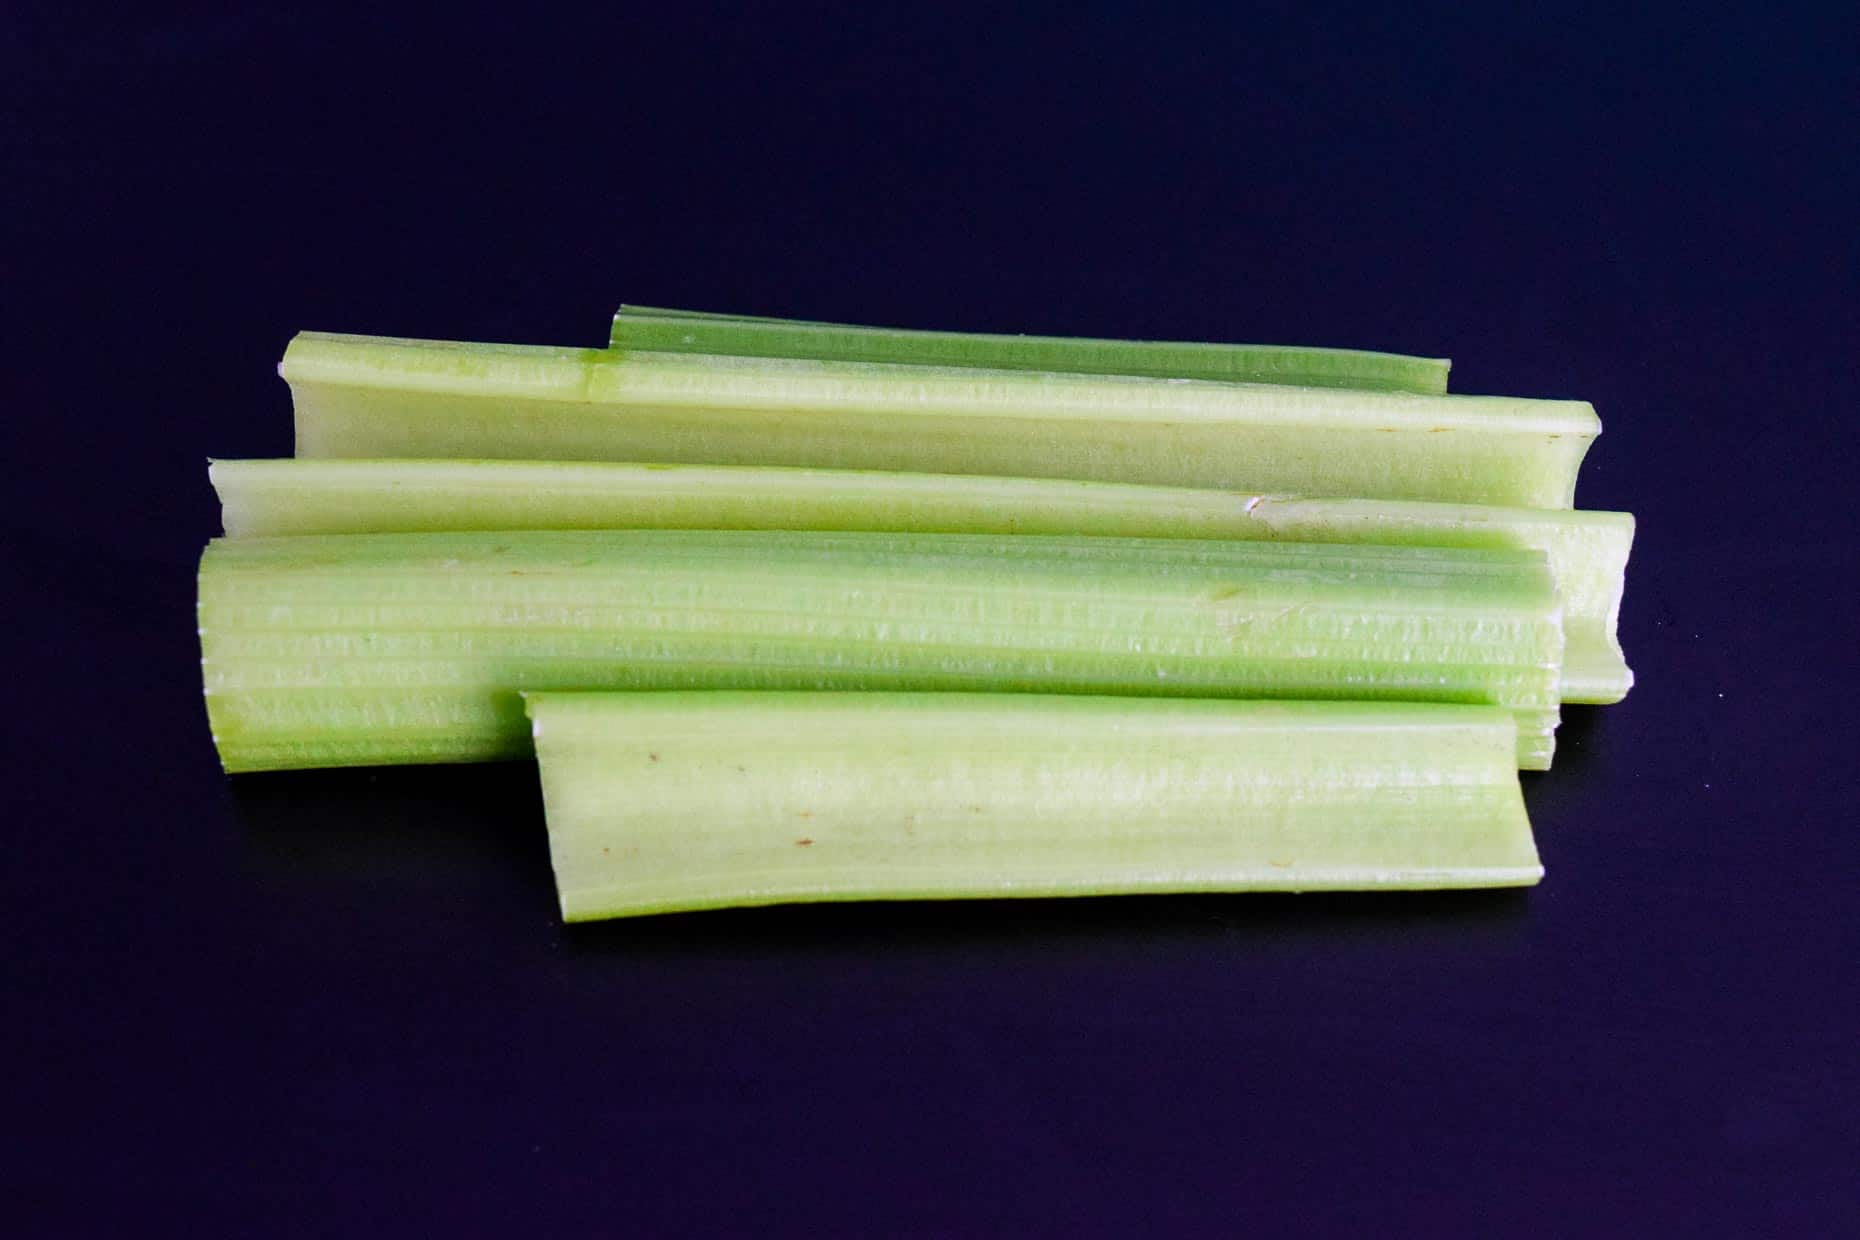
I'm a huge fan of celery. And by that, I mean peanut butter. I actually hate celery. Unless it's chopped up and cooked inside of stuffing, but I still don't think that counts. Luckily my fellow food bloggers have some lovely new recipe ideas for me to try out to make me appreciate celery again! (Or...for the first time, I guess.)
- How to choose it:
- Choose celery with tightly packed, firm stalks that are bright yet pale green in color. The ribs should be a medium thickness and crisp enough to break easily.
- Avoid any celery that is wilted, discolored or spotted.
- The cut ends of the celery may appear dry which is fine, but make sure they are not browned, shriveled or soft.
- Avoid celery with leaves that yellowed or browned.
- How to store it:
- Store in a breathable plastic bag in the produce drawer of your refrigerator for up to 2 weeks.
- You can also separate the celery stalks, clean and dry them, slice off ½ inch from each end, and wrap in aluminum foil to store for up to 4 weeks.
- How to prepare it:
Collard Greens
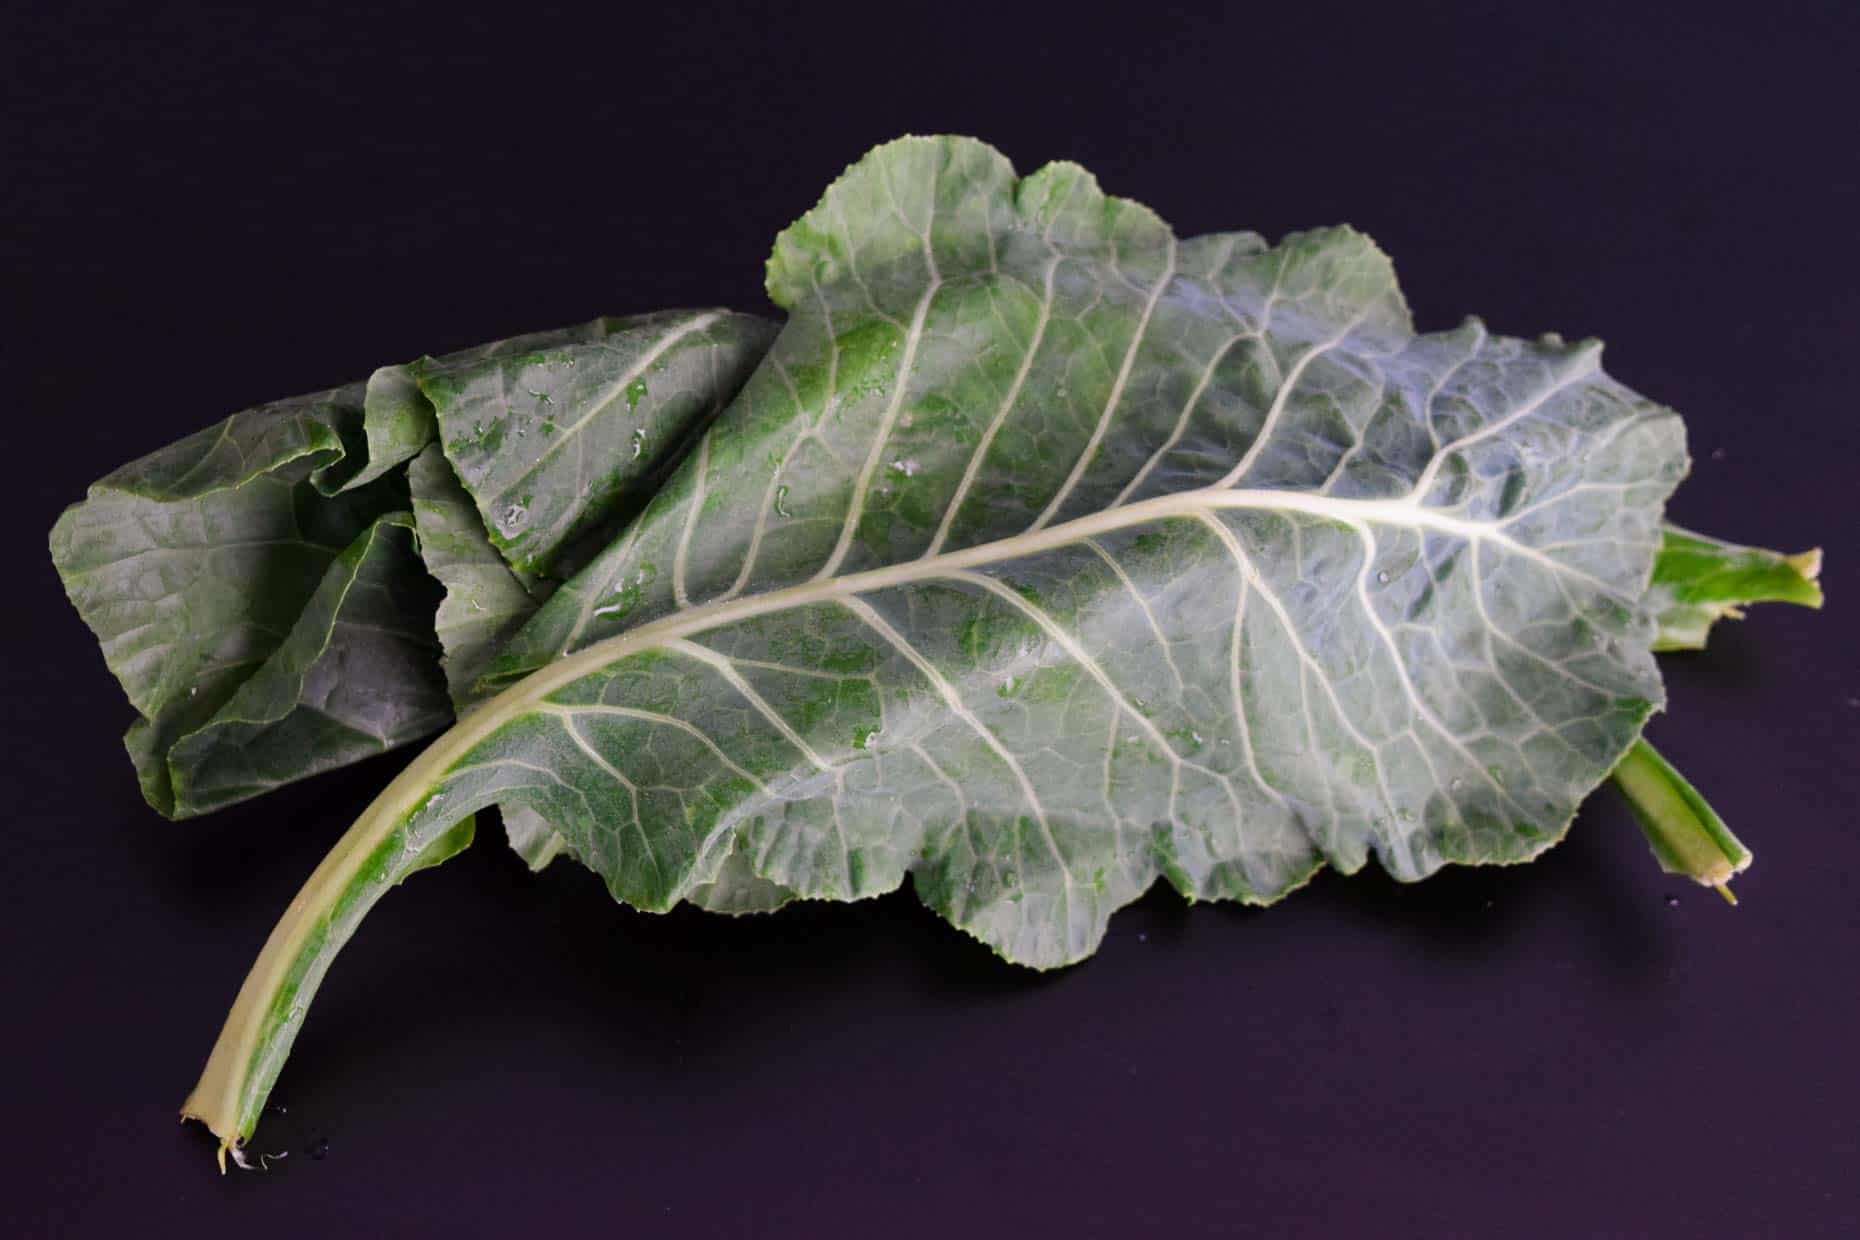
The first time I had collard green was in a Blue Apron meal that we ordered and I became obsessed with them! I haven't done too much experimenting with them though, so I'm super excited to be focusing on collard greens this month so that I can collect some new recipes from some fellow food bloggers to try out! 🙂
- How to choose them:
- Choose collard greens with smooth, firm leaves.
- You want to avoid bitter tasting leaves. Wilted leaves and those that have not been well chilled at the store or market are likely to be more bitter tasting. Smaller leaves will be more likely to have a less bitter taste, and will be more tender as well.
- Collard greens should be deep green in color. Avoid any that are wilted, browning or yellowing.
- How to store them:
- Store unwashed in a plastic bag in the refrigerator for up to 5 days.
- How to prepare them:
Limes
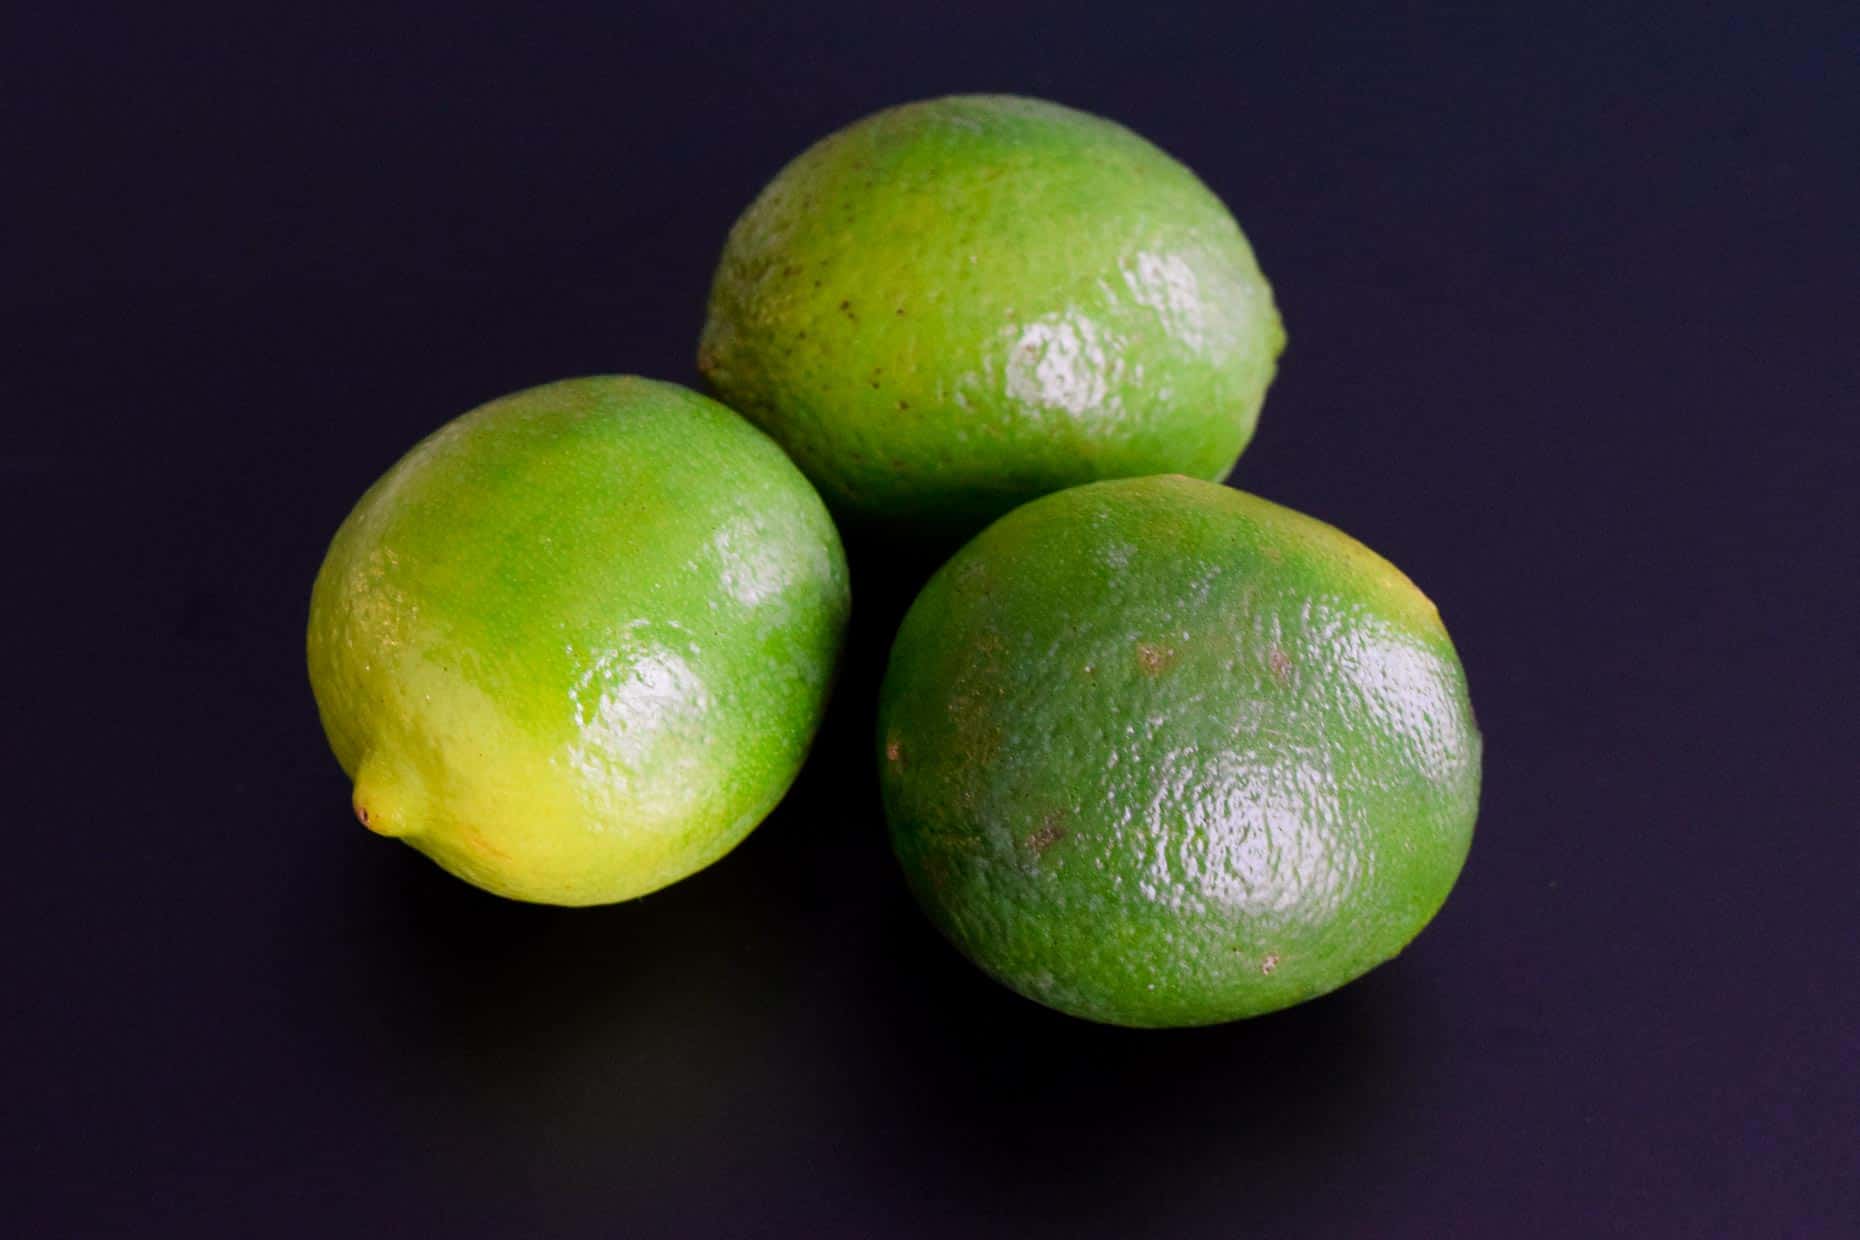
So you guys might be familiar with this recipe: Step 1: Put the lime in the coconut. Step 2: Drink them both up. Disclaimer: I didn't write that recipe but it's a classic and it's almost summer time so you should probably jot it down and keep it handy.
- How to choose them:
- Choose limes that smell like limes. Pretty basic, right? But seriously, give them a little scratch and sniff test to make sure they're ripe. Underripe limes won't have a strong lime odor.
- Choose bright green limes for a stronger flavor, as the more yellow limes won't be as strong.
- Press on the lime to check for firmness. A perfectly ripe lime will give a little, while an overly ripe lime will be too soft and lime that isn't ripe yet won't give at all.
- Choose limes that are heavy for their size, which is an indication of lots of juice inside!
- How to store them:
- Store at room temperature out of direct sunlight for 1 week.
- Limes can also be stored in the refrigerator for up to 1 month.
- Sliced limes can be stored in an airtight container in the refrigerator but should be used within 1 day.
- How to prepare them:
Mangoes
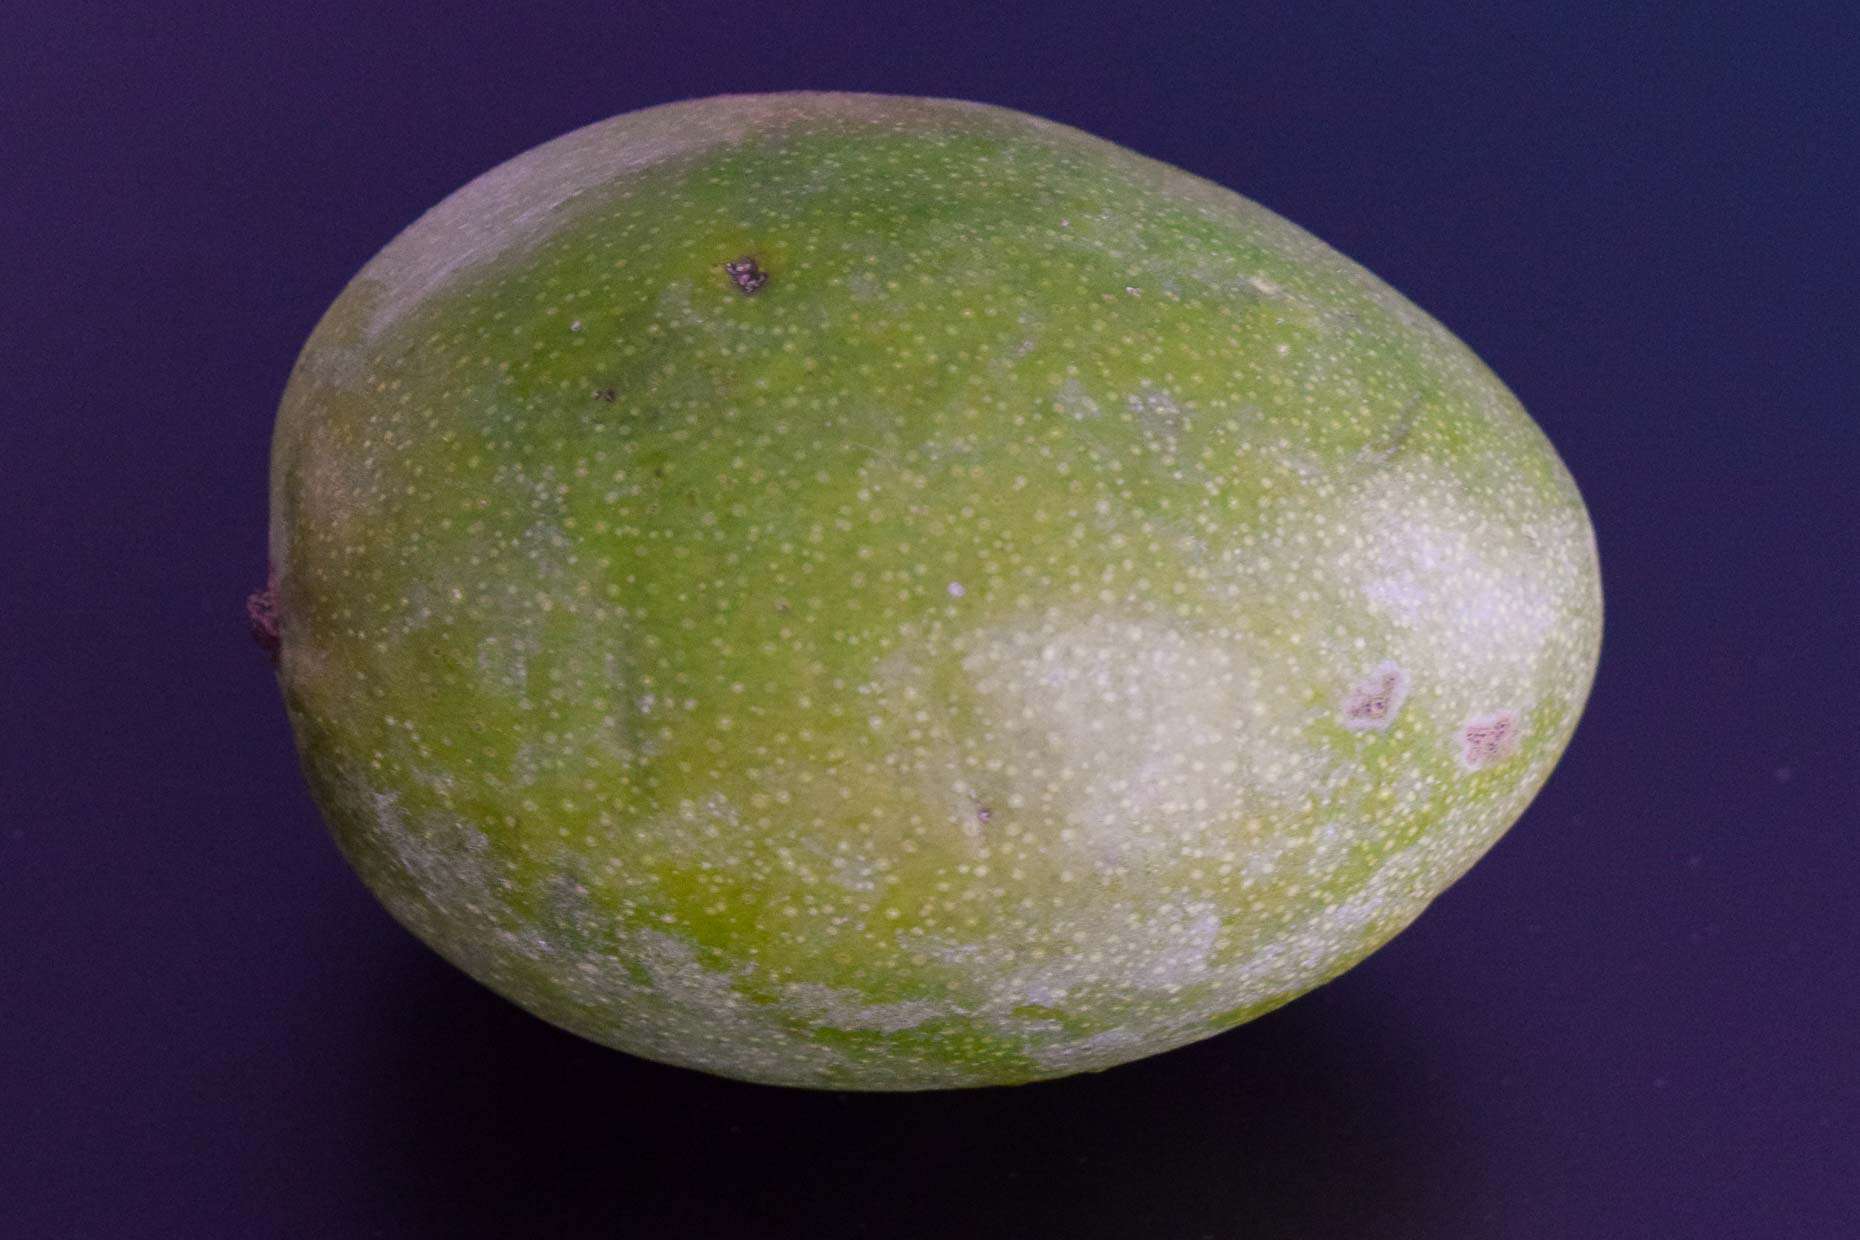
I'm so excited to be talking about mangoes! It makes me feel like summer is finally within grasp! I think I just learned how to slice a mango maybe a year or two ago, and it's so ridiculously easy I'm embarrassed that it took me so long to learn it. Mangoes are now one of my favorite fruits to snack on and toss into fruit salads or smoothies (or cocktails...)
- How to choose them:
- Choose mangoes based on feel rather than appearance, as all mangoes will look different colors when ripe. They should give a little when pressed (like an avocado).
- Ripe mangoes will have a fragrant, sweet aroma.
- How to store them:
- Store at room temperature, which will make them sweeter over a few days.
- If you want to speed up the ripening process, place the mango in a paper bag with another fruit such as a banana or apple for about 2 days. (These fruits release ethylene gas which will speed up the process).
- If you want to slow down the ripening process, place the mango in the refrigerator for a few days.
- Ripe mangoes can be stored in the refrigerator for up to 5 days.
- How to prepare them:
Mushrooms
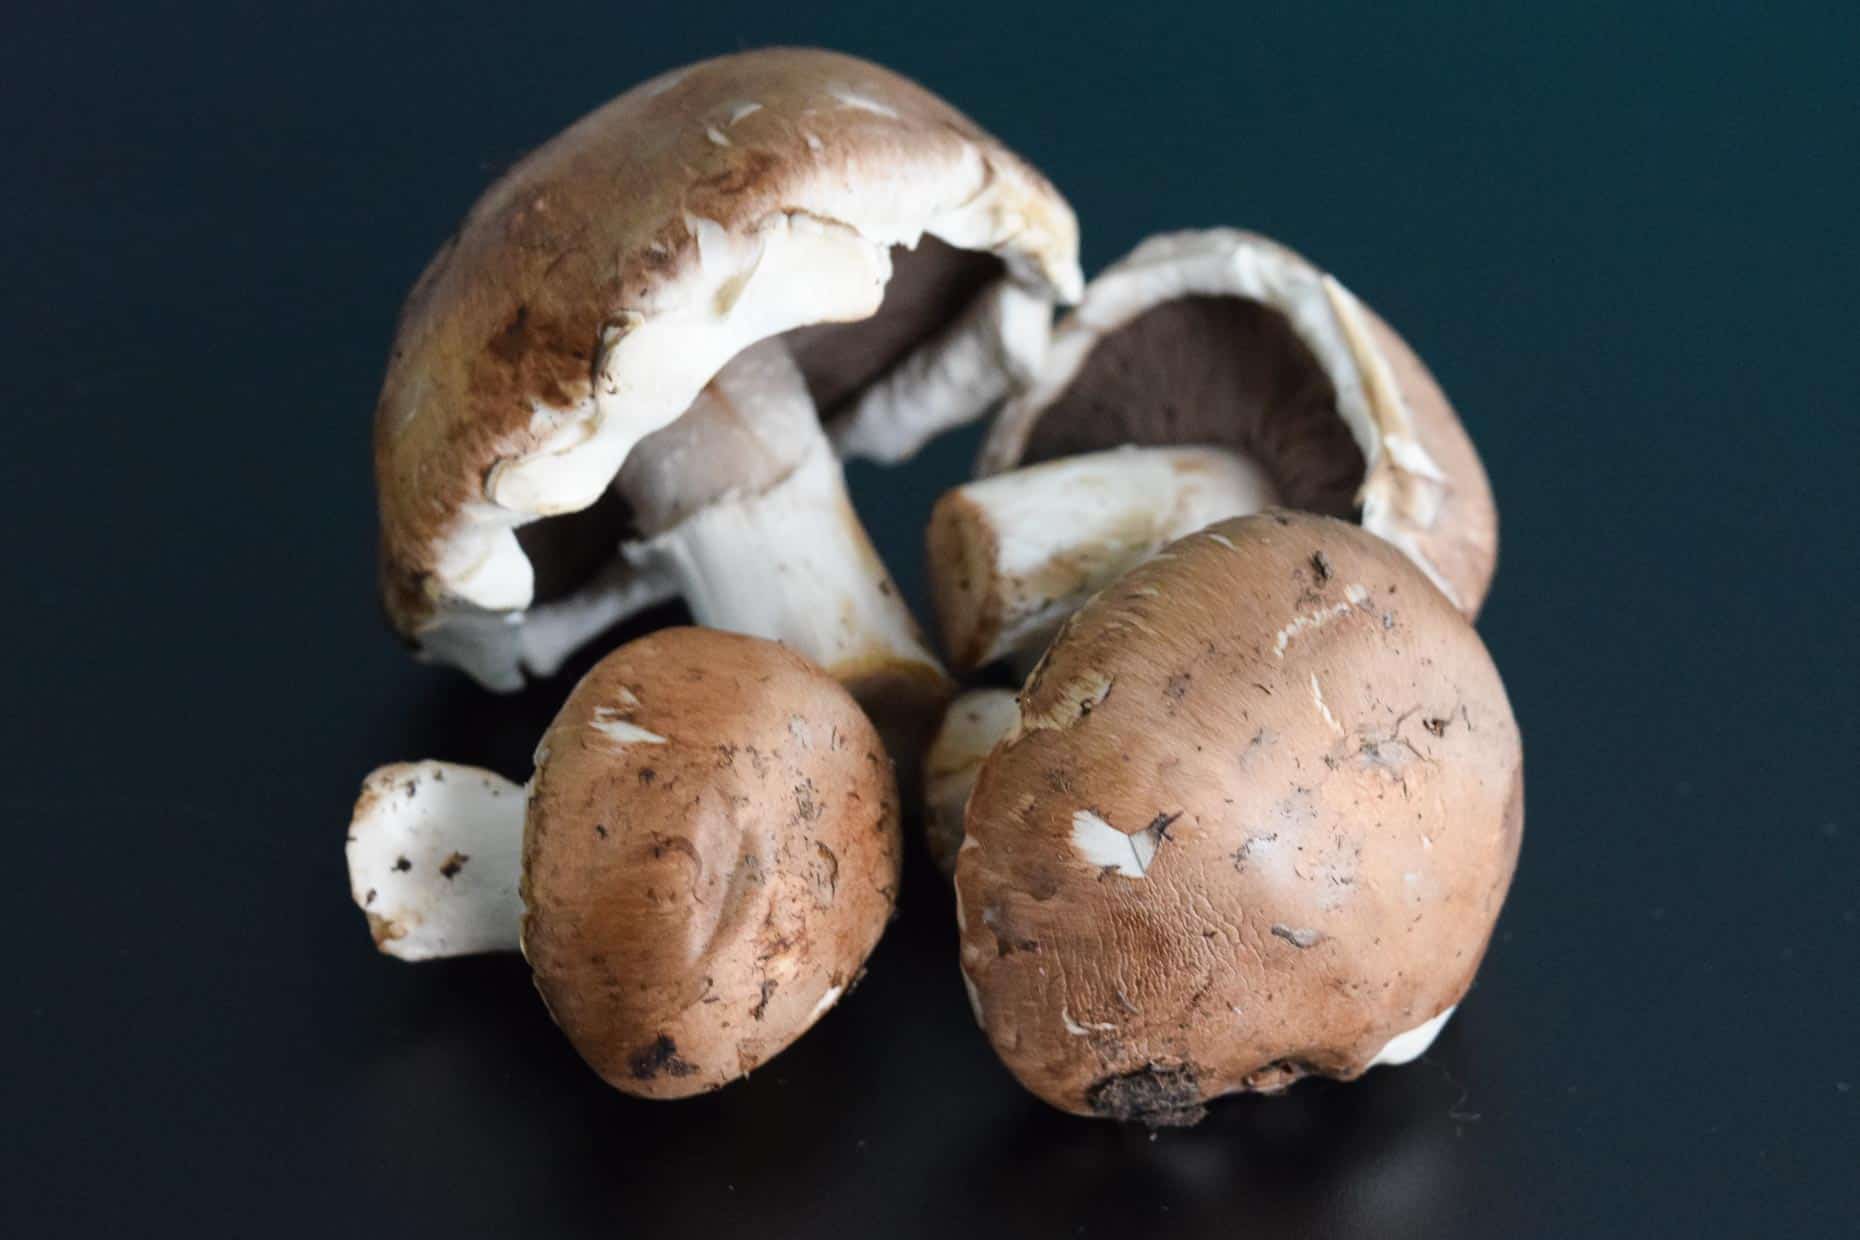
I don't honestly know how accurate this is. I thought mushrooms were more of a fall thing, and I know certain varieties are in season during different months, but I'm struggling to find exactly which ones are in season in April in my neck of the woods.
However, in my research, mushrooms keep coming up as in season in April and I freaking love mushrooms so we're gonna roll with it, mmkay? (If anyone can answer this question for me I'd greatly appreciate it!)
- How to choose them:
- Choose firm mushrooms that appear fresh and smooth. They should appear dry but not dried out.
- A closed cap mushroom will have a delicate flavor, while an open cap with exposed gills will have a richer flavor.
- Avoid mushrooms that appear bruised, shriveled, or slimy.
- Stems should be firm and uniform in color.
- Choose mushrooms that feel light for their appearance.
- How to store them:
- Remove from plastic wrapping and store in a paper bag in the refrigerator for up to 1 week. Whole mushrooms will last longer than sliced.
- How to prepare them:
Rhubarb
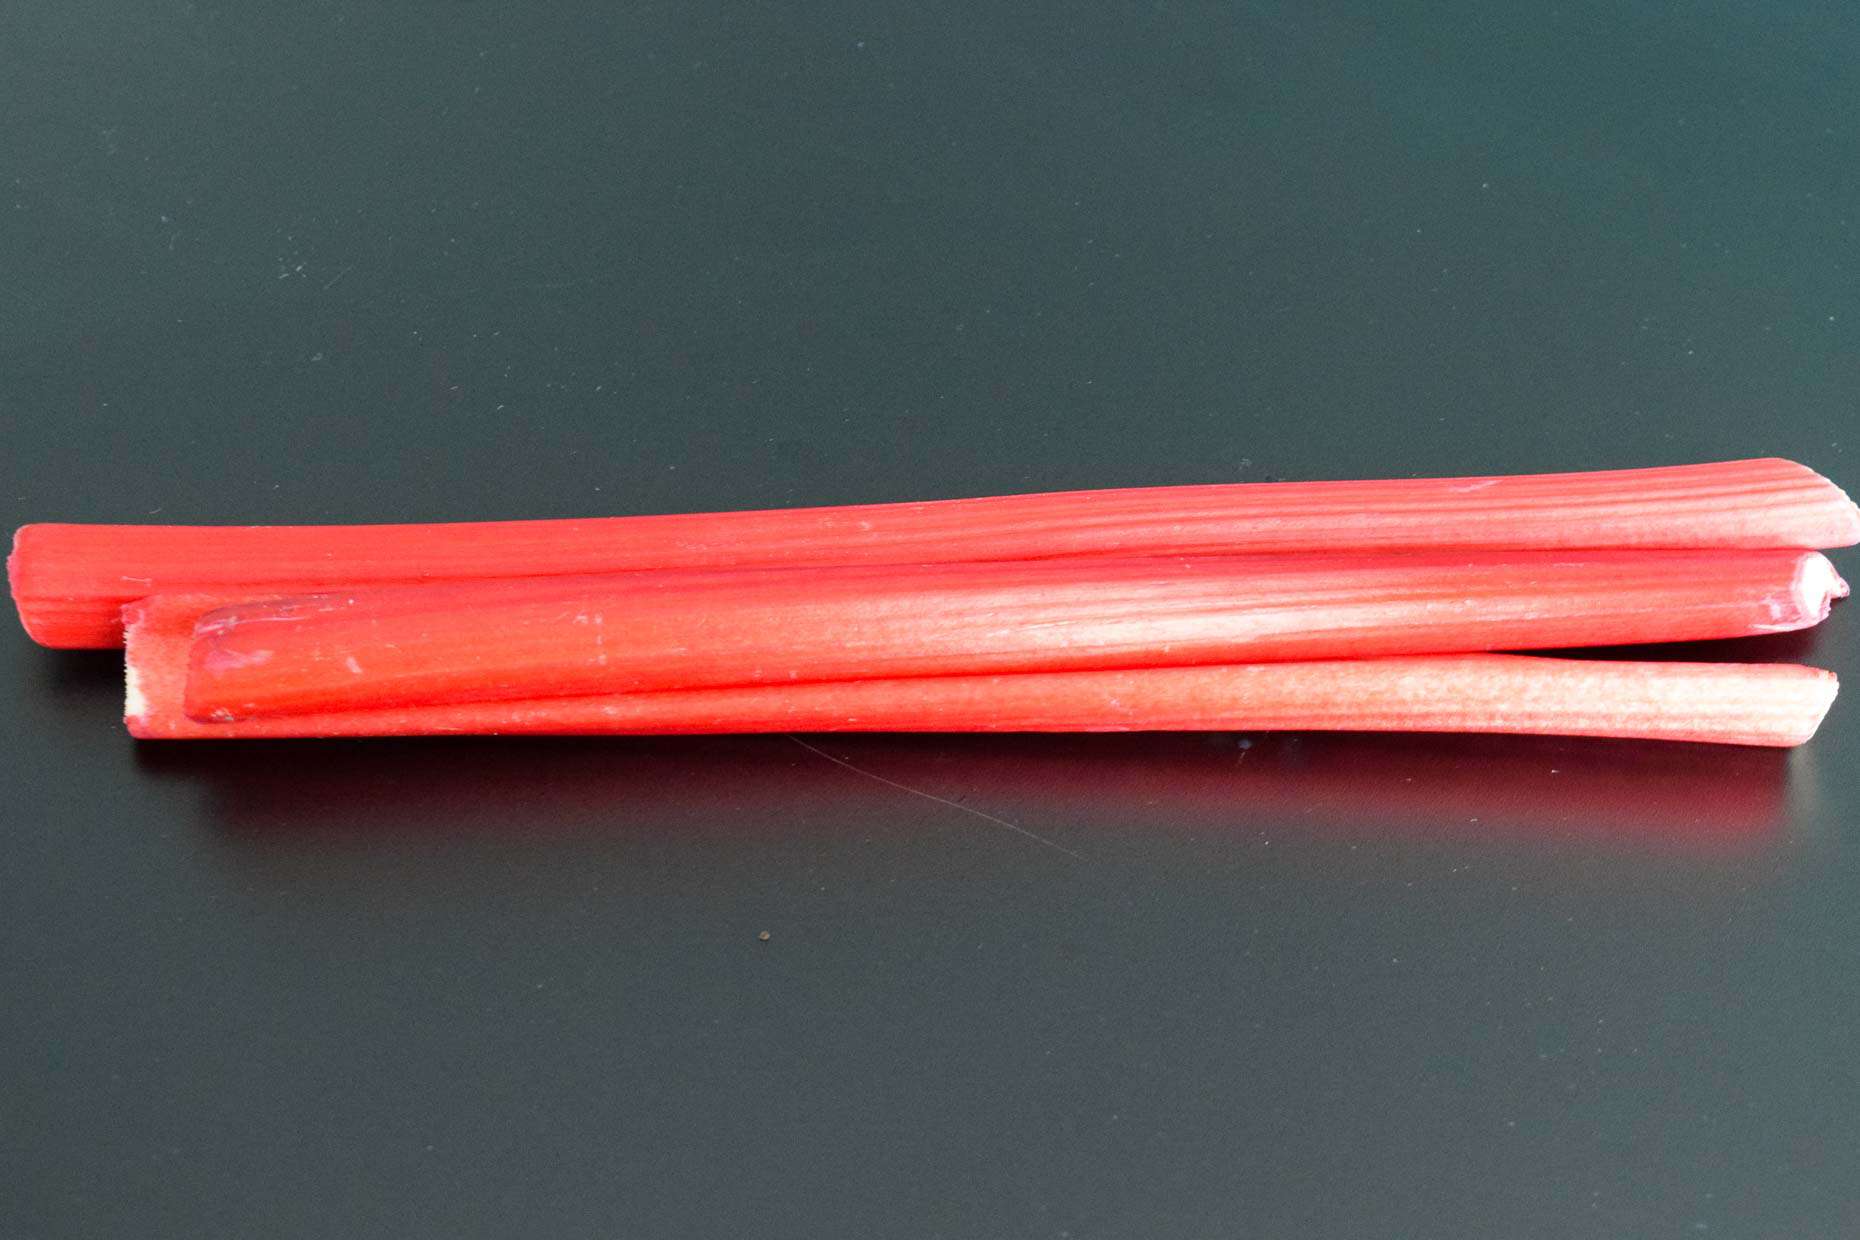
I've had rhubarb once in my life in the form of a pie at my college roommate's chicken farm in rural Ohio. That's a real sentence with real facts. And it was a real legit chicken farm, they had like 20,000+ chickens.
I've eaten a ton of chickens since that day but no rhubarb! So now we have met again and although that pie was delicious, I might spice it up and try out a new recipe this time around!
- How to choose it:
- Choose rhubarb with firm, crisp stalks, and shiny skin.
- Avoid rhubarb that is limp, has blemishes or split ends.
- If the leaves are still attached, choose one with small leaves which means the plant is young. Just DON'T eat the leaves because they're toxic!
- The thinner, red stalks are younger and sweeter than the thicker, green stalks.
- How to store it:
- Remove and dispose of any leaves before storing and store in a plastic bag in the refrigerator for up to 1 week.
- Do not trim before storing as cutting the stalks will dry it out.
- How to prepare it:
Strawberries
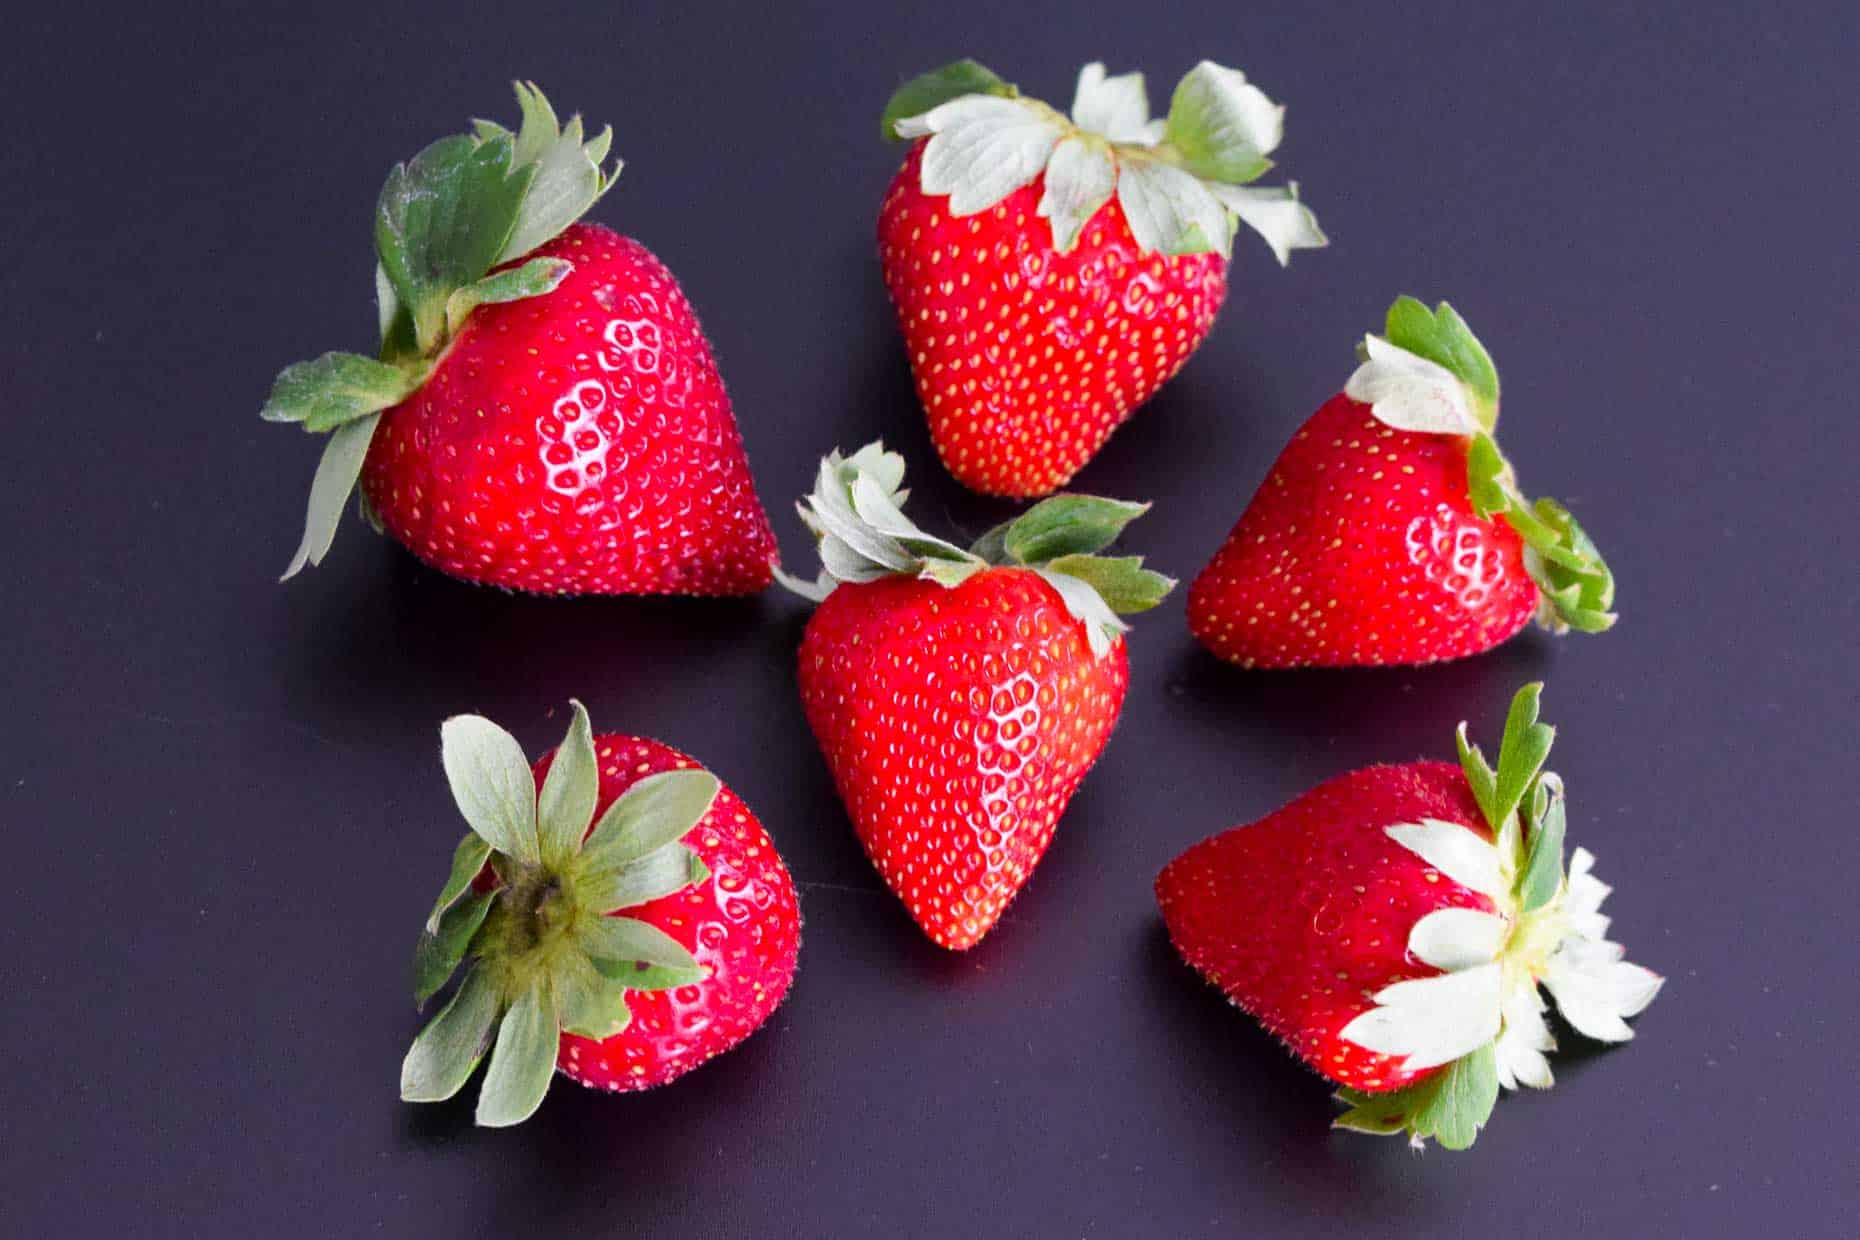
Yay!! Another fruit that makes me feel like summer is coming! (Because IT IS.) I'm sure this is a fruit that needs no introduction, but I'm kind of already in the middle of it so you're involved now. When I was little I would only eat strawberries with a giant bowl of sugar. I've now progressed to more adult eating habits (like sliced on the side of a sangria glass) but my love for strawberries is just as strong!
- How to choose them:
- Strawberries, like pineapples, will not ripen any more after they are picked. So choose wisely! You want to choose ones that are red from top to bottom! The leaves, however, will continue to wilt, so look for fresh, crisp, green leaves as a sign of fresh berries. Wilted, browned or dried leaves are a sign of older berries.
- Choose strawberries that are plump. Avoid any that are dried or shriveled, as these are older.
- Size doesn't matter. (You heard it here first.) Different varieties grow to different sizes and growth can be dependent on weather conditions but none of this will affect taste.
- Avoid any berries that are molding. Even if one strawberry in the box has molded, avoid the whole batch, as this is a sign that they are all going bad.
- How to store them:
- If you're going to eat them right away they can be stored on the countertop.
- If you're going to eat them the next day, store them whole and unwashed in the refrigerator crisper drawer.
- If you want the strawberries to last about a week, store in a partially closed container lined with paper towels, preferably in a single layer. Do not wash or remove stems before storing as excess moisture will promote molding and the stems will extend their shelf life.
- How to prepare them:
That's it!! I hope you enjoyed this month's produce guide! Plan ahead by checking out next month's guide!

Leave a Reply