A seasonal produce guide for the month of March, with tips on how to choose, store and prepare each ingredient! Plus, multiple recipes included for all 8 produce items!

Aaaand it's March. Aaaaand it's snowing again. It was 50 degrees and sunny when I wrote the February produce guide. *Sobs* I can't handle the mood swings of Ohio weather. Obviously my body can't either since we are currently fighting off a horrendous cold. At least my fridge is fully stocked with some fresh seasonal produce goodies to help me get through both this spring blizzard and this cold!
These monthly seasonal produce guides are designed to help you determine exactly what foods are currently in season, how to choose them and store them, as well as give you some great recipe ideas from fellow food bloggers that incorporate these seasonal finds! There's no need to wait until summer to load up on fresh fruits and veggies, you can totally enjoy them right now!
Eating seasonally will help you save money while increasing the amount of flavor and nutrients you are obtaining from your food. So let's dig into our March Seasonal Produce Guide!
Jump to:
Artichokes
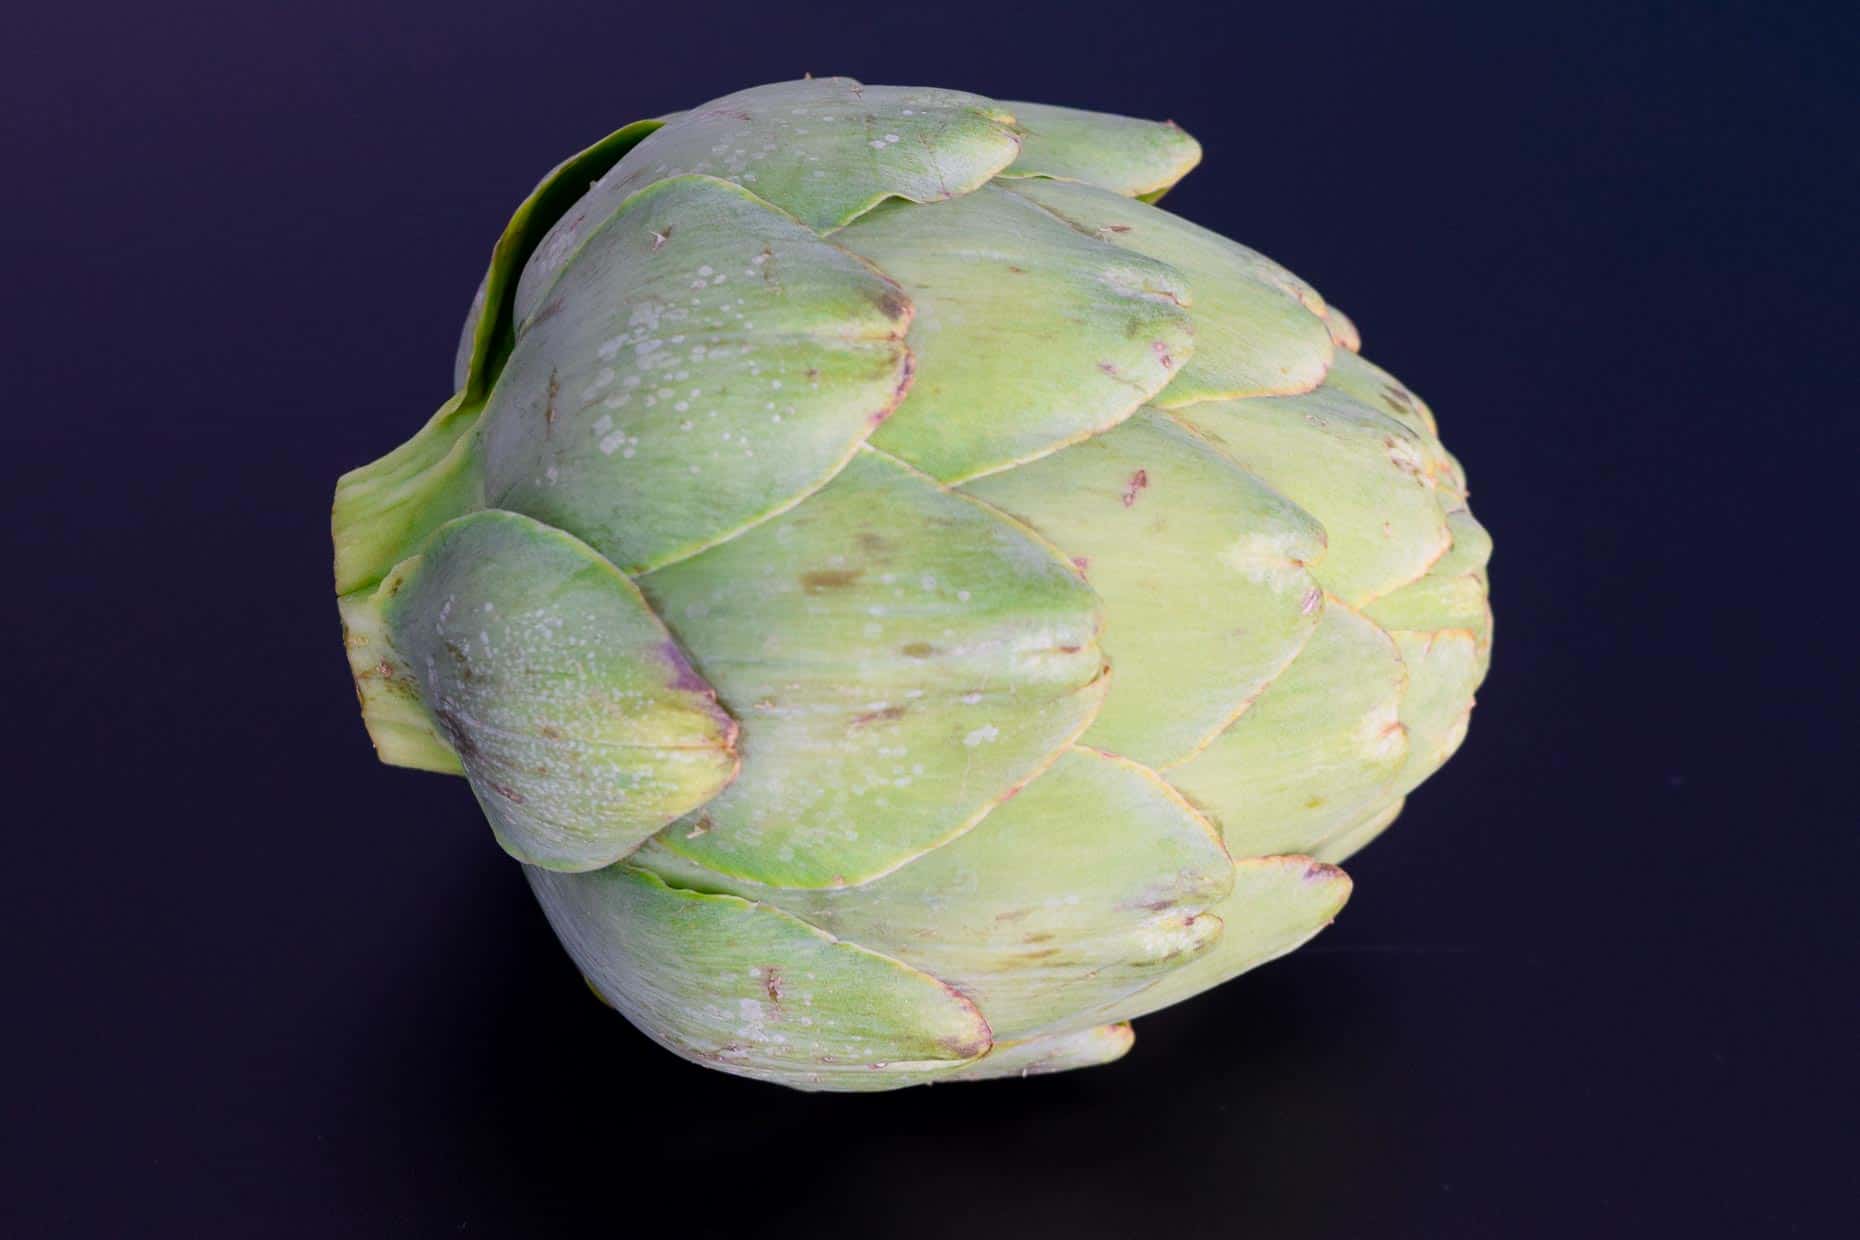 "Mmmm, I love artichokes. But I've never actually bought one. Mostly because I'm scared of them and I don't really know what to do with one. But I love when other people make them!" --The cashier when I bought this artichoke.
I feel ya, girl. I could eat spinach and artichoke dip for dayyyys, but hand me an artichoke? No clue. But not anymore! With this handy dandy guide and some brand new recipe ideas from some fellow food bloggers, I'm no longer scared of artichokes! 🙂
- How to choose them:
- Choose artichokes that are heavy for their size.
- The leaves should be tightly packed. Avoid any that are loose, split or splayed.
- Choose artichokes with green leaves. Purple undertones are okay, too, but avoid any with brown tips. (A few brown spots are fine, but avoid excessive browning.)
- If you squeeze the artichoke leaves, they should squeak a little bit if they're fresh. This is a sign that they're crisp.
- How to store them:
- Store the artichokes unwashed, as too much moisture can lead to infection. However, you do want to spritz the stem with some water before storing to prevent dehydration.
- Place into a perforated plastic bag and store in your refrigerator crisper drawer for up to 1 week.
- How to prepare them:
- This slideshow has an excellent step by step tutorial of how to trim and snack on artichokes.
- Crab and Artichoke Dip
- Vegan Fried Artichokes with Creamy Lemon Garlic Sauce
- Instant Pot Artichokes
- Mediterranean Style Steamed Artichokes
- Fontina Parmesan and Garlic Roasted Artichokes
Asparagus
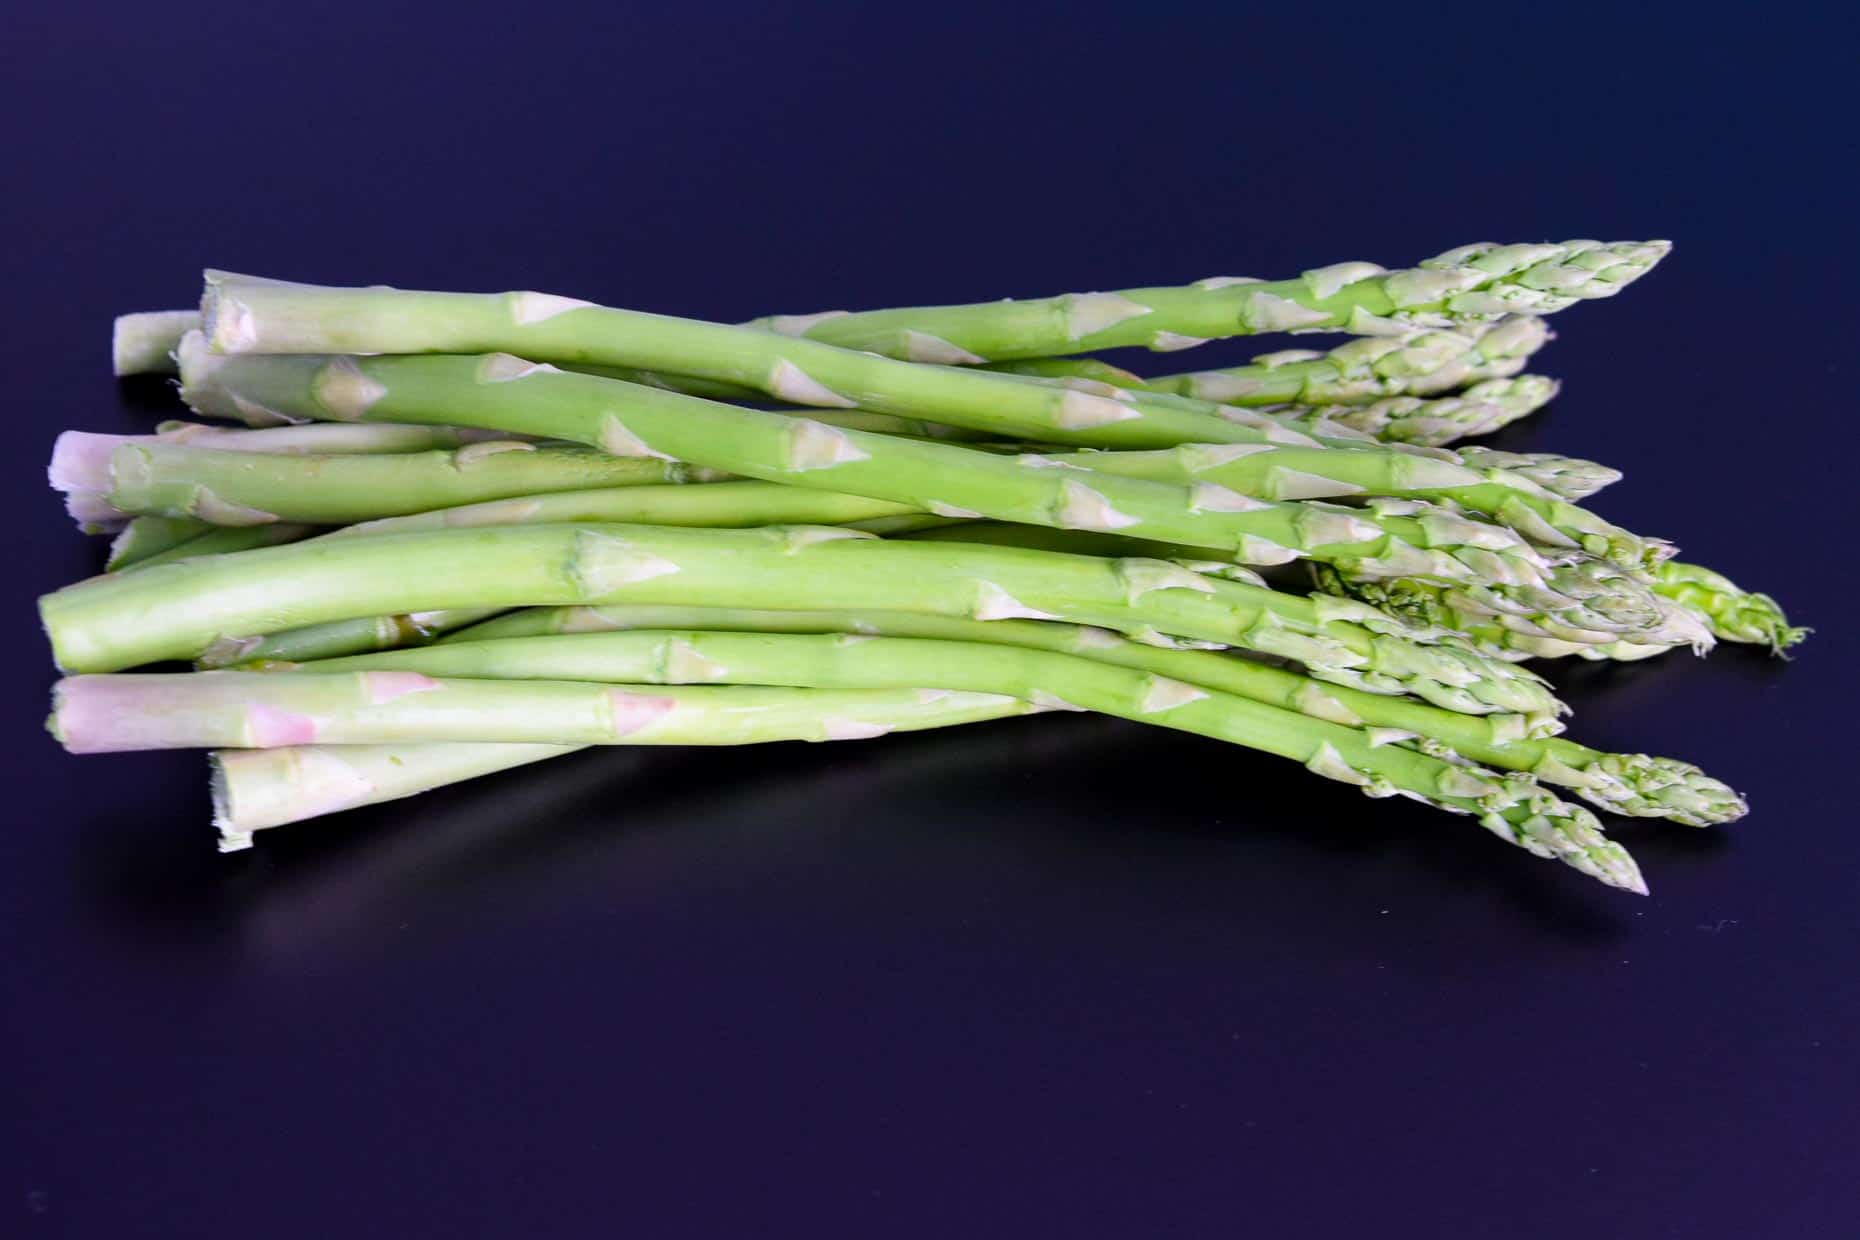 We love asparagus in our household. We eat it pretty frequently as a weekday dinner side with chicken or steak. Although we do try to limit it due to its.....*ahem*.....side effects. But it's a nice change-up from our standard go-to's of green beans or brussels sprouts!
- How to choose it:
- Choose asparagus that is smooth, straight, brittle, and will crack if you try to bend it.
- The tips of the asparagus should be tightly closed (like the tip of a paintbrush) with a dark green or purple hue. If they are yellow or dried out then the asparagus is becoming old.
- The stalks should be moist and plump. If they look dry, cracked or woody, then they are older and should be avoided.
- Avoid any asparagus that is wilting or blemished, unless you plan to make a soup out of it!
- There are three color types of asparagus:
- Green asparagus is the most common and gets its color from photosynthesis
- White asparagus is the same as green asparagus, but it is created in a dark artificial environment (no sunlight, therefore no photosynthesis and no green color) and tends to cost more.
- Purple asparagus is completely different and gets its color from high levels of antioxidants in the stalks. It has a lower fiber level than green or white asparagus so it will be more tender and sweeter in taste.
- How to store it:
- Trim about ½ inch off of the ends of the stalk then wrap the ends in a damp paper towel. Store in a plastic bag in the refrigerator for 1 week. (The asparagus should remain unwashed).
- To make the asparagus last a few days longer, you can also store them upright in a jar filled with 1 inch of water and cover the jar with a plastic bag.
- How to prepare it:
Kiwi
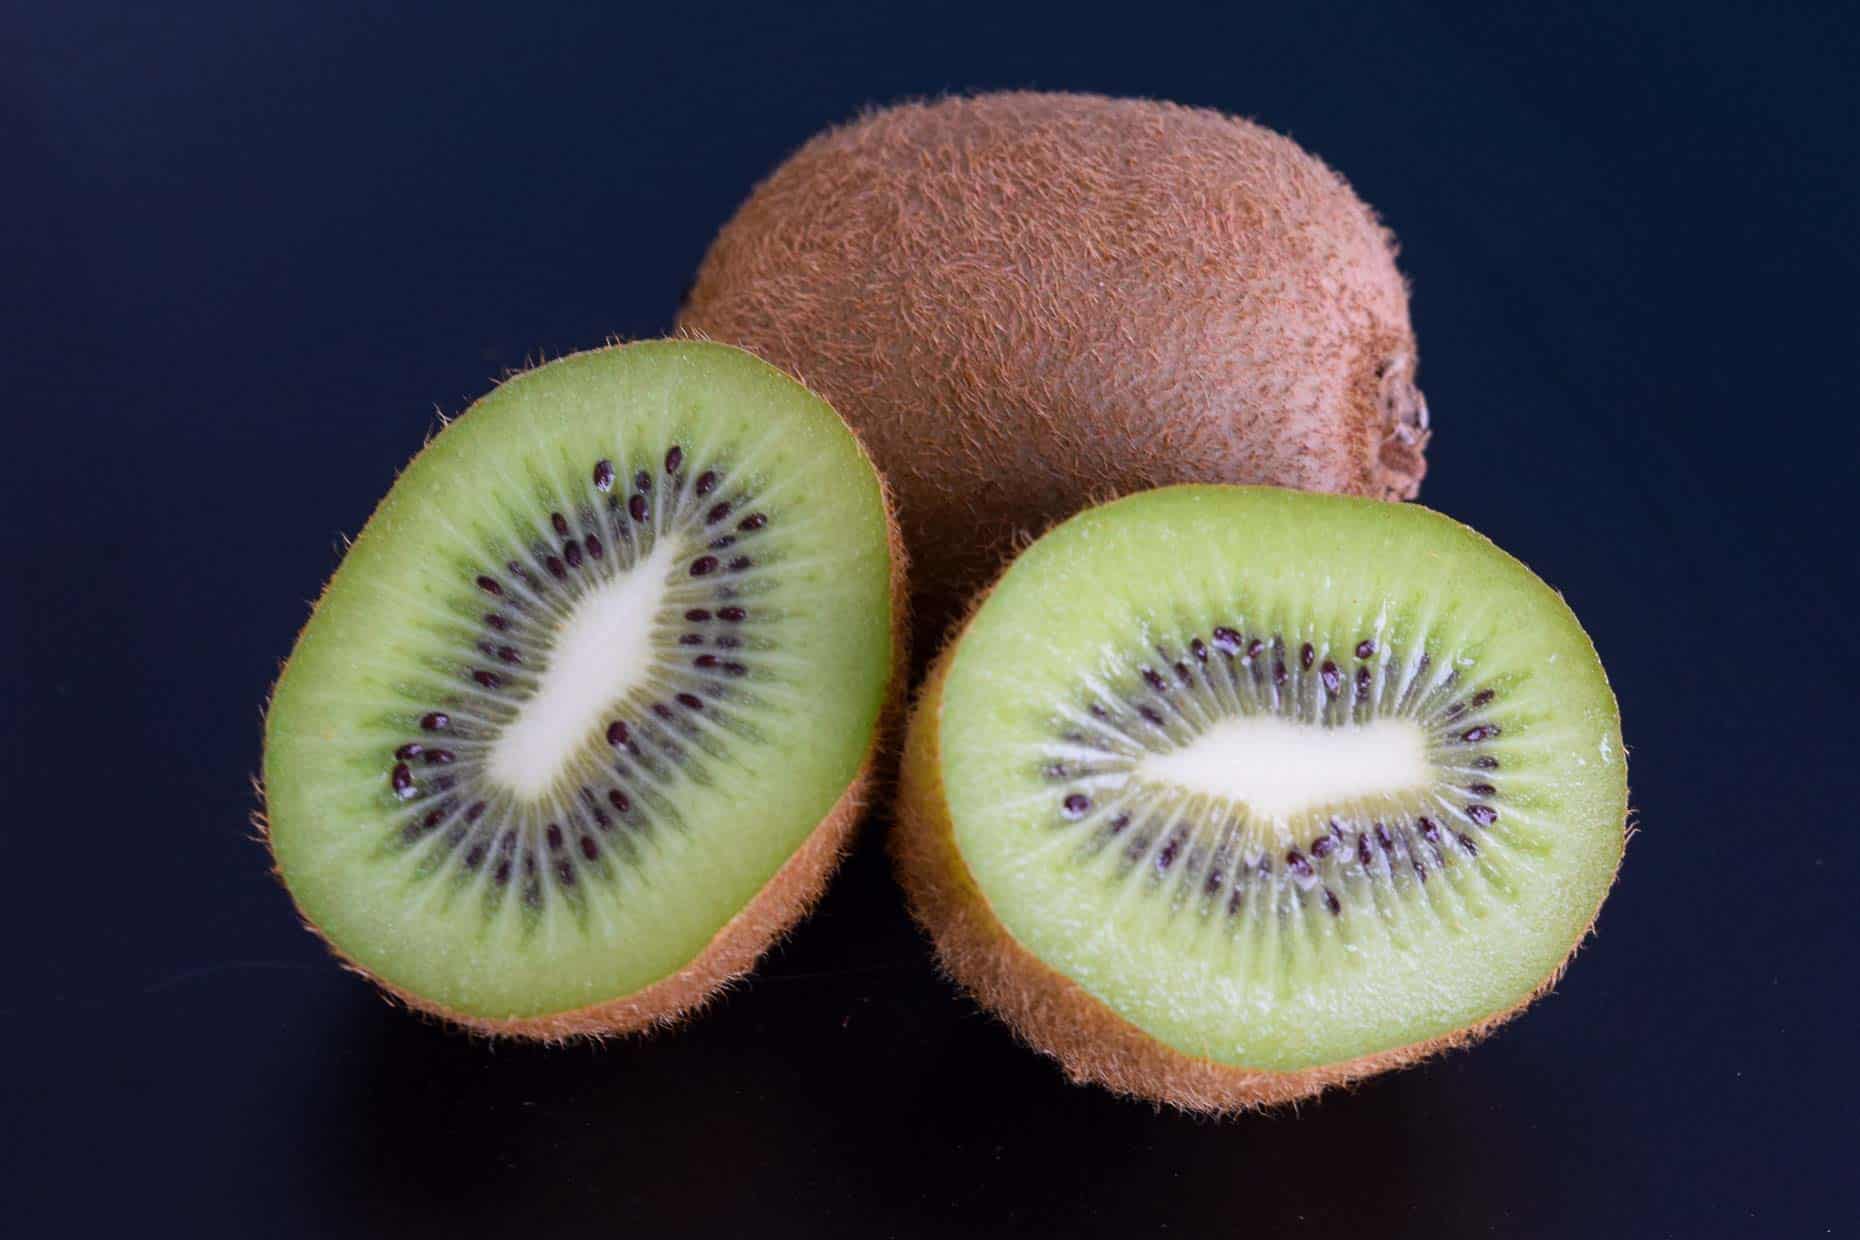 Self realization: I don't eat enough kiwis. They're so dang good! And they always make me feel like I'm on vacation. 🙂 My first experience with kiwis was eating them after school with my childhood friend. She taught me to just slice them in half and eat them with a spoon, which is still how I snack on them today. I also love making these cute little Tropical Fruit Salad in Kiwi Cups if I have more time!
- How to choose it:
- Check for kiwis that have a smooth, brown, fuzzy skin. Avoid any that have dark spots, bruises, mold, wrinkles or look shriveled. Ripe kiwis will have fuzzy skin while unripe kiwis will not yet be fuzzy.
- A perfectly ripe kiwi should give slightly when pressed with your thumb. If it doesn't give at all then it is not yet ripe and if it feels mushy then it is overripe.
- Smell the kiwi. Ripe kiwis will give off a fragrant, citrus, smell.
- How to store it:
- Store any unripened kiwis in a paper bag with an apple or a banana to help speed up the ripening process. Check in 3-5 days to see if they are ripe. (These fruits release ethylene gas which will speed up the process).
- Store ripe kiwis in the refrigerator until ready to eat.
- How to prepare it:
Oranges
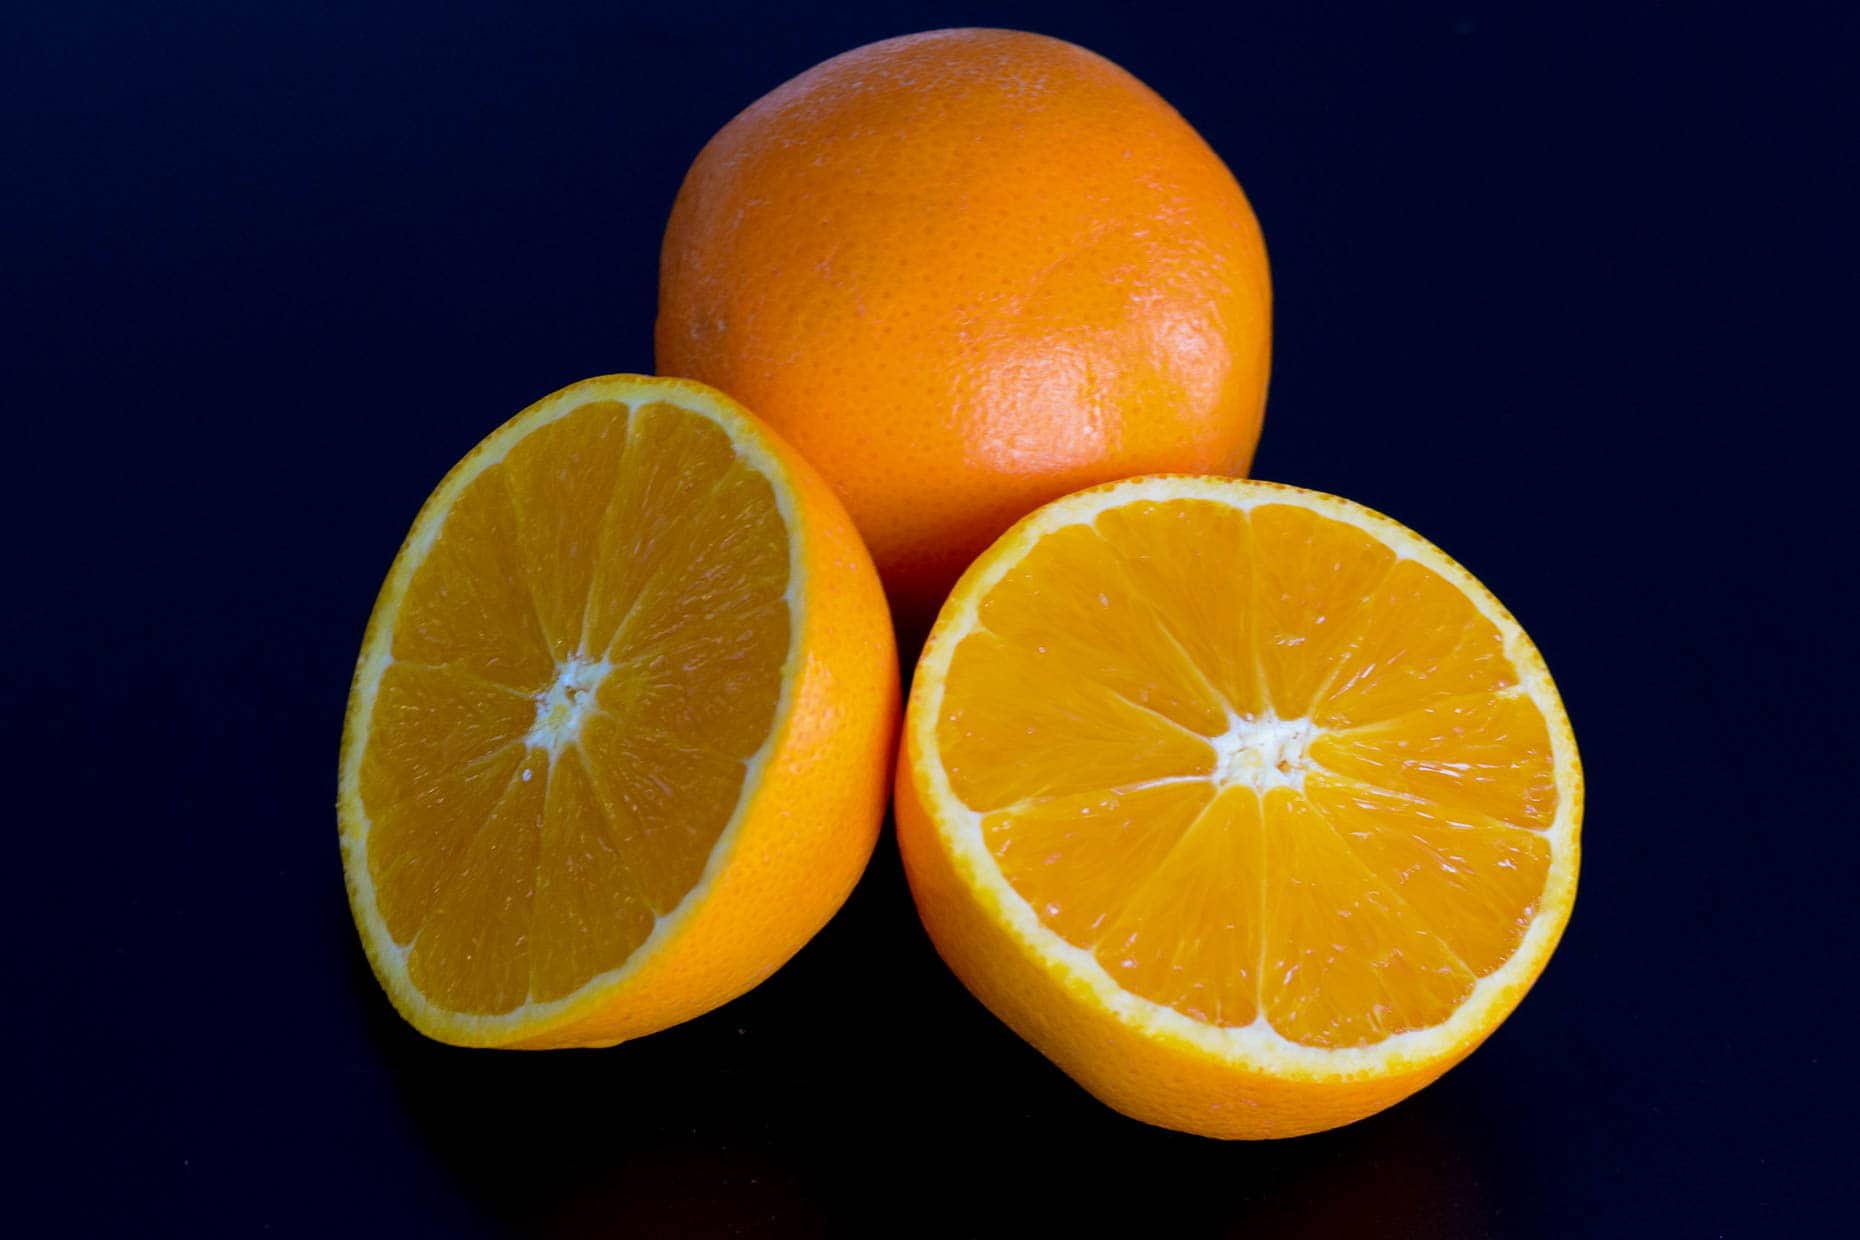 We talked a lot about citrus fruits in January when they were in season, but now we're focusing specifically on oranges! Whether you're eating them straight, pulsing them into a juice, or slicing them up for a fancy cocktail garnish, you've gotta make sure you've picked a good one, right?!
- How to choose them:
- The skin should be clear and free of blemishes. Choose oranges that have a smooth, evenly firm, finely textured peel rather than a thick, heavily dimpled peel. This will ensure you get more fruit and juice!
- Avoid oranges with soft, tender spots and wrinkled skin.
- Pick the heaviest oranges as they’ll have the most juice.
- Choose oranges with the strongest, sweetest smell.
- How to store them:
- Oranges can be stored either on the countertop in a fruit bowl or in the refrigerator. If you’re going to be eating them within a week, then the countertop is ideal because room temperature oranges will have a stronger flavor. However, if you’re wanting to store them for later, then store them loose in the crisper drawer for up to 2-3 weeks.
- Do not store sealed in a plastic bag or loose on refrigerator shelves, as both will promote ripening.
- How to prepare them:
Peas
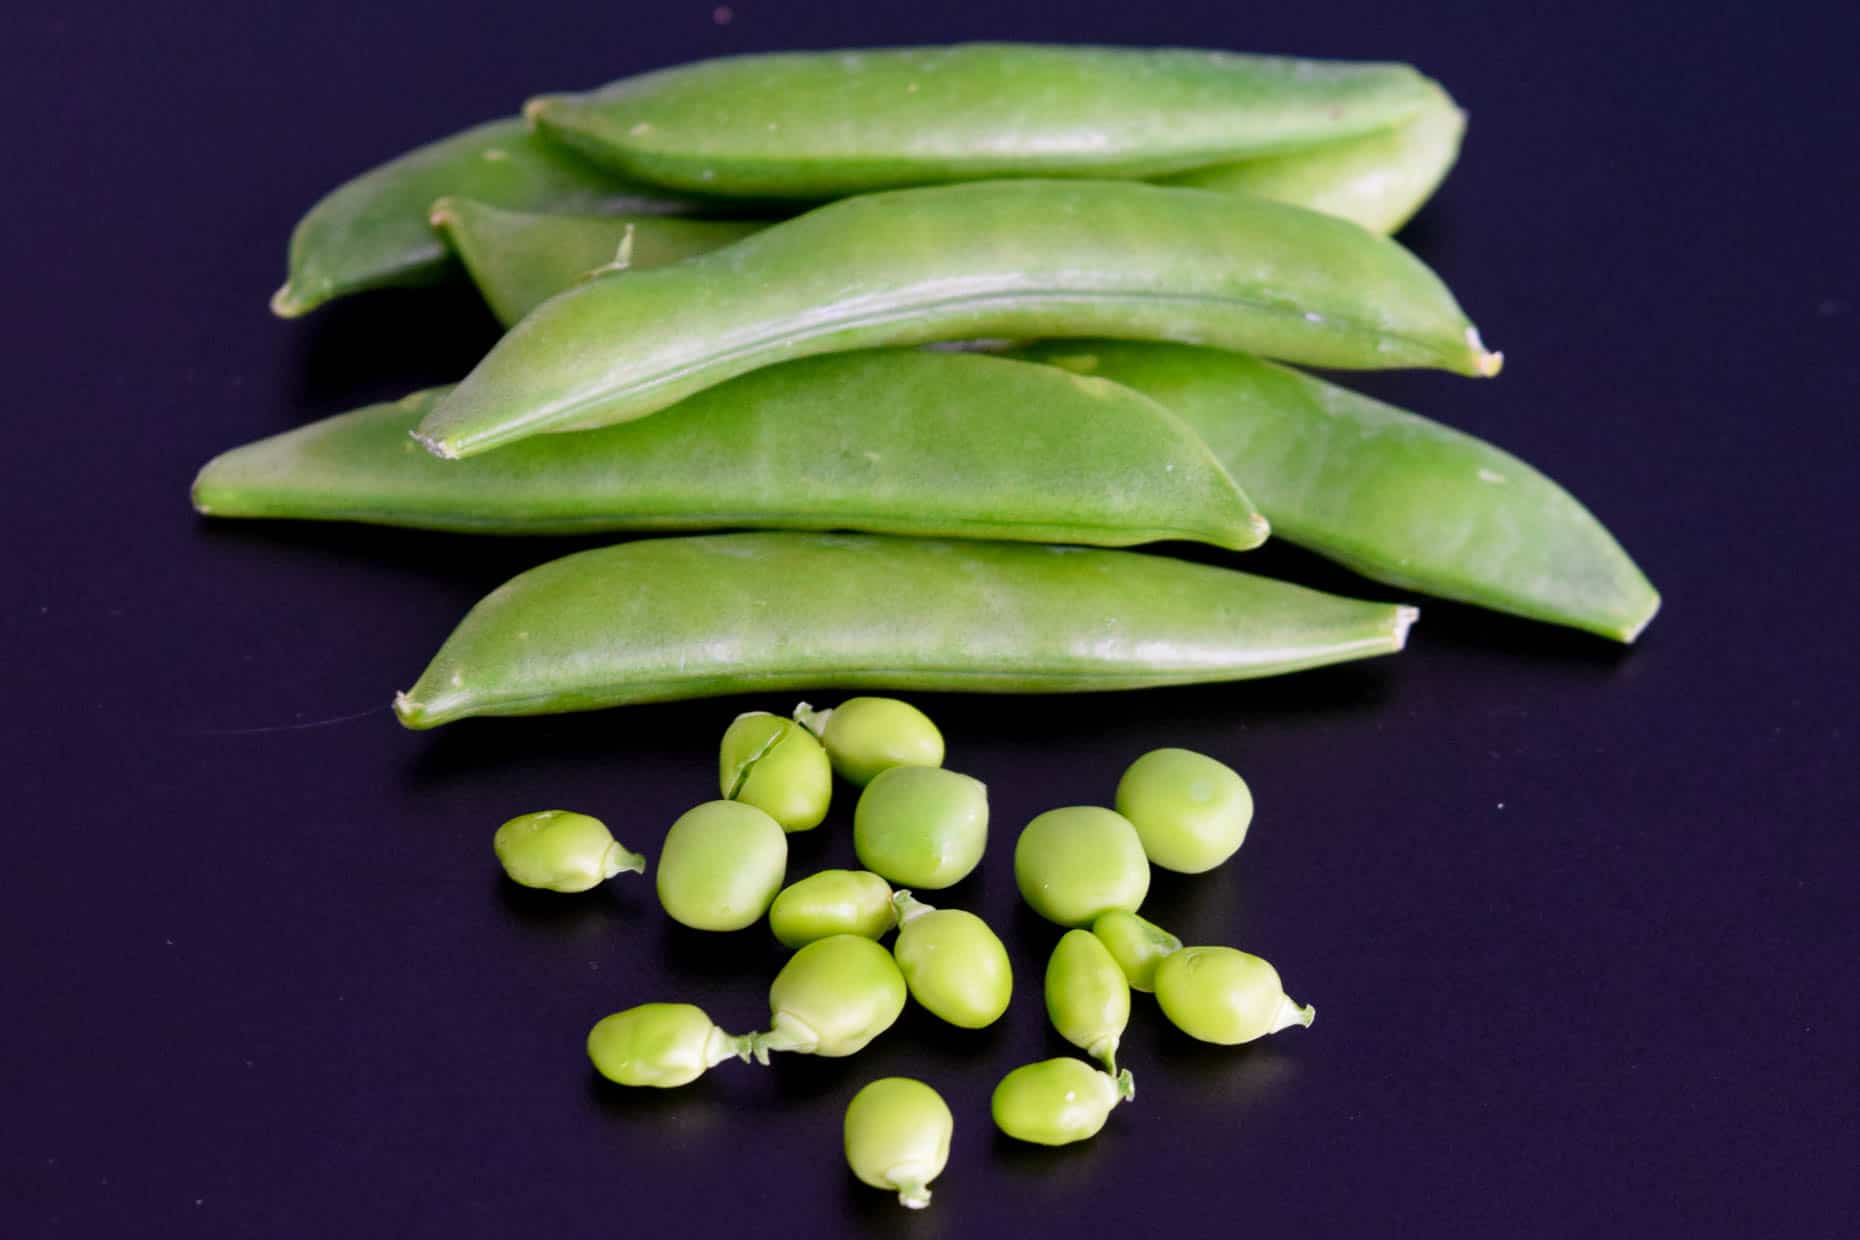 Ahh, peas. Every kid's favorite. We're gonna talk about snap peas specifically here, mainly because that's what I could find at my grocery store 🙂 But the tips and tricks are pretty universal for any type, and the recipes below feature a few different kinds of peas!
- How to choose them:
- Choose snap peas with plump, crisp pods. They should look glossy and make a snapping sound when broken in half.
- Choose snap peas that are medium to dark green in color.
- Avoid snap peas that look limp or are dry along the seams.
- How to store them:
- Store in a tightly sealed bag in the refrigerator for 4-5 days.
- Do not wash before storing.
- The longer you store snap peas, the less sweet and crisp they will be.
- How to prepare them:
Pineapple
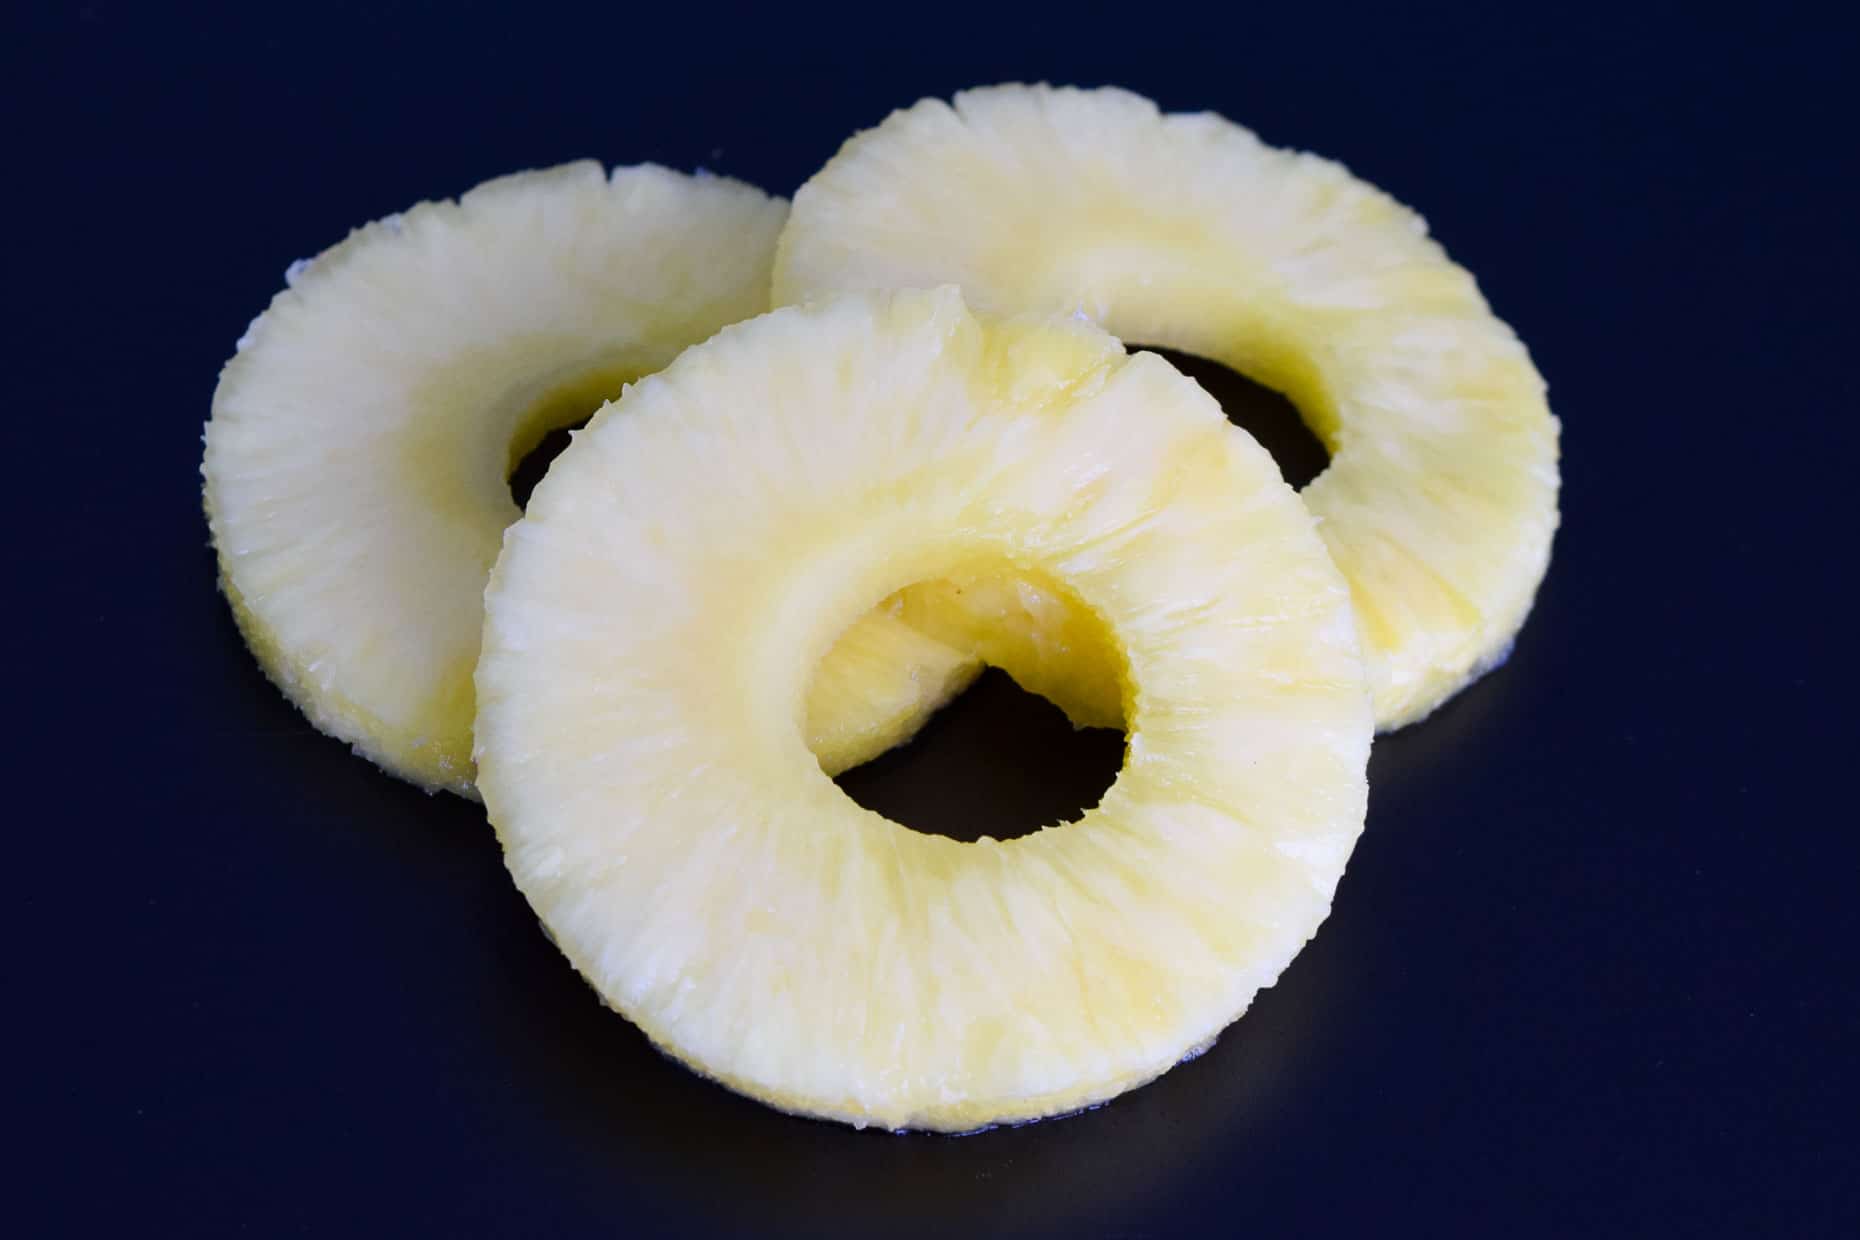 I apologize for not purchasing a whole pineapple to photograph for you guys. I've been sick this week and just didn't have it in me to core and cut an entire pineapple. I hope you guys all know what a whole pineapple looks like, and if you don't I encourage you to watch an episode of Spongebob Squarepants to acquaint yourself. 🙂
- How to choose it:
- A ripe pineapple will have that distinctive, sweet pineapple smell from the outside.
- Choose pineapples that give slightly when you press on them.
- A pineapple will change from green to yellow as it ripens so choose the more yellow appearing fruits (preferably ones that are consistently yellow from top to bottom). Also, pineapples will not ripen much more after they are plucked from the tree so the green ones won't be getting much riper!
- How to store it:
- Store a whole pineapple at room temperature on your countertop and eat within a few days.
- You can make a pineapple last a little longer by refrigerating it.
- Freshly cut pineapple can be frozen but it may lose a little flavor.
- How to prepare it:
- Here is an excellent guide on how to cut a pineapple!
- Pineapple Fried Rice
- Pineapple Jam
- Jamaican Pork and Pineapple Stir Fry
- Pineapple Salsa
Shallots
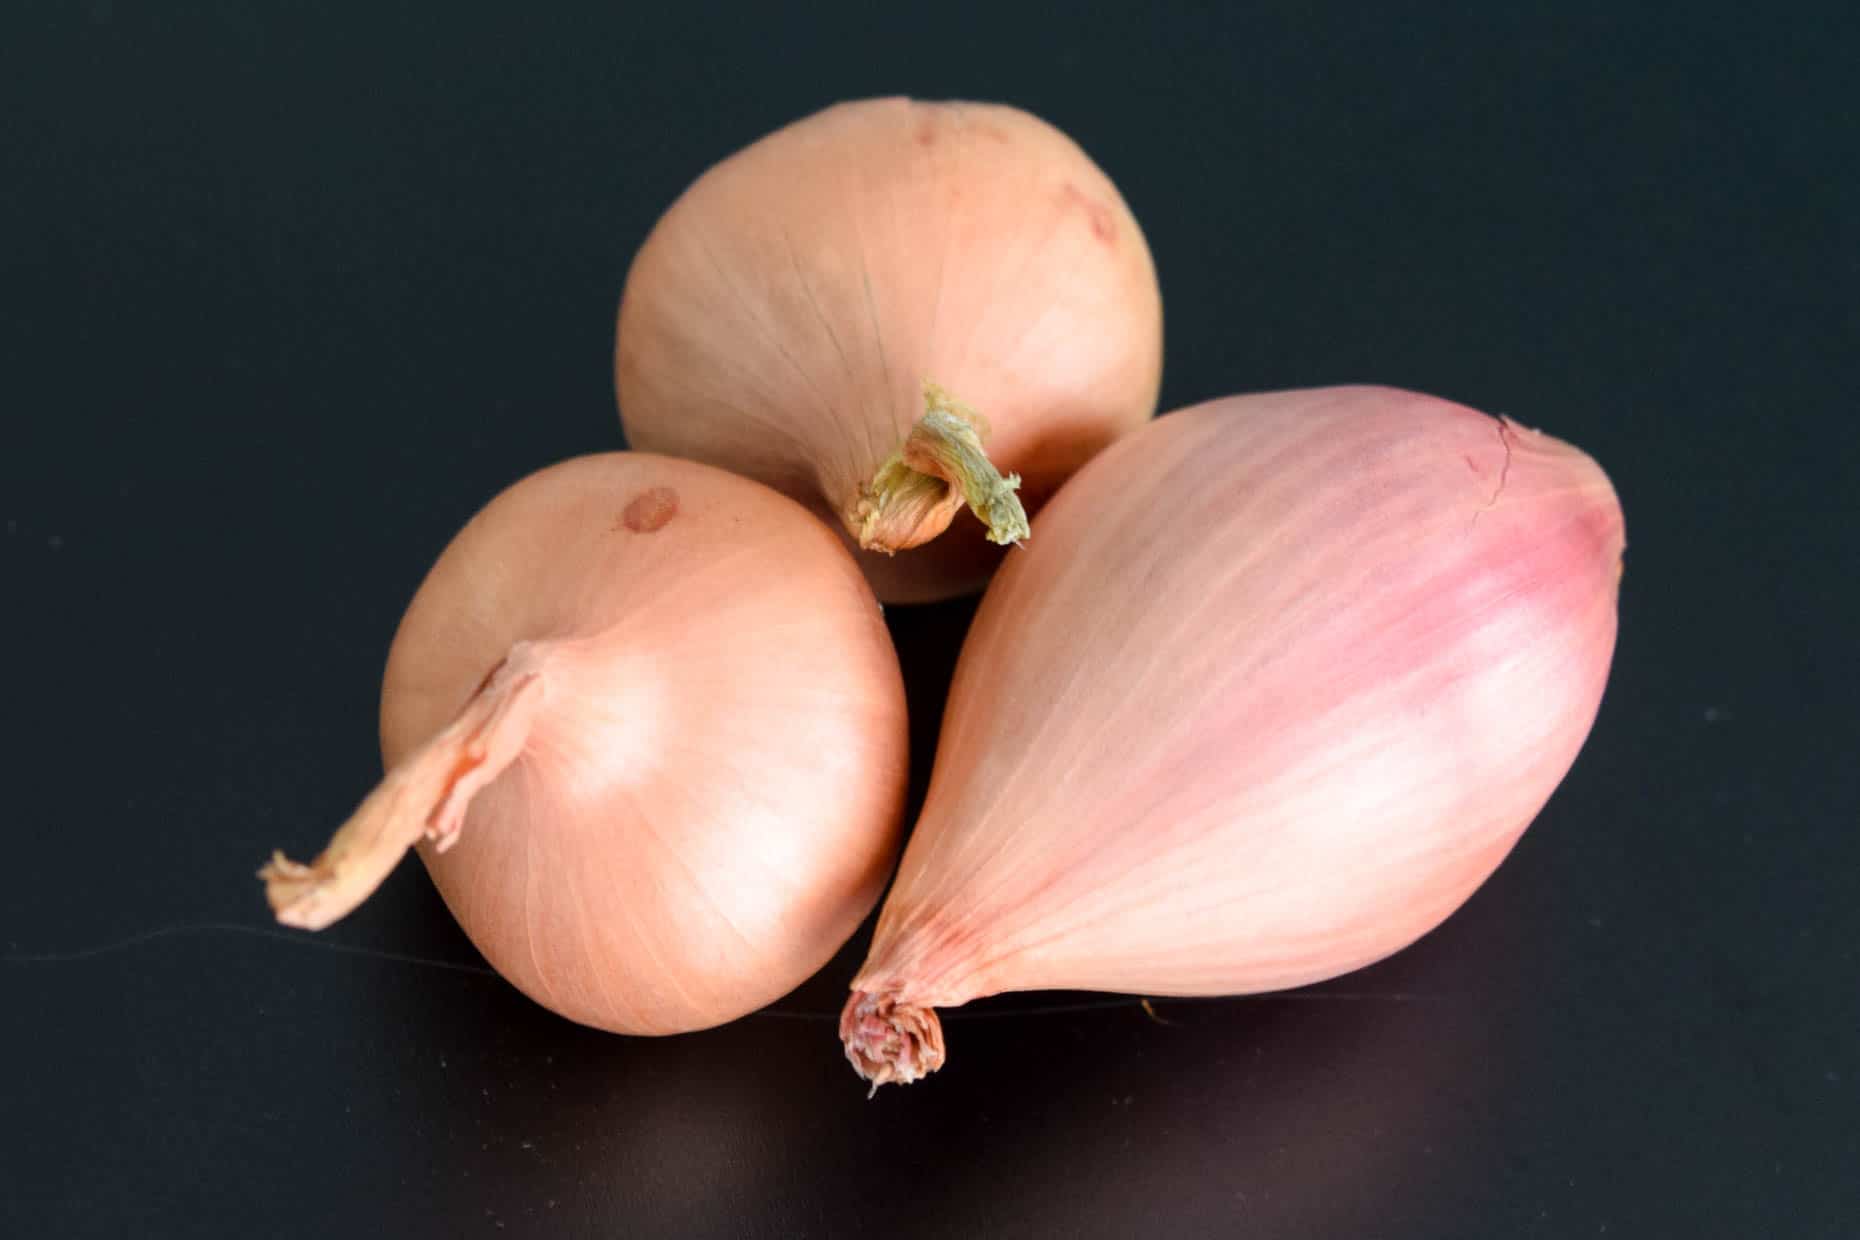 Recently I've been stepping up my onion game in the kitchen by branching out to using more shallots and cippolini onions. Mostly because I see them in fancy restaurants all the time and I want to cook like a fancy restaurant person. (I believe they're called chefs 😛 ). I love shallots so I'm so excited to be talking about them this month!
- How to choose them:
- Choose shallots that are firm, heavy and without soft spots.
- Avoid shallots that are sprouting, as these are older and will have a stronger onion or garlic flavor. The younger shallots will have a milder, sweeter taste.
- How to store them:
- Store in a cool, dark, well-ventilated space such as your basement or a kitchen cupboard for about 1 month.
- Store in a dry, clean, knotted pantyhose, or in a metal mesh basket.
- How to prepare them:
Spring Greens (Arugula, Spinach, Lettuce, Swiss Chard)
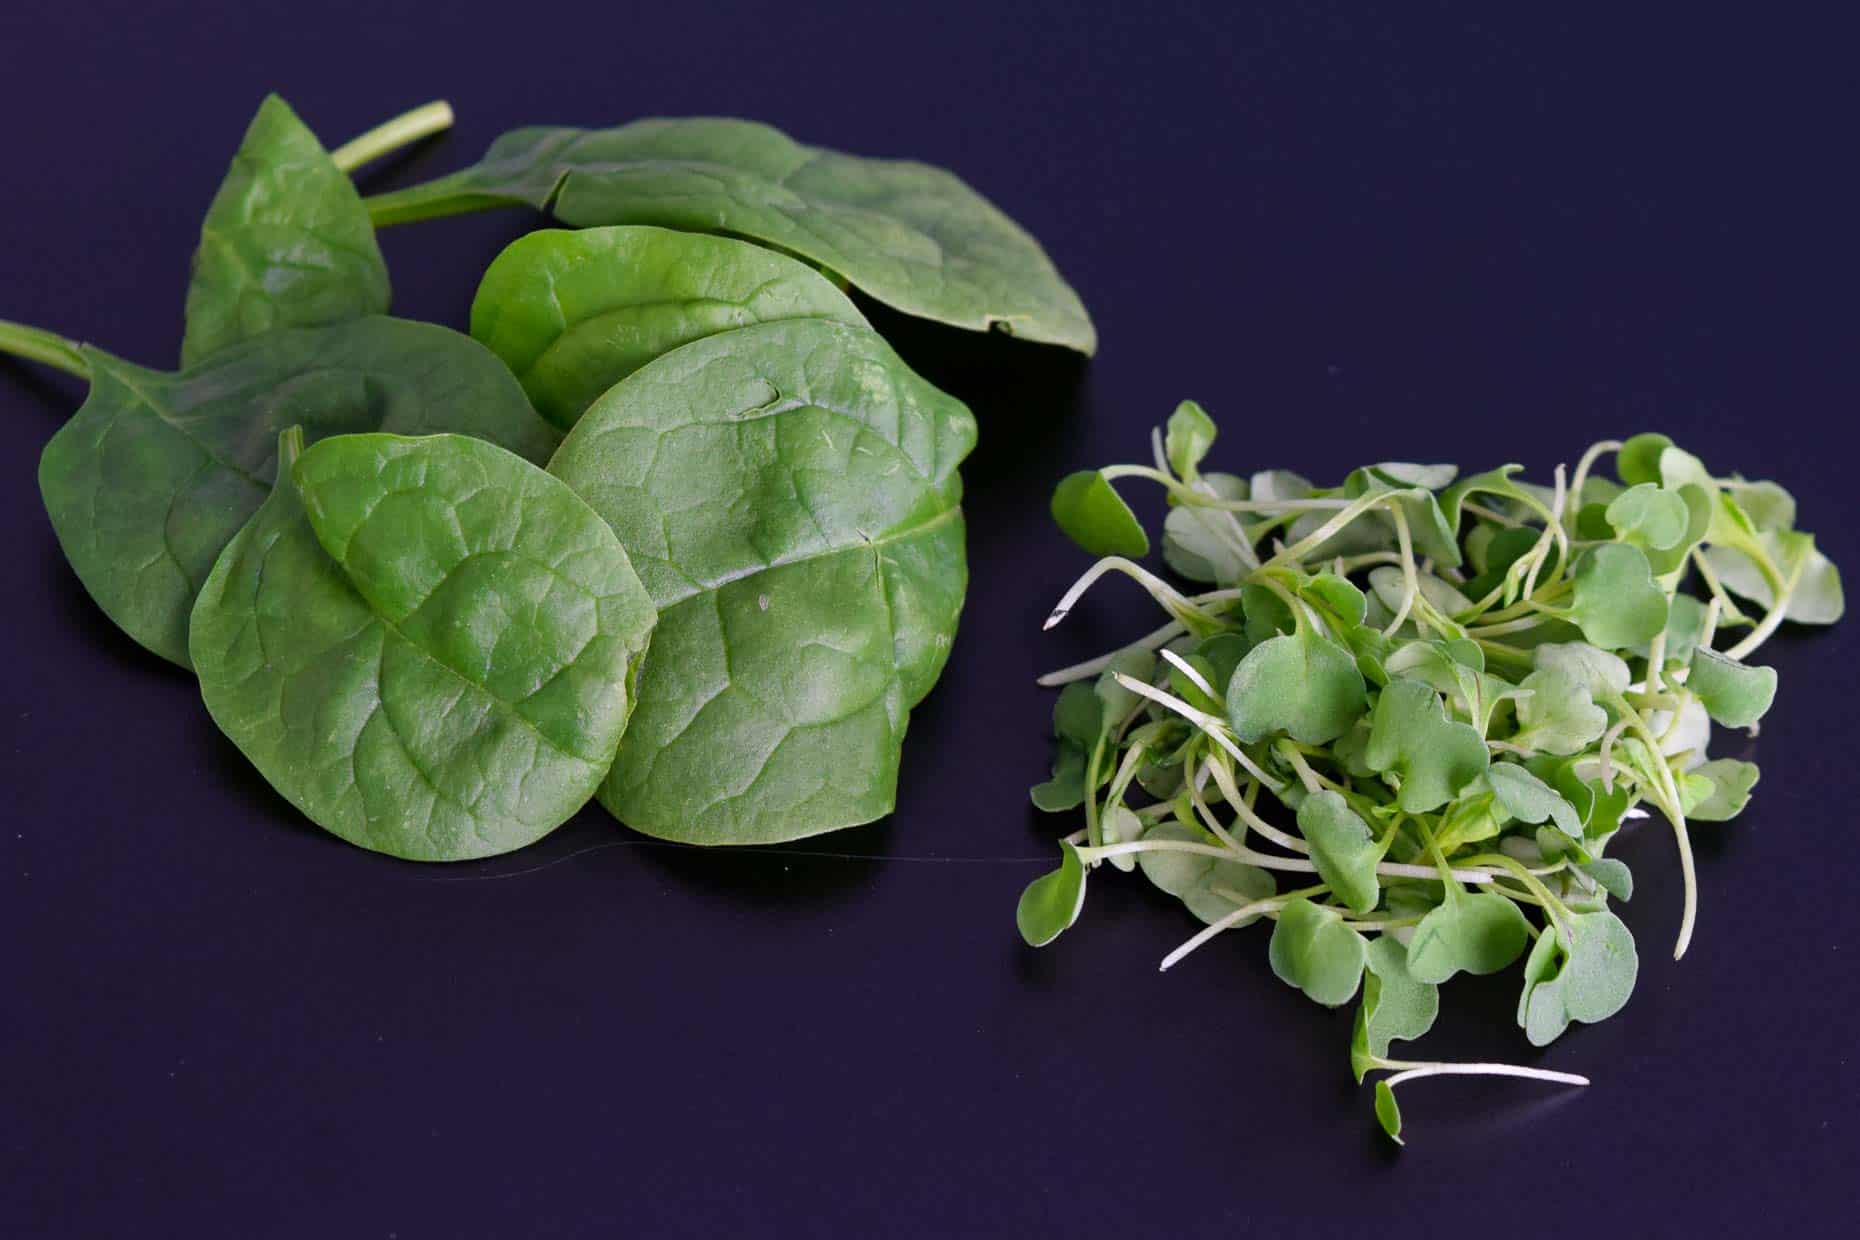 Last but not least, let's not forget our GREENS! I chose to focus on arugula and spinach because they're my favorites (I could eat arugula on everything), but the same tips could apply to all!
- How to choose them:
- Choose leaves that green, crisp, vibrant and fresh. Avoid leaves that are wilted, browning, or yellowed.
- Avoid leaves that look slimy, moldy or appear to have insect damage.
- When purchasing bagged greens, avoid bags with too much excess moisture, as this can cause rotting.
- How to store them:
- Store in the refrigerator and keep dry. Storing in a plastic bag wrapped in a paper towel will help absorb excess moisture.
- Greens should be eaten within about 3-5 days but can last up to 2 weeks in the refrigerator if stored properly.
- How to prepare them:
That's it!! I hope you enjoyed this month's produce guide! Plan ahead by checking out next month's guide!

Leave a Reply