
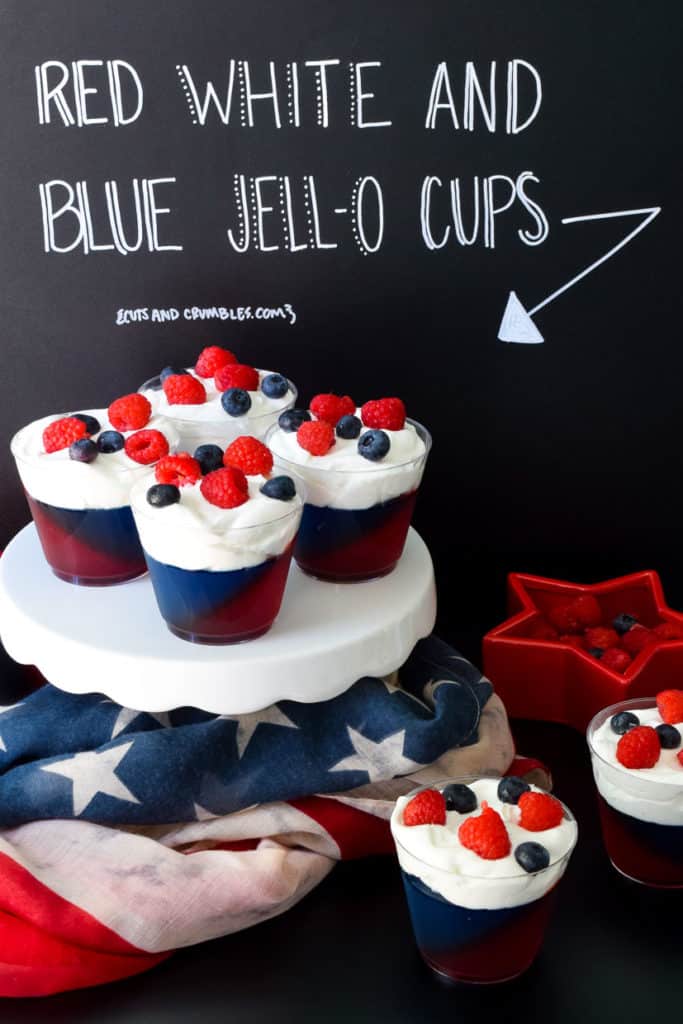
These red white and blue Jell-O cups are a delicious, festive, low calorie, layered dessert that is perfect for the 4th of July or Memorial Day! Only 110 calories per cup!
Jump to:
Why Make This Recipe?
- My favorite thing about these red white and blue Jell-O cups is how cool they look but how simple they are to make! They are such an easy and festive dessert for the 4th of July or Memorial Day!
- These layered Jell-O cups have been kid tested and kid approved, plus, you'll be able to get a small serving of fruit into them for the day! 🙂
- You can easily customize these to fit any holiday or themed party (think red and green for Christmas or high school colors for graduation parties!)
- Ok I lied, my favorite thing is actually that these are only 110 calories per cup! They're such a satisfying, low calorie dessert and can be even lower if you use two sugar free mixes!
Ingredient Notes
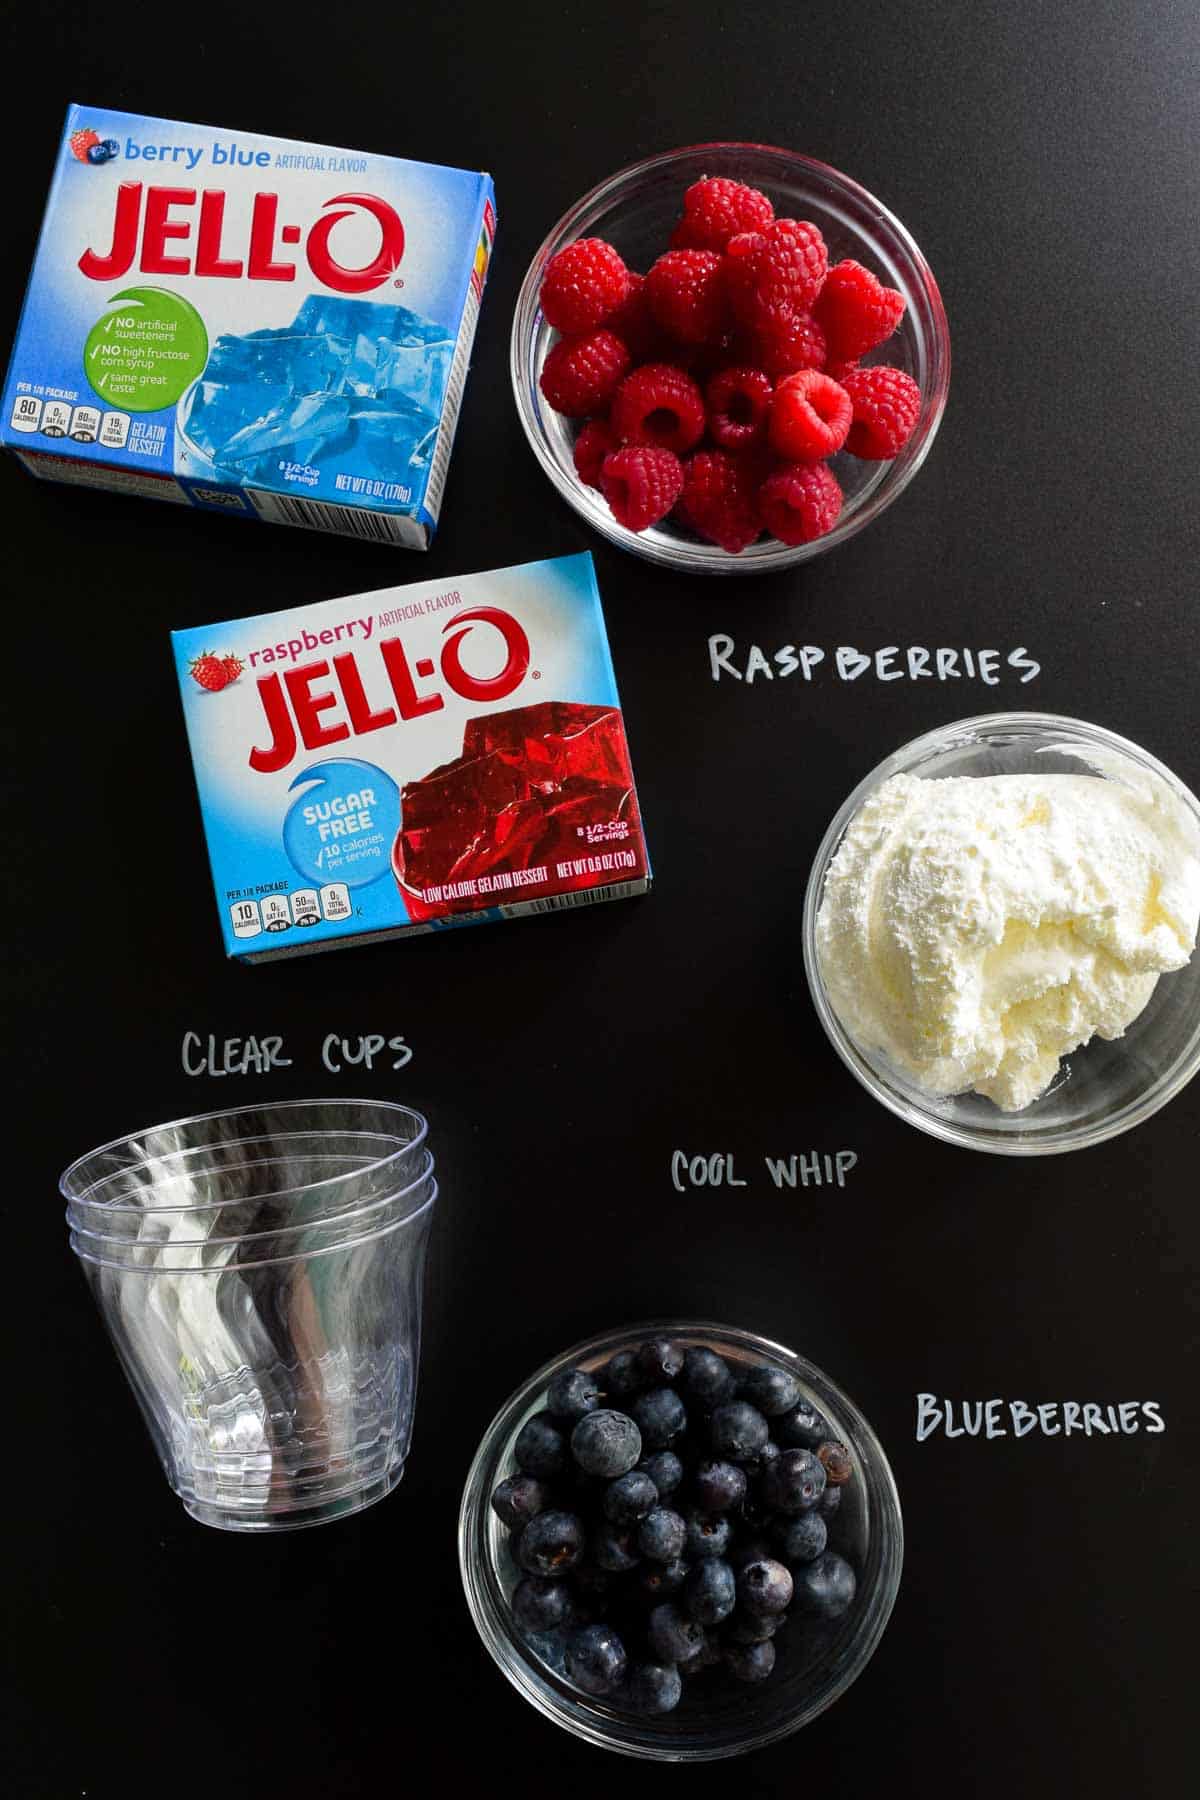
- I used two small boxes of Jell-O for this recipe which makes 6 servings. I used one sugar free raspberry and one berry blue. You can adjust to make more, just keep the ratio 1:1.
- You'll also need one package of fat-free Cool Whip, thawed.
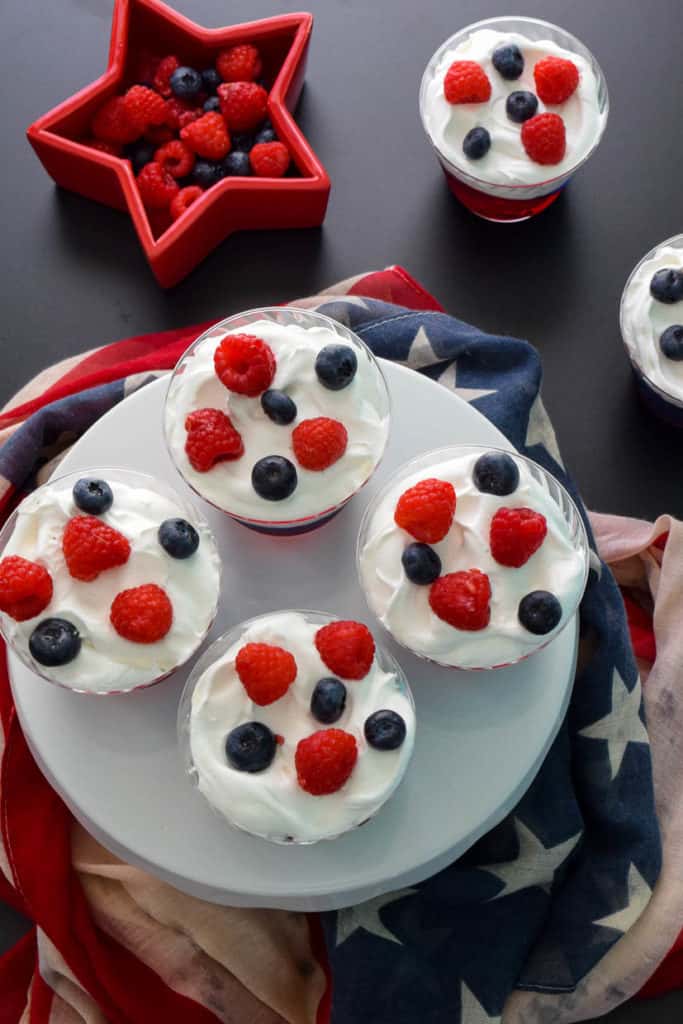
- You don't have to top these Jell-O cups with anything but I like to toss on some raspberries and blueberries for added color and flavor. You could also top with sprinkles, cherries, or even brownie bits!
- Obviously you'll want to use clear cups to appreciate the layered look of these! I recommend using 9oz cups.
Step by Step Instructions
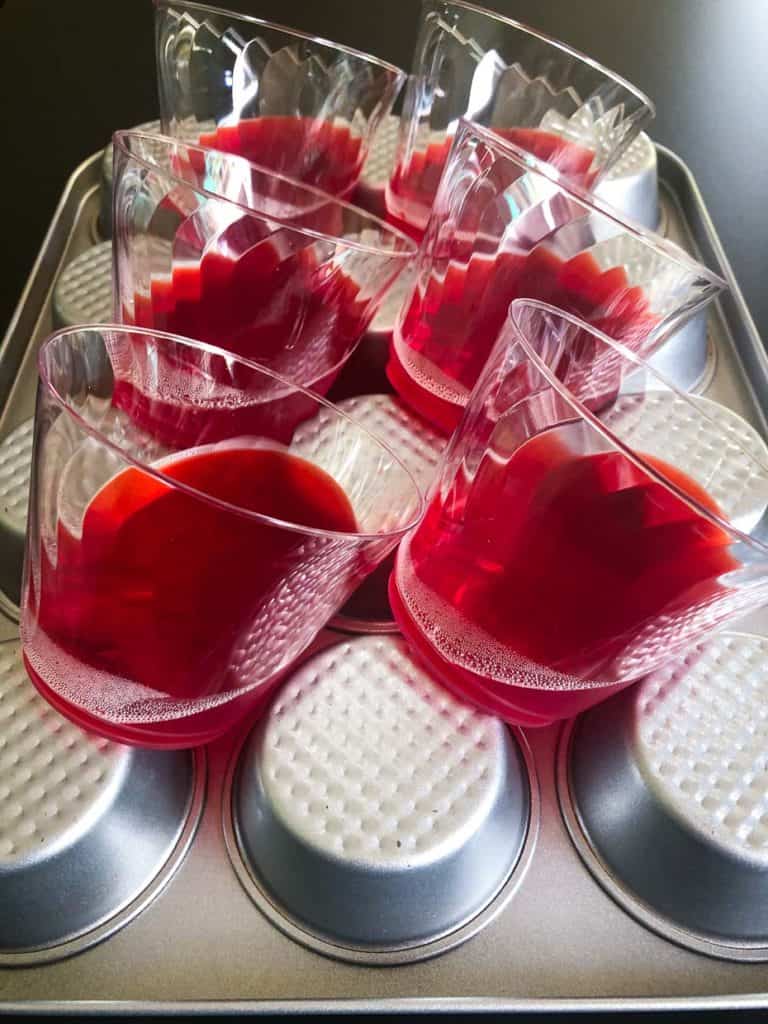
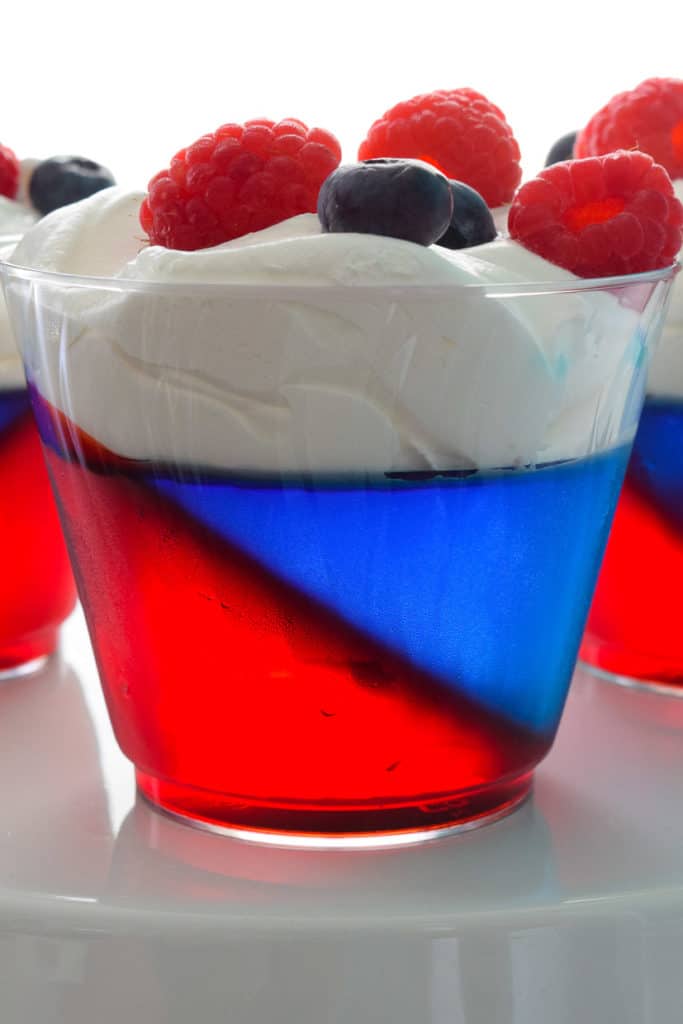
- First, prep the raspberry Jell-O following the instructions on the box. To achieve the diagonal layers, flip a muffin pan upside down and angle your plastic cups so they stay put. Then fill your cups halfway with your raspberry Jell-O. Allow to fully set in the refrigerator for at least 4 hours.
- Once set, prepare a box of berry blue flavored Jell-O and place it in the refrigerator for 15-20 minutes. (You need the Jell-O to be completely chilled before you use it or else you will end up with ugly purple cups!)
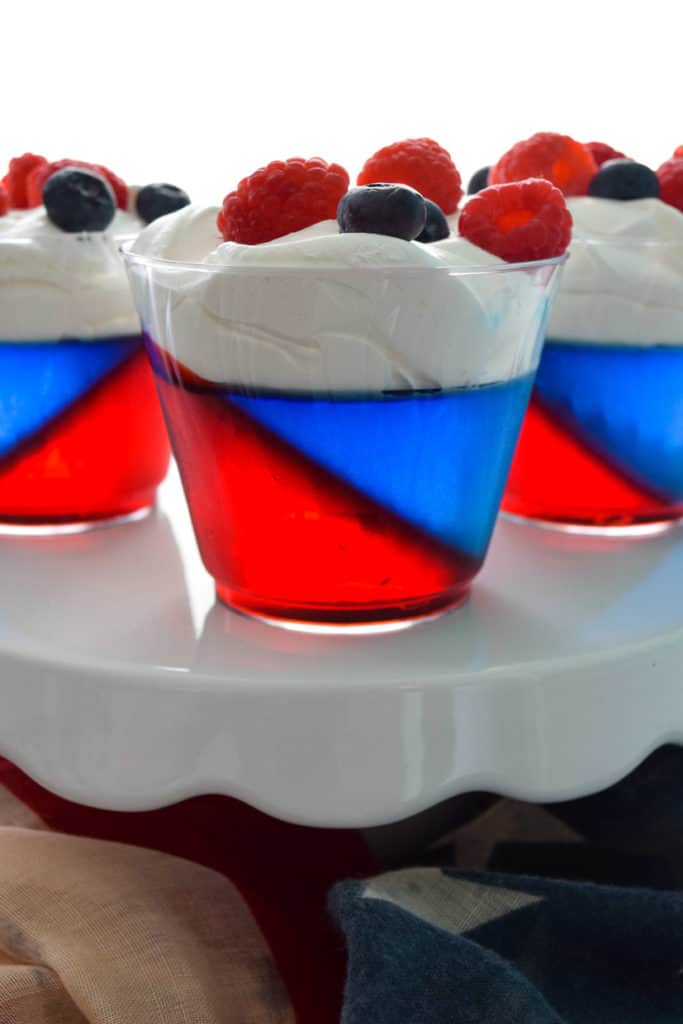
- Next, place your cups on a flat surface, then slowly pour the blue color on top of the red. Refrigerate for another 4 hours.
- Once set, top with cool whip and a few raspberries and blueberries to garnish. Enjoy!!
FAQs and Expert Tips
- Shopping: Make sure you pick up short, clear cups or jars to use for this recipe. I recommend using 9 oz plastic cups. You'll also need 2 small boxes of Jell-O, a container of Cool Whip, and raspberries and blueberries.
- Substitutions: Feel free to get creative with your toppings such as using sprinkles, cherries or even brownie bits! You can also use different flavors of Jell-O as well as regular or sugar free!
- Prep: Making these layered Jell-O cups really just requires patience. You want to make sure each layer is fully chilled before moving onto the next.
- Storage: Leftovers can be refrigerated for up to 7-10 days. If you'd like to make these in advance, I recommend doing the Jell-O layers only, then adding the Cool Whip and berries when it is time to serve them.
If your layers mix together, that means either your red layer was not yet fully set, or your blue layer was too warm when you added it. Make sure that the initial layer sits for at least 4 hours in the refrigerator and doesn't move when you set the cups upright. Also, make sure your second layer is chilled enough before you add it!
I find that leaving the Jell-O in the refrigerator for 15-20 minutes is enough time to chill for layering. If you want to be sure, you can toss an ice cube into the mix and if it cracks, the Jell-O is still too warm for layering.
Absolutely! This recipe can easily be made in advance. I recommend making both layers of Jell-O then refrigerating them until you're ready to serve them. Then, simply top with Cool Whip and some berries!
If you leave the second layer of Jell-O in the refrigerator for too long and it starts to set you can simply warm it up to get it back to a liquid state again.
The best way to do this is with a double boiler. If you don't have one, you can makeshift one by boiling water in a large pot and then holding a smaller pot inside of it (without touching the water). Add the Jell-O to the smaller pot and slowly heat and stir until melted. Be sure that you do not allow the Jell-O to boil again or it will not set up.
Related Recipes
- Taco Dip Flag
- Buzzed Cherry Bombs
- Chocolate Chip Brownie Bites with Homemade Icing
- "Hamburger" Cookies
What do you think? Did this recipe make the cut for you or did it crumble? What would you do differently? Leave a comment below! 🙂
Print
Red White and Blue Jell-o Cups
- Prep Time: 8 hours
- Total Time: 8 hours
- Yield: 6 1x
- Category: Dessert
- Method: Boiled
- Cuisine: American
- Diet: Low Calorie
Description
These red white and blue Jell-O cups are a delicious, festive, low calorie, layered dessert that is perfect for the 4th of July or Memorial Day! And only 110 caloriesper cup!
Ingredients
- 1 small box of sugar free raspberry Jell-O
- 1 small box berry blue Jell-O
- 1 package of fat free Cool Whip
- Raspberries and blueberries to garnish
- 6 short, clear, plastic cups
Instructions
- First, prep the raspberry Jell-O following the instructions on the box. To achieve the diagonal layers, flip a muffin pan upside down and angle your plastic cups so they stay put. Then fill your cups halfway with your raspberry Jell-O. Allow to fully set in the refrigerator for at least 4 hours.
- Once set, prepare a box of berry blue flavored Jell-O and place it in the refrigerator for 15-20 minutes. (You need the Jell-O to be completely chilled before you use it or else you will end up with ugly purple cups!)
- Next, place your cups on a flat surface, then slowly pour the blue color on top of the red. Refrigerate for another 4 hours.
- Once set, top with cool whip and a few raspberries and blueberries to garnish. Enjoy!!
Notes
Shopping: Make sure you pick up short, clear cups or jars to use for this recipe. I recommend using 9 oz plastic cups. You'll also need 2 small boxes of Jell-O, a container of Cool Whip, and raspberries and blueberries.
Substitutions: Feel free to get creative with your toppings such as using sprinkles, cherries or even brownie bits! You can also use different flavors of Jell-O as well as regular or sugar free!
Prep: Making these layered Jell-O cups really just requires patience. You want to make sure each layer is fully chilled before moving onto the next.
Storage: Leftovers can be refrigerated for up to 7-10 days. If you'd like to make these in advance, I recommend doing the Jell-O layers only, then adding the Cool Whip and berries when it is time to serve them.

Leave a Reply