
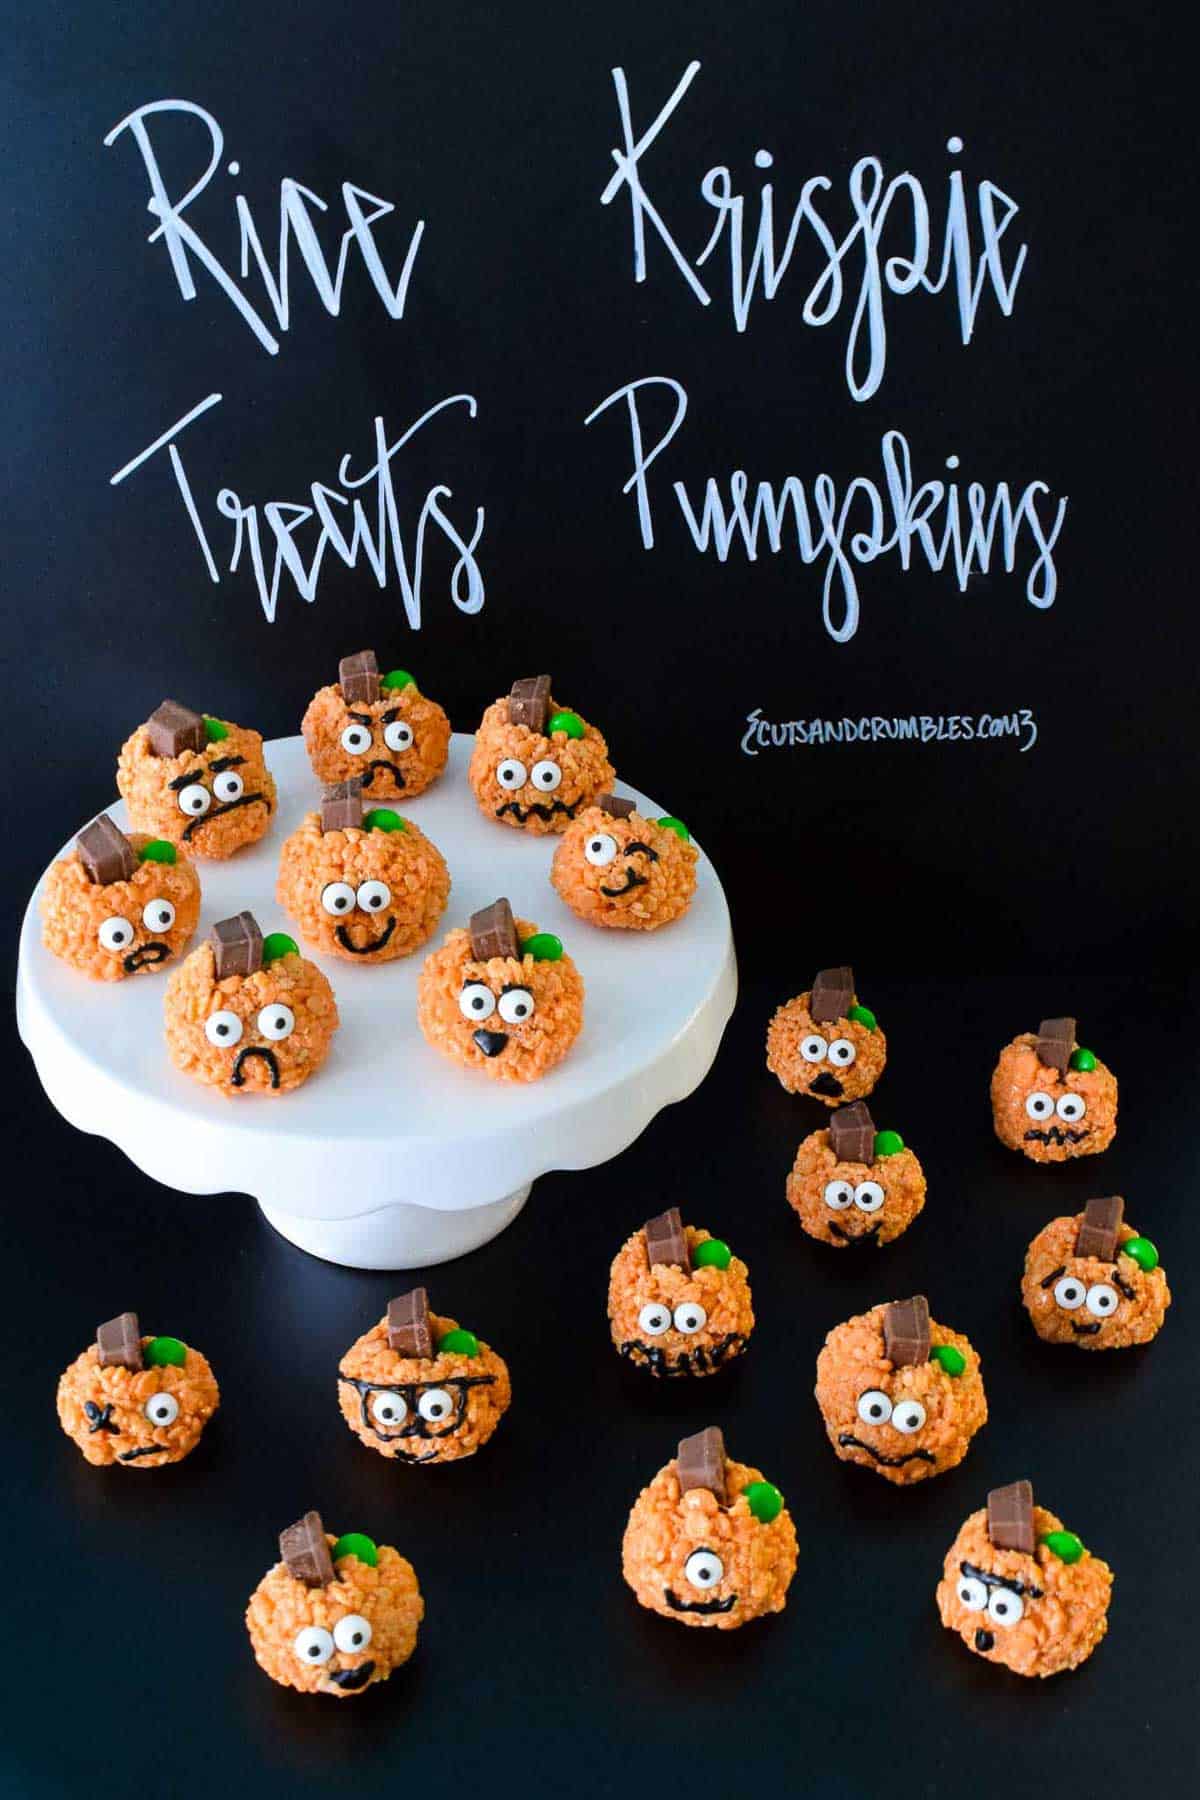
Rice Krispie treats pumpkins dyed orange then topped with a Kit Kat stem, M&M leaf, and cute candy faces to make the perfect Halloween dessert!
Jump to:
Why Make This Recipe?
- They're adorable and festive: You can't tell me these Rice Krispie treats pumpkins aren't one of the cutest Halloween desserts you've ever seen! They are perfect for a kid's Halloween party and were also a hit with my coworkers, so really they're great for any age!
- They're easy yet unique: These little pumpkins are so easy to make and you can get as creative as you'd like for the faces! And if you're short on time or doubting your creative abilities, you can even make them without faces and they'll still be festive!
- They're delicious: I chose to use mini Kit Kats and M&M's for my pumpkin toppers because the flavors truly blend well with the Rice Krispie base. These additions aren't just for decoration!
If you're interested in more Halloween party food ideas, try out this Creepy Halloween Hand Recipe or these Hocus Pocus Book Brownies!
Ingredient Notes
- Rice Krispie cereal: You will need 6 C of Rice Krispie cereal for one batch, which makes about 24 pumpkins. Any puffed rice cereal will work, but my preference is to always use Rice Krispies!
- Marshmallows: You'll also need 10 oz of your favorite marshmallows. I prefer to use Kraft Jet-Puffed. These come in 12 oz bags, so you'll have a few marshmallows left to snack on. 🙂
- Food coloring: To make the orange pumpkin coloring, I used 10 drops of red food coloring and 40 drops of yellow food coloring.
- Mini Kit Kats: The mini Kit Kats make a perfect stem for the pumpkins, but if you can't find them for any reason you can always use a standard Kit Kat and cut it into 3-4 stem-sized pieces.
- Green M&M's: Green M&M's can be found in bulk at some specialty candy shops, or sold as mint flavored. I don't necessarily recommend mint for this recipe and didn't need a bulk supply of green M&M's so I just purchased a standard bag and separated out 24 green M&M's!
- Black cookie icing: You'll want a small bag of black cookie icing with a narrow nozzle dispenser for decorating the faces and attaching the eyeballs. I recommend using Betty Crocker brand.
- You'll also need 3 tablespoon of unsalted butter, 48 small candy eyeballs and cooking spray.
You can use up any leftover Kit Kats and M&M's by crunching them on top of these Dark Chocolate Discs or mixing them into these Chocolate Chip Brownies!
Step by Step Instructions
- Heat 3 tablespoon unsalted butter in a large saucepan over low heat. Add in 10 oz of marshmallows and stir until completely melted. (Alternatively, you can do this in the microwave, heating in 30 second intervals and stirring until melted.)
- Add in red and yellow food coloring until your desired color of orange. I used 10 drops of red and 40 drops of yellow.
- Pour 6 cups of Rice Krispies cereal into the marshmallow mixture and stir until combined.
- Spray a platter lightly with cooking spray then spray your hands with cooking spray. Once cool enough to handle, begin rolling the Rice Krispies into tight balls.
- Tip: Respray your hands as you work to keep the Rice Krispie treats from sticking to them!
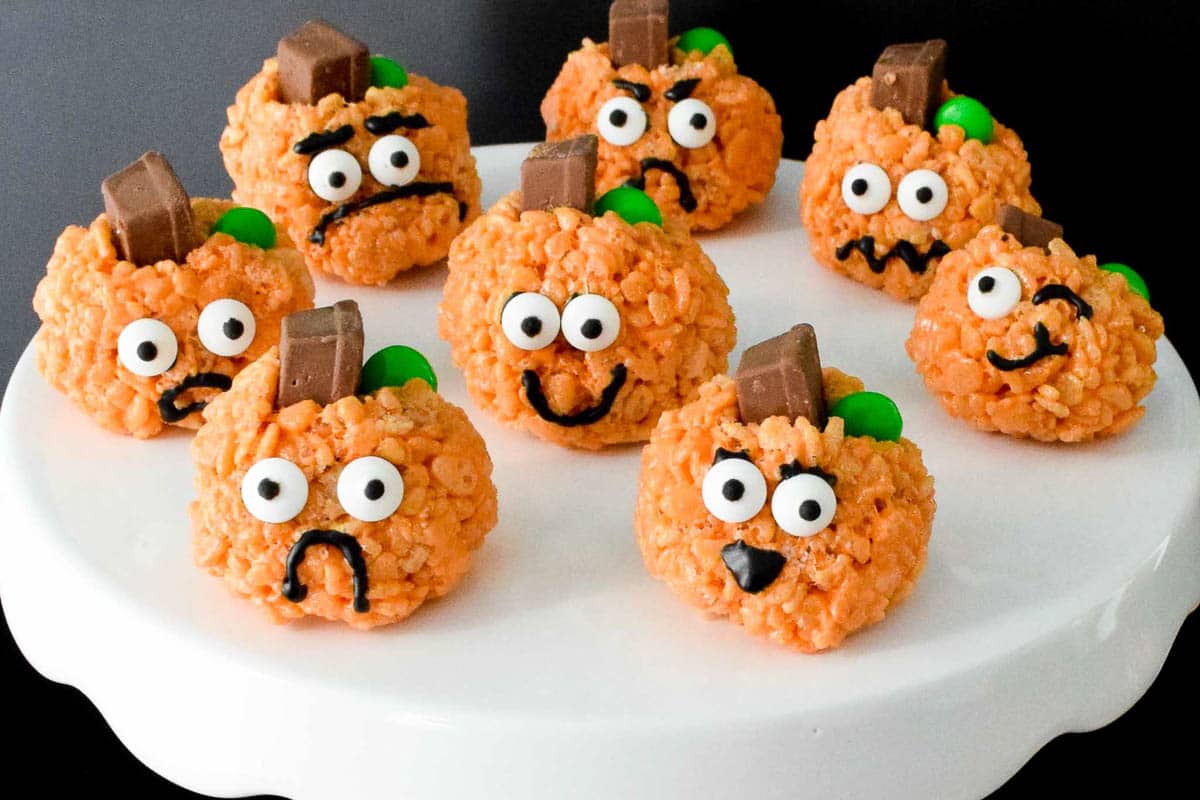
- Push a mini Kit Kat into the top of each pumpkin as the stem. Press a green M&M next to the Kit Kat to look like a leaf (the M&M will go in easier once the Rice Krispie treats have hardened slightly.)
- Using the black cookie icing, dot the back of the candy eyeballs and stick them to the pumpkin. Finish off by creating a unique face with the icing.
Enjoy! You can store these in an airtight container for up to 2-3 days....but we all know Rice Krispie treats never last that long. 😛
FAQs and Expert Tips
- Shopping: You'll need to pick up a 12 oz box of Rice Krispies cereal, 12 oz bag of marshmallows, 0.88 oz container of small candy eyeballs, 7 oz container of black cookie icing, 8 oz bag of mini Kit Kats, and a 10 oz bag of M&M's (to make sure you have enough green ones!)
- If you don't already have them, you'll also need red and yellow food coloring, unsalted butter, and cooking spray.
- Substitutions: Any type of puffed cereal can be used in place of Rice Krispies and the candy eyeballs and cookie icing aren't needed if you only want to make pumpkins without faces.
- You can also substitute the Kit Kat and M&M for other toppers that look similar such as a tootsie roll or pretzel for the stem and green icing for the leaf. I find the Kit Kat and M&M taste best and are easiest to work with!
- Prep: I like to have all my ingredients ready to go before heating the marshmallows. I set aside a bowl of mini Kit Kats, separate out the green M&M's, measure out my Rice Krispies, and spray a cooking sheet with cooking spray so I'm ready to go!
- You'll be spraying your hands as you work to create the Rice Krispie treats pumpkins so being prepared makes this process easier.
- Cooking: You can melt your butter and marshmallows either on the stove in a large saucepan or in the microwave using a large microwavable bowl. Just make sure either is large enough for your 6 C of Rice Krispies and 10 oz of marshmallows!
- Storage: Leftover pumpkins can be stored at room temperature in an air-tight container for up to 2-3 days.
I recommend forming your Rice Krispie treat pumpkins one row at a time and immediately pressing in the Kit Kat stem. This way the Rice Krispie treat is still warm enough to form it around the Kit Kat.
I find the M&M actually presses in easier if you let the Rice Krispies cool slightly first. I usually add these at the very end.
Absolutely! I just recommend adding the Kit Kat and M&M right after making the Rice Krispie treat pumpkin. If they sit too long it will be hard to press them in.
You can make the pumpkins in advance then decorate later, or make and decorate them then store until you're ready to serve them. Just store at room temperature in an air-tight container for up to 2-3 days.
I always keep a can of cooking spray and periodically spray my hands as I form the pumpkins. This prevents the mixture from sticking to your hands.
Related Recipes
What do you think? Did this recipe make the cut for you or did it crumble? What would you do differently? Leave a comment below! 🙂
Print
Rice Krispie Treat Pumpkins
- Prep Time: 10 mins
- Cook Time: 2 mins
- Total Time: 12 mins
- Yield: ~24 pumpkins
- Category: Dessert, Halloween
- Method: Simmered, Mixed
- Cuisine: Holiday
Description
Rice Krispie treats pumpkins dyed orange then topped with a Kit Kat stem, M&M leaf, and cute candy faces to make the perfect Halloween dessert!
Ingredients
- 3 Tbsp unsalted butter
- 10 oz marshmallows
- 6 C Rice Kripies cereal
- Red and yellow food coloring (I used 10 drops red and 40 yellow)
- Kit Kat minis
- Green M&M's
- Black cookie icing
- Candy eyeballs
Instructions
- Heat 3 tablespoon unsalted butter in a large saucepan over low heat. Add in 10 oz of marshmallows and stir until completely melted. (Alternatively, you can do this in the microwave, heating in 30 second intervals and stirring until melted.)
- Add in red and yellow food coloring until your desired color of orange. I used 10 drops of red and 40 drops of yellow.
- Pour 6 cups of Rice Krispies cereal into the marshmallow mixture and stir until combined.
- Spray a platter lightly with cooking spray then spray your hands with cooking spray. Once cool enough to handle, begin rolling the Rice Krispies into tight balls.
- Tip: Respray your hands as you work to keep the Rice Krispie treats from sticking to them!
- Push a mini Kit Kat into the top of each pumpkin as the stem. Press a green M&M next to the Kit Kat to look like a leaf (the M&M will go in easier once the Rice Krispie treats have hardened slightly.)
- Using the black cookie icing, dot the back of the candy eyeballs and stick them to the pumpkin. Finish off by creating a unique face with the icing.
- Enjoy! You can store these in an airtight container for up to 2-3 days....but we all know Rice Krispie treats never last that long. 😛
Notes
Shopping: You'll need to pick up a 12 oz box of Rice Krispies cereal, 12 oz bag of marshmallows, 0.88 oz container of small candy eyeballs, 7 oz container of black cookie icing, 8 oz bag of mini Kit Kats, and a 10 oz bag of M&M's (to make sure you have enough green ones!) If you don't already have them, you'll also need red and yellow food coloring, unsalted butter, and cooking spray.
Substitutions: Any type of puffed cereal can be used in place of Rice Krispies and the candy eyeballs and cookie icing aren't needed if you only want to make pumpkins without faces. You can also substitute the Kit Kat and M&M for other toppers that look similar such as a tootsie roll or pretzel for the stem and green icing for the leaf. I find the Kit Kat and M&M taste best and are easiest to work with!
Prep: I like to have all my ingredients ready to go before heating the marshmallows. I set aside a bowl of mini Kit Kats, separate out the green M&M's, measure out my Rice Krispies, and spray a cooking sheet with cooking spray so I'm ready to go! You'll be spraying your hands as you work to create the Rice Krispie treats pumpkins so being prepared makes this process easier!
Cooking: You can melt your butter and marshmallows either on the stove in a large saucepan or in the microwave using a large microwavable bowl. Just make sure either is large enough for your 6 C of Rice Krispies and 10 oz of marshmallows!
Storage: Leftover pumpkins can be stored at room temperature in an air-tight container for up to 2-3 days.

**Recipe adapted from Cooking Classy
Heather says
These are sooo freaking cute for Halloween!!! I love them. The kit kat stem is a great touch!
cutsandcrumbles says
Thanks, Heather!! I thought so too. Plus anytime I get a chance to add a kit kat to a recipe I TAKE IT 🙂