
A vegetable side dish that is so similar to mashed potatoes you're going to feel guilty and want to add on ANOTHER vegetable side! A serving of this roasted garlic whipped cauliflower is only 159 calories! 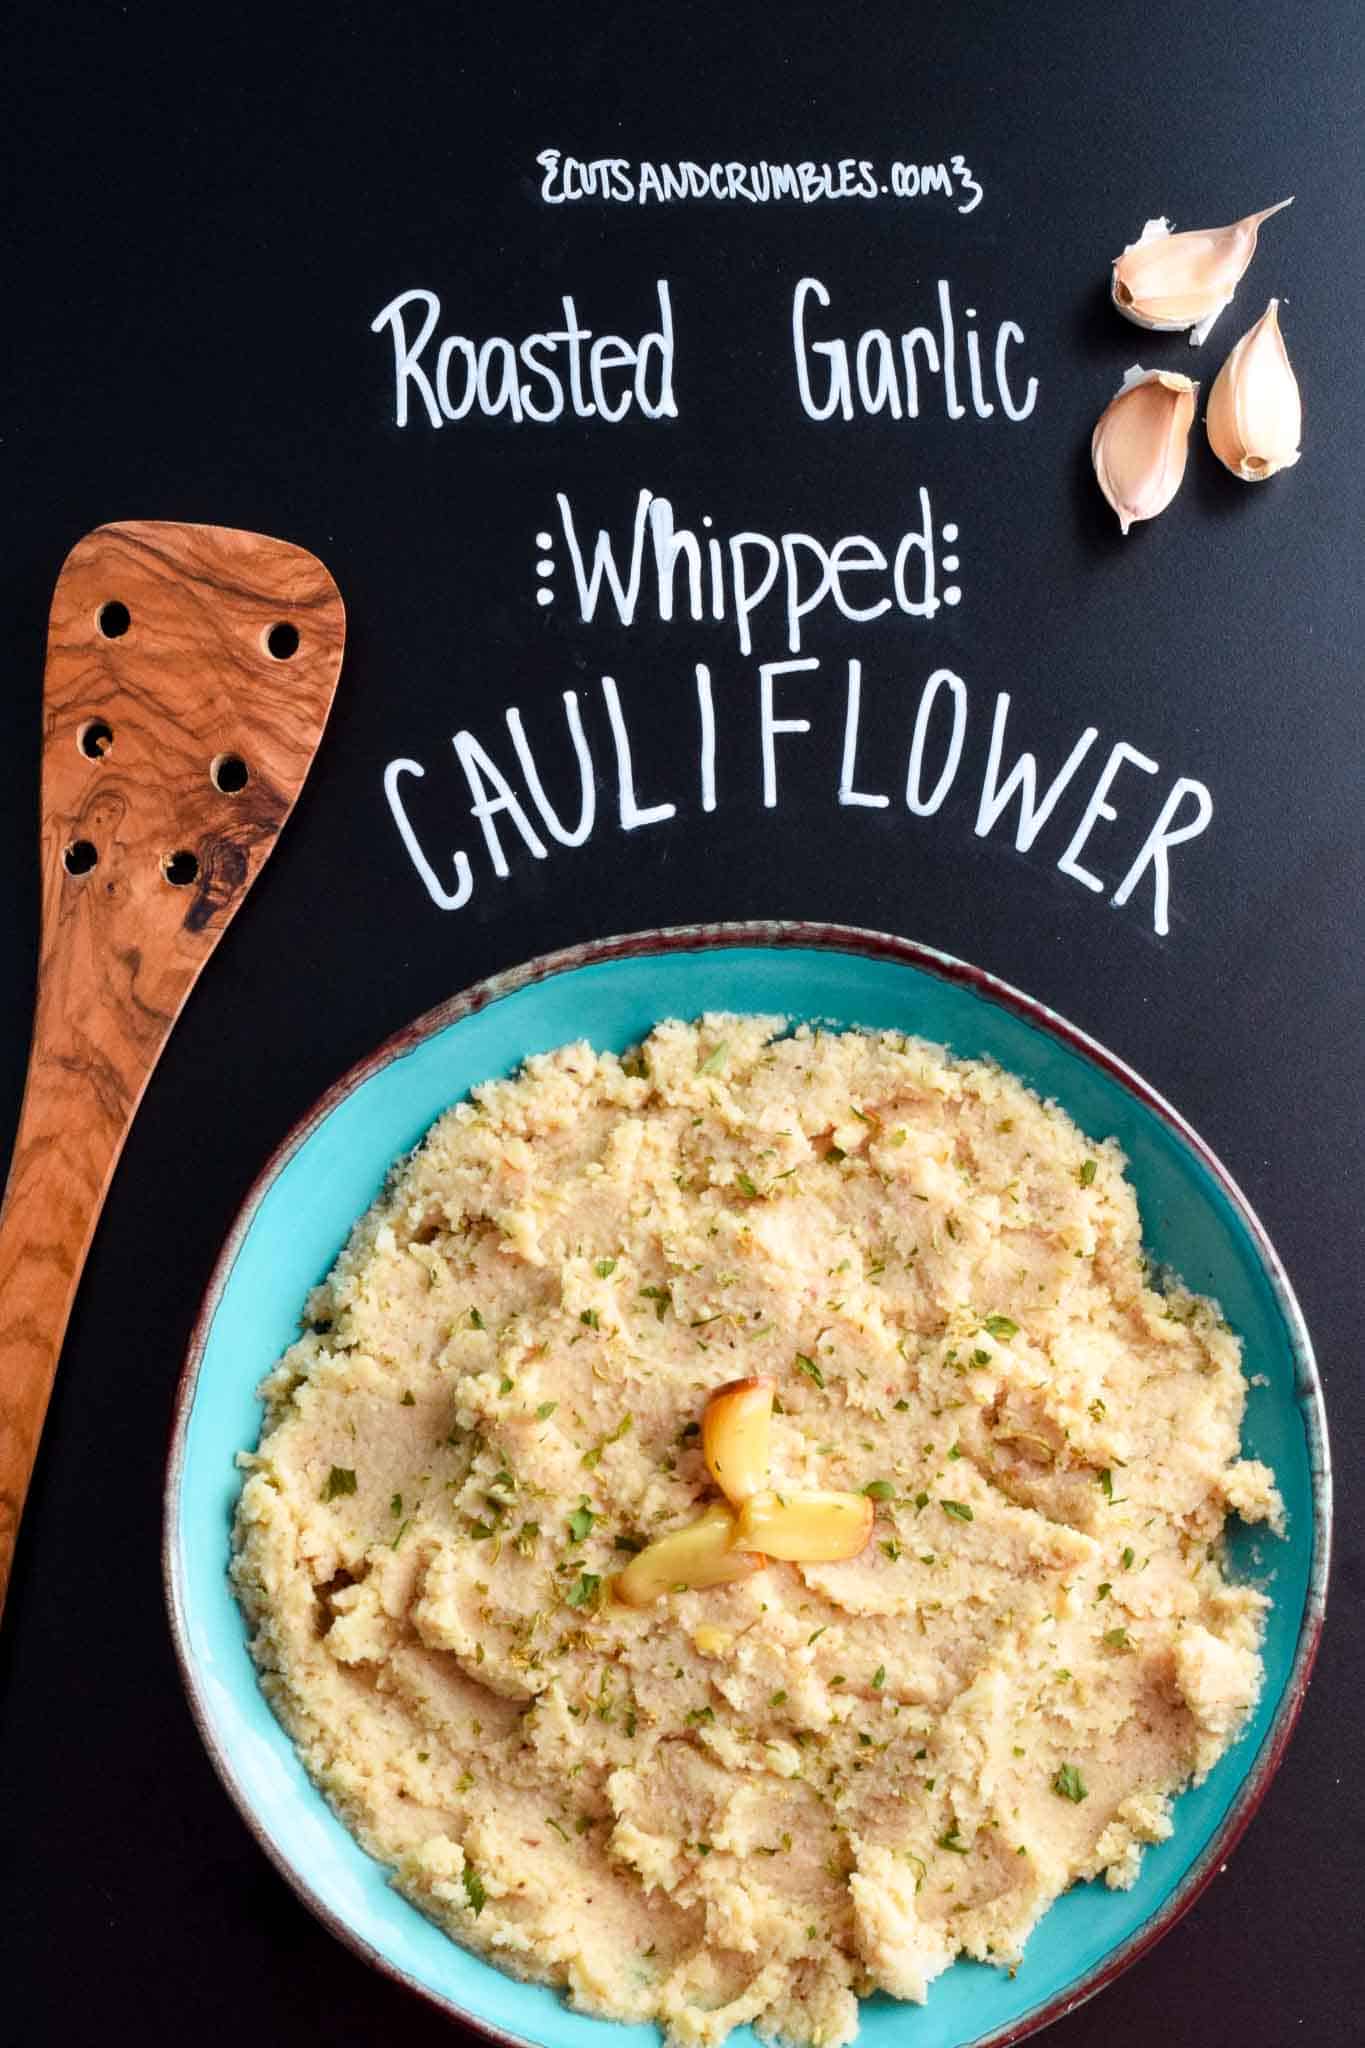
I am currently on a mission to make vegetables taste better by incessantly crushing them with other ingredients until they resemble foods I love. I will mash, whip and destroy innocent cauliflower then add anything I can think of to it until my brain is semi-satisified that somehow we are eating mashed potatoes. Because I love mashed potatoes. And I hate the amount of calories that comes with them. Life is unfair I tell ya.
I've never roasted garlic before but when I found this recipe it seemed like a perfect way to learn a new cooking technique as well as a new way to further complicate cauliflower's growing identity issues. Which seems to be my new goal in life. Sorry, cauli! 😉
ROASTED GARLIC WHIPPED CAULIFLOWER
159 calories per serving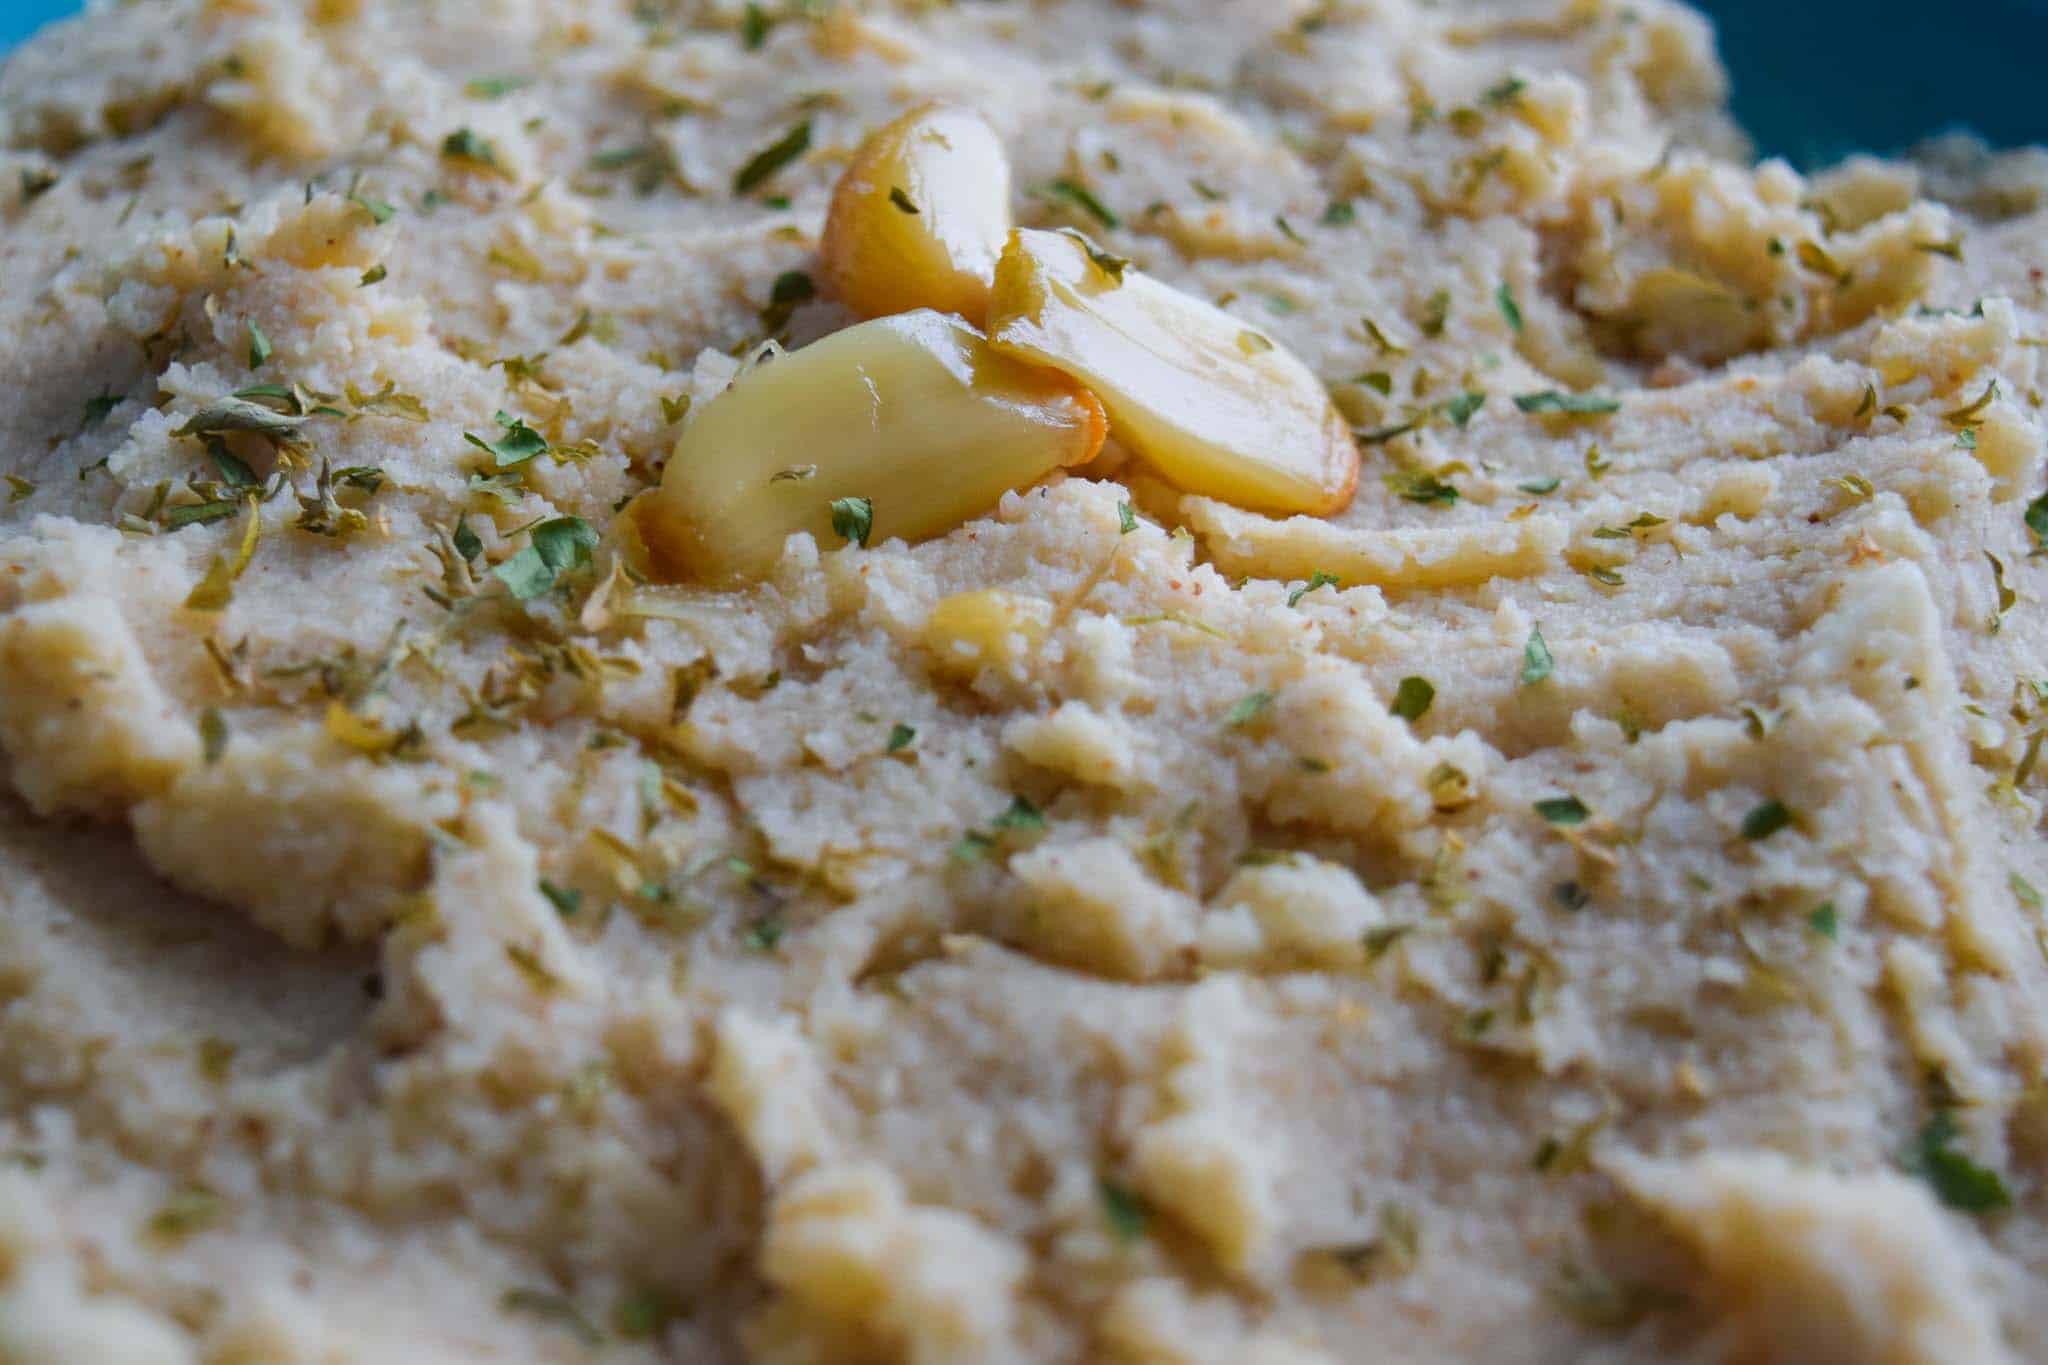
Before we dig in, let's learn more about cauliflower and garlic!
how do i choose fresh cauliflower and garlic?
How to choose Cauliflower:
- Choose cauliflower heads that are clean, firm, compact and white or off white in color. Avoid cauliflower that is browned, soft, or has any dark spots.
- Choose a cauliflower head that feels heavy for its size.
- The leaves of the cauliflower should be green and crisp with no signs of yellowing or wilting. Leaves growing within the cauliflower head is fine, just remove them before cooking.
- There should be no smell. If it has a strong odor, it is likely past its prime and will have an unpleasant taste.
- Check the stem to ensure it looks freshly cut and is in good shape.
How to choose Garlic:
- Choose loose garlic so you can individually choose each bulb. Choose bulbs that are heavy, plump and compact.
- The skin should be taut, dry and unbroken.
- Avoid garlic with damp or soft spots. Also avoid any with sprouting as this is a sign of older garlic.
got it, so how do i store cauliflower and garlic until i'm ready to use them?
How to store Cauliflower:
- Unwrap your cauliflower from the store packaged plastic wrap, wrap in a paper towel, then transfer to a loosely sealed bag. Store in your refrigerator crisper drawer, stem side up, for 4-7 days.
- Pre-cut florets should be used within 4 days.
- Do not wash the cauliflower until you are ready to use it.
How to store Garlic:
- Store in a cool, dry place where air can circulate around the garlic.
- If you use a lot of garlic, invest in a garlic holder that has holes in the side to allow for air to circulate around the garlic. Store on your countertop.
- Do not refrigerate garlic as this will dehydrate the cloves and rob them of flavor.
Tip: You can find more tips on seasonal produce selection and storage, plus tons of recipes from fellow food bloggers in my Monthly Seasonal Produce Guides!
great! now how to do i cook this recipe?
To start this recipe you first want to roast your garlic. (Obviously...) This is pretty simple!
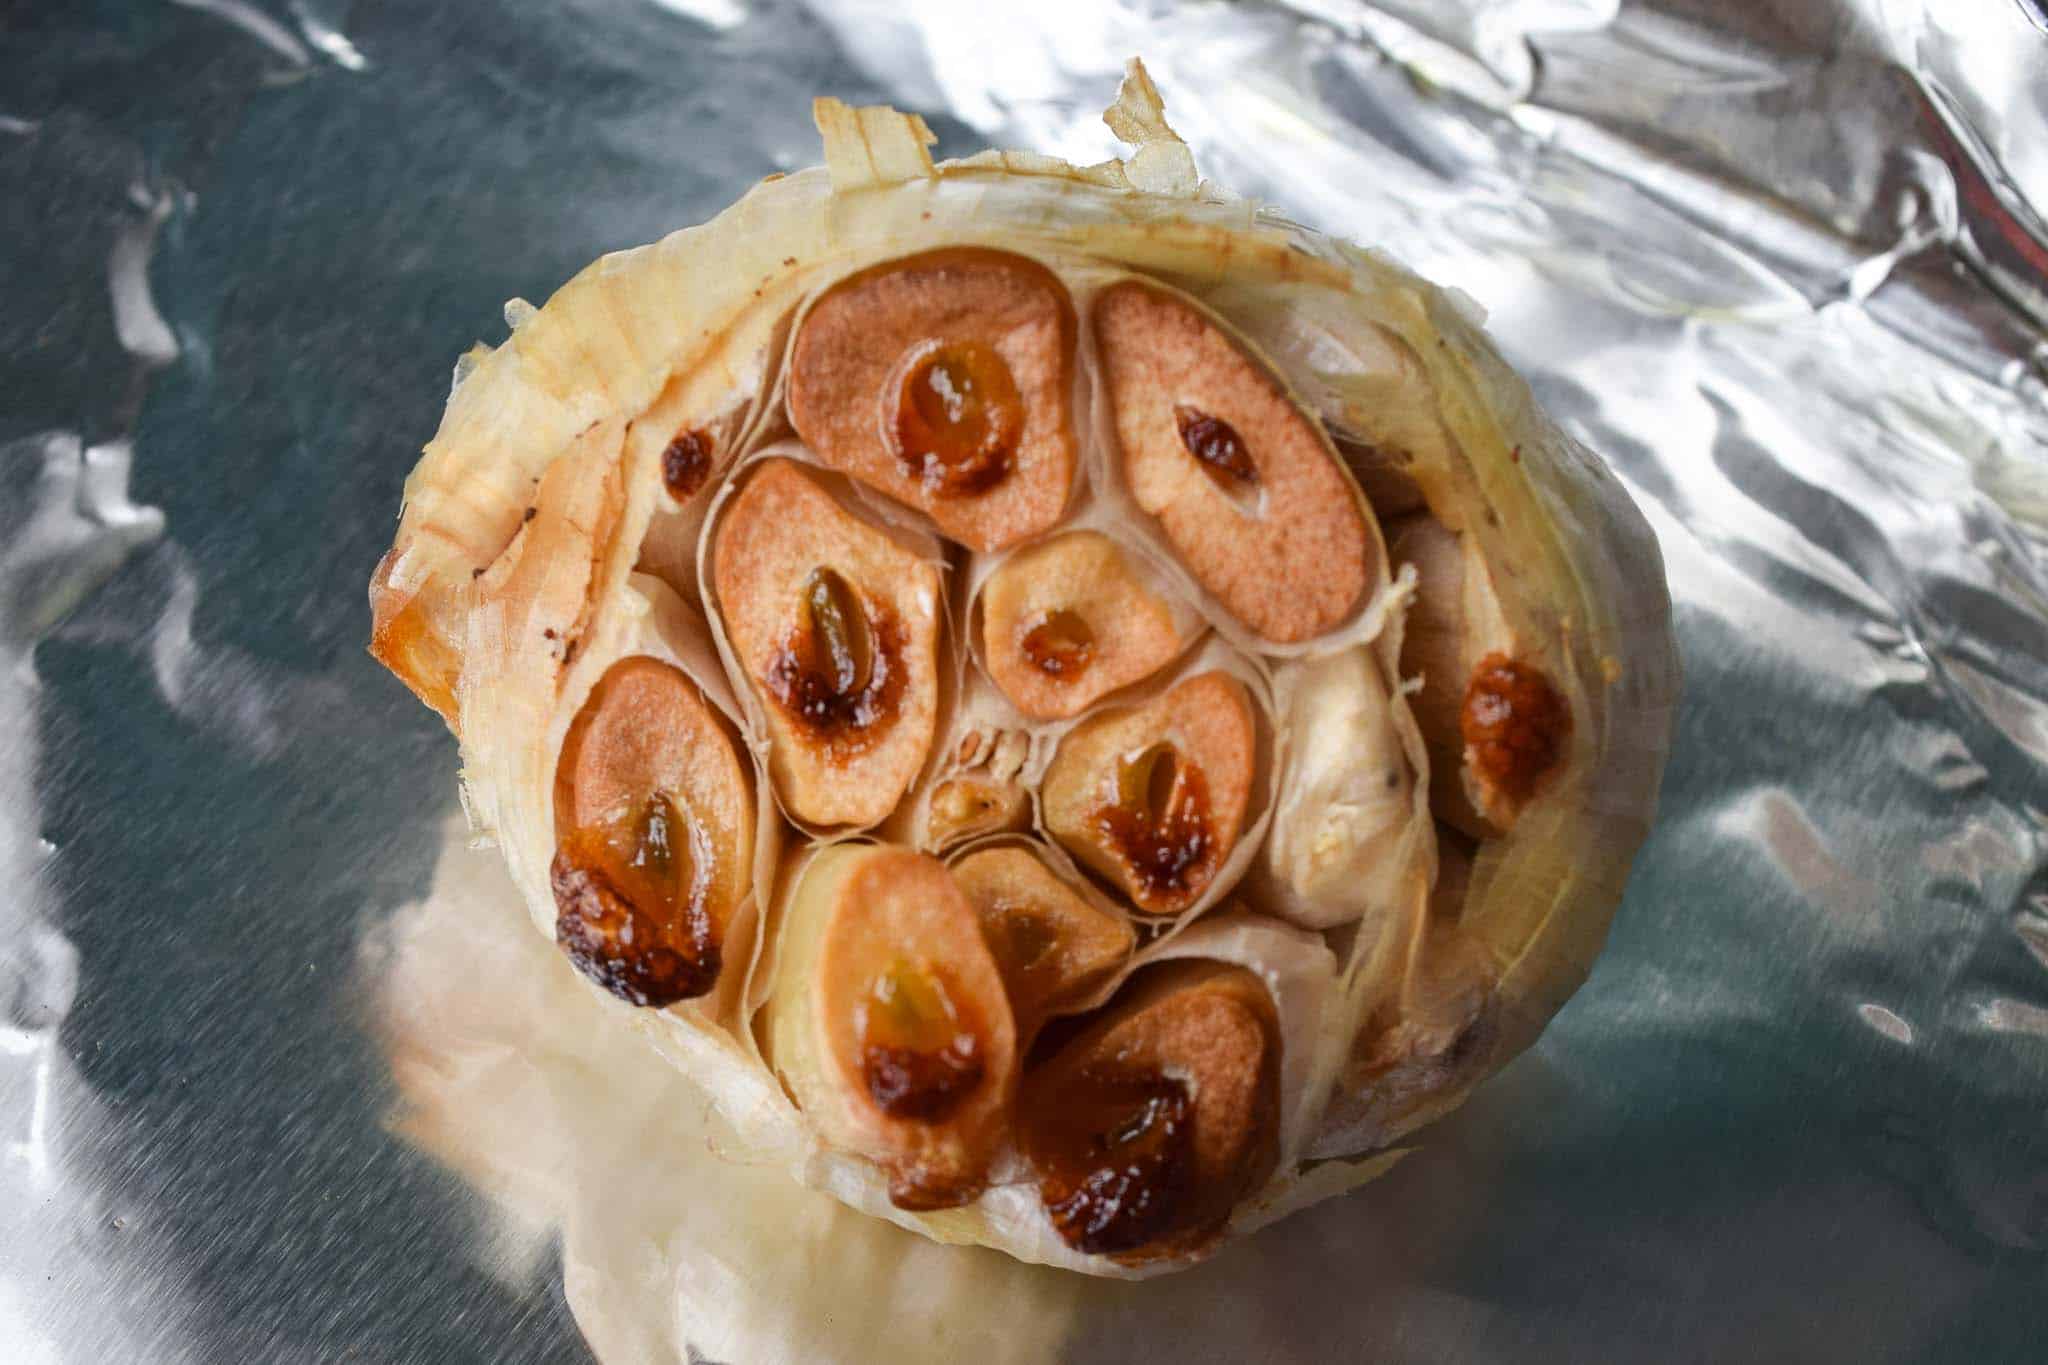
Cut off the top half inch of an entire head of garlic. Place onto a foil lined, rimmed, baking sheet then drizzle with about 2 tablespoon olive oil. No need to measure, be generous!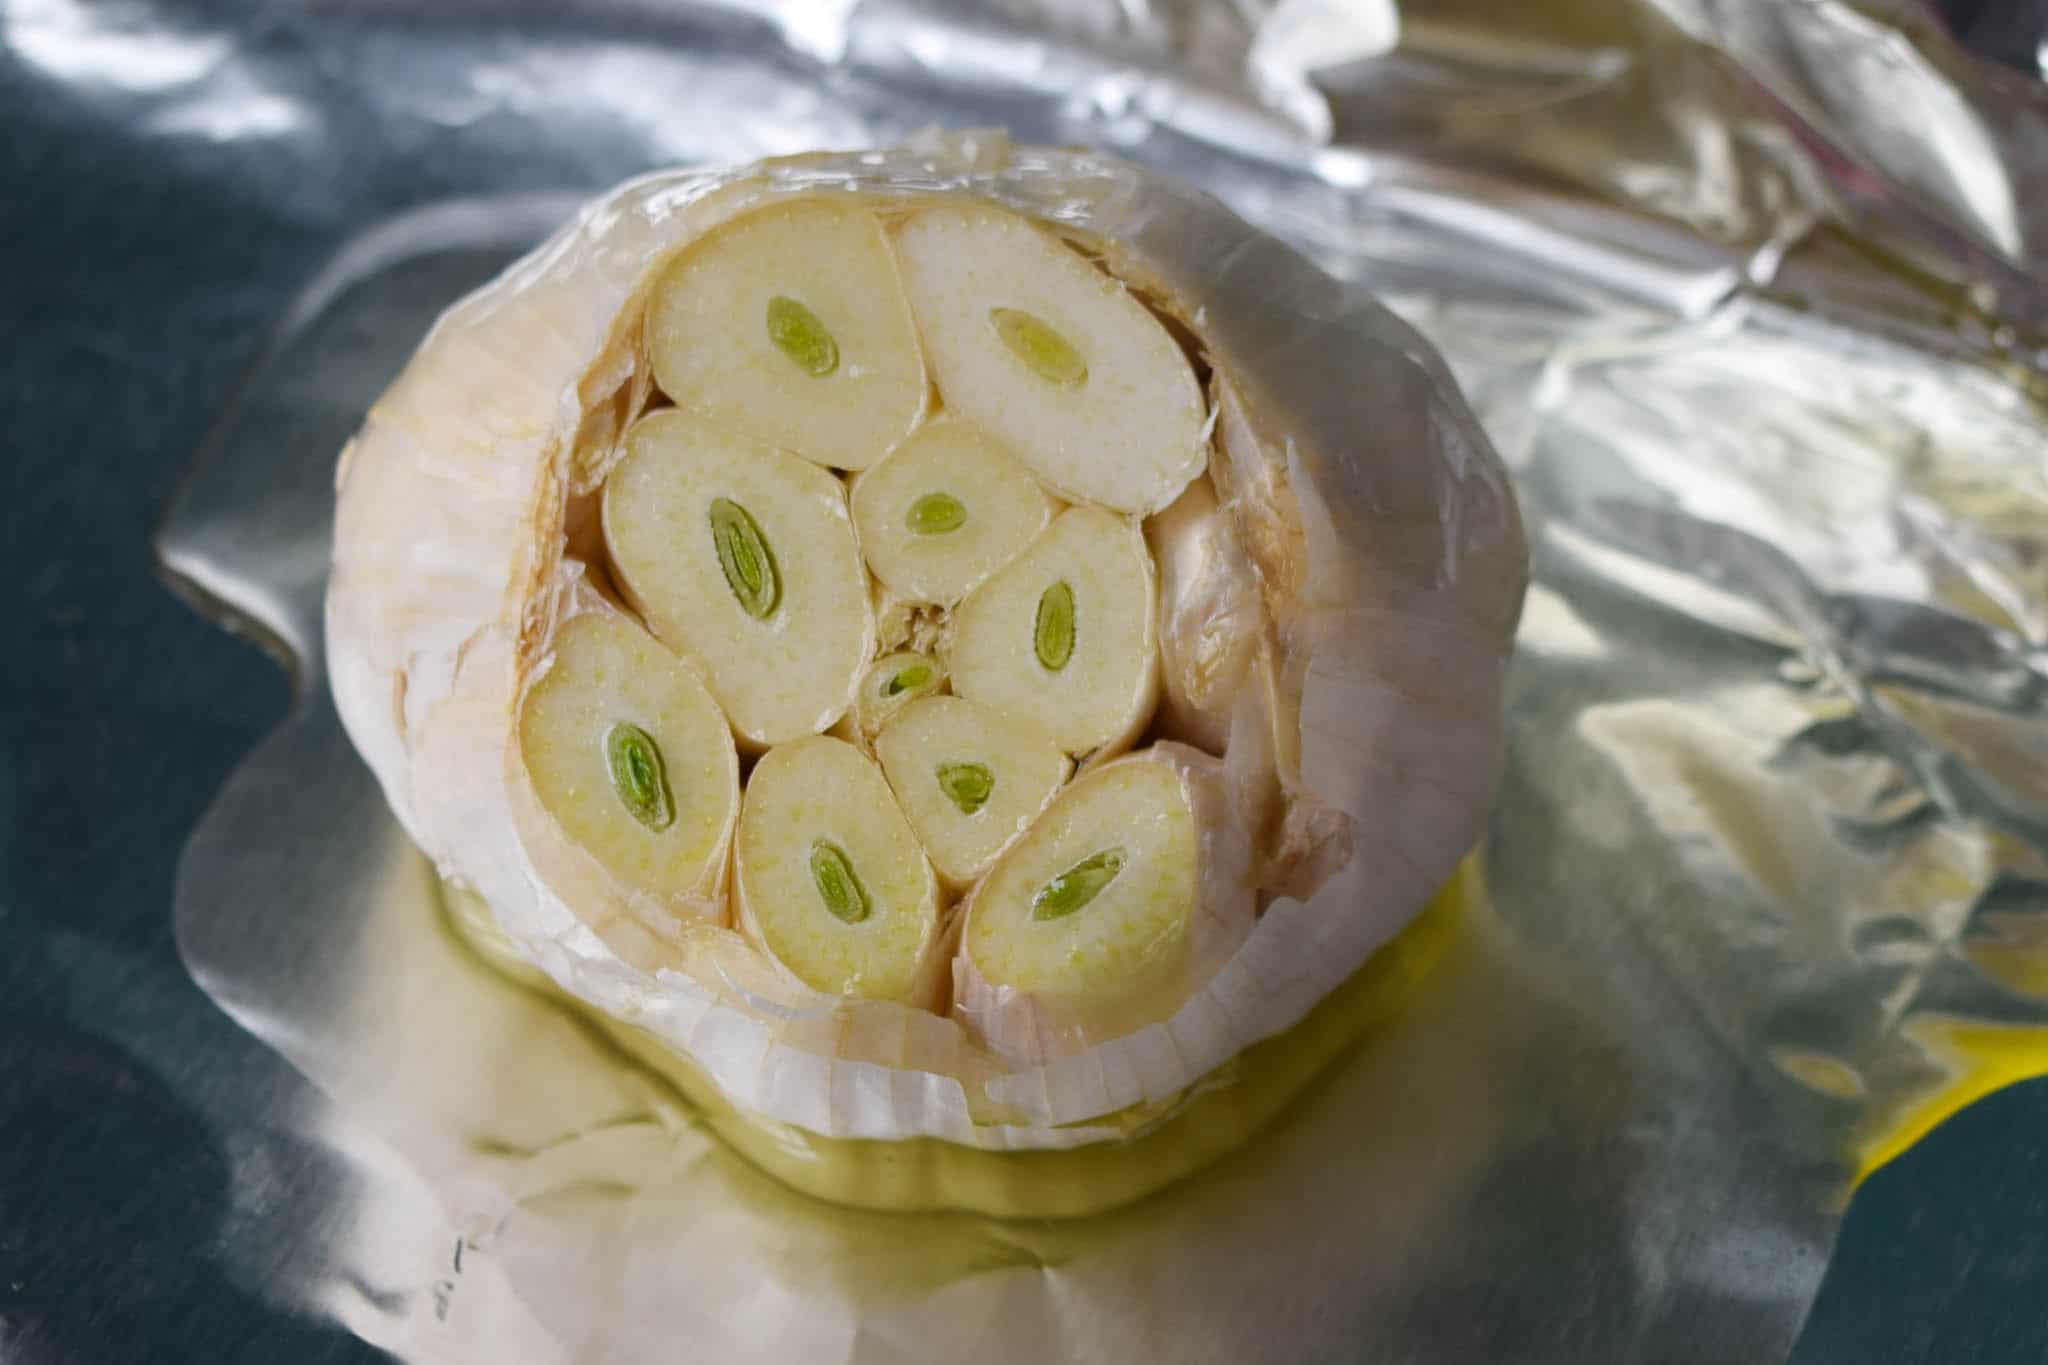 Roast at 350 degrees for 30 minutes, or until your cloves are browned and the skin is a little crispy (sounds like spring break, no? 😛 ). Allow to cool then carefully remove each clove and separate out all of the skins. Be careful doing this as I just learned you can cut yourself on the skins!
 Next, you're going to need the bacon fat from a pound of bacon. If you're sitting there going "Oh great, what am I going to do with all that bacon since you want me to have bacon fat but no bacon for this recipe!"....have no fear! Here are some ideas!
Cheddar Bacon Jalapeño Pinwheels
Brussels Sprouts with Bacon and Blue Cheese
Kentucky Hot Brown Dip or Mini Hot Browns
Not enough bacon for you? Good. You're my kind of person. And we can probably become good friends in bacon rehab once my bacontervention happens.
Anyway. Once you fry up your bacon for one of the *AMAZINGGG* recipes above, ( 😉 ) you're going to keep the fat to drizzle over top of the cauliflower. (No one said this recipe was going to be super duper healthy!) Meanwhile, clean and cut 2 heads of cauliflower into florets and arrange onto a foil lined, rimmed, baking sheet.
Toss the cauliflower with the bacon fat then roast at 450 degrees for 20-25 minutes, or until the cauliflower is slightly browned and softened.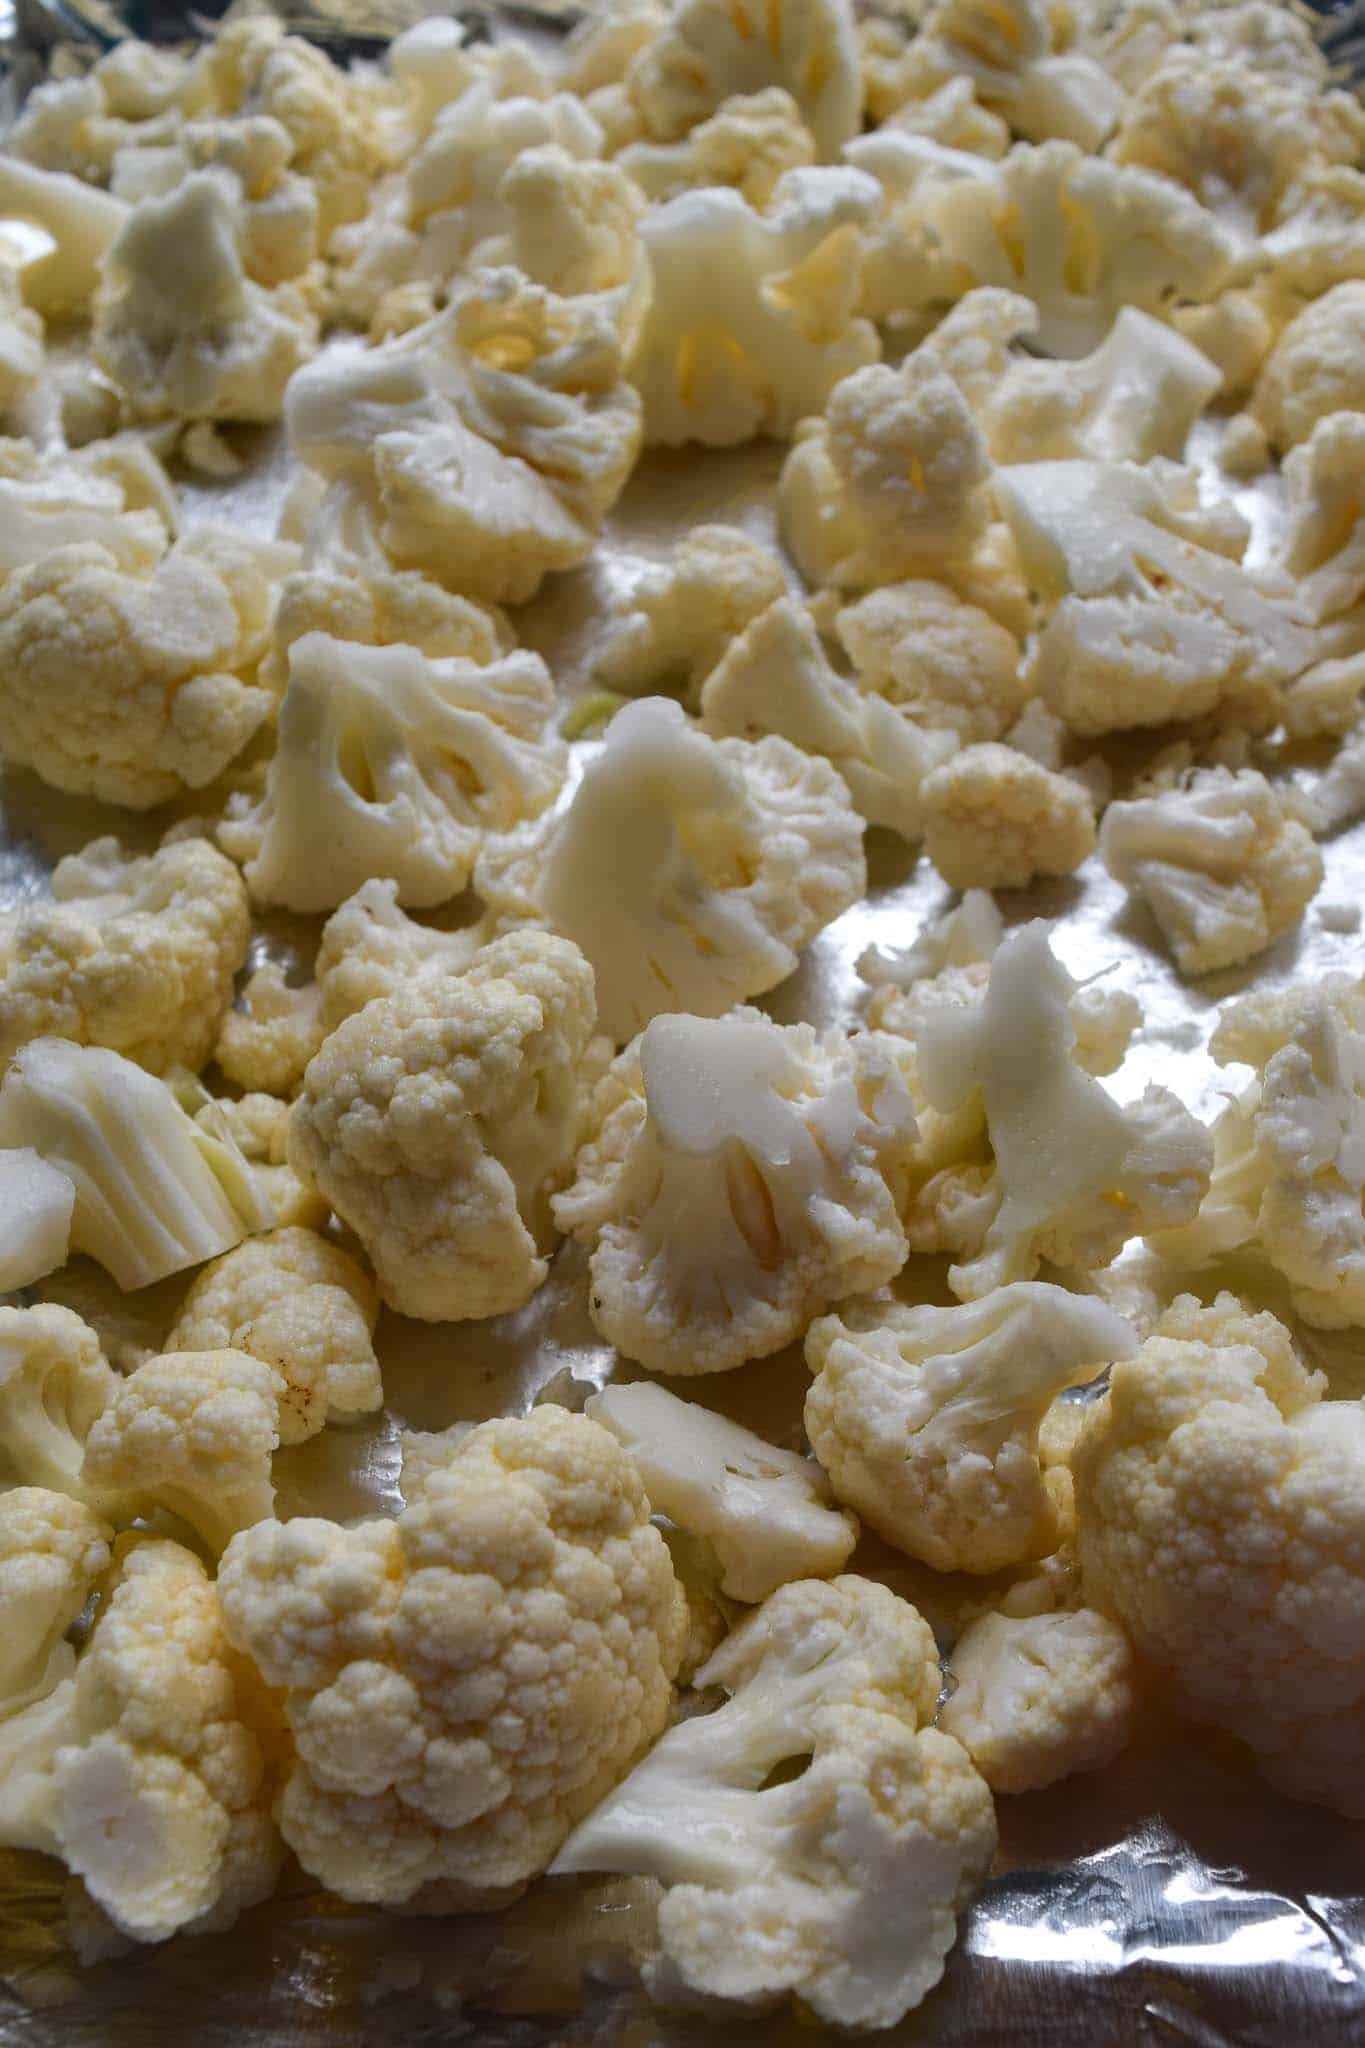 Once cooked, add the cauliflower and roasted garlic cloves into a food processor. Add in 1 ¼ C of chicken broth (I used low sodium), and salt and pepper to taste. Process until smooth (read as: destroy until your brain thinks this is mashed potatoes).
Top with some freshly chopped parsley and enjoy! 🙂
If you're looking for more low-calorie side dishes, check out these easy Honey Balsamic Roasted Carrots, this Cheesy Ranch Cauliflower Casserole or these Balsamic Roasted Brussels Sprouts, Carrots and Dried Cranberries!
Print
Roasted Garlic Whipped Cauliflower
- Prep Time: 10 mins
- Cook Time: 55 mins
- Total Time: 1 hour 5 mins
- Category: Side Dish
- Method: Roasted
- Cuisine: American
- Diet: Low Calorie
Description
A vegetable side dish that is so similar to mashed potatoes you're going to feel guilty and want to add on ANOTHER vegetable side! Only 159 calories per serving!
Ingredients
- 1 head of garlic
- 2 Tbsp olive oil
- 2 heads of cauliflower
- ¼ C bacon fat (from 1 lb of cooked bacon)
- 1 ¼ C chicken broth (I used low sodium)
- Salt and pepper to taste
- Freshly chopped parsley
Instructions
- Preheat oven to 350 degrees.
- Line a baking sheet with foil. Chop off the top ½ inch of garlic and place onto baking sheet. Cover with about 2 tablespoon of olive oil.
- Roast for 30 minutes, or until cloves are browned and skin is crispy. Allow to cool then carefully separate the cloves from the skin. Discard of all skin.
- Change oven temperature to 450 degrees.
- Chop 2 heads of cauliflower into florets. Add to a baking sheet lined with foil and toss with ¼ C of bacon fat.
- Roast for 20-25 minutes or until cauliflower is slightly browned and softened.
- Add cauliflower, garlic cloves, 1 ¼ C low sodium chicken broth and salt and pepper to a food processor and mix until desired texture.
- Top with parsley and serve immediately.
- Enjoy!
Notes
See post notes for tips on how to choose and store cauliflower and garlic!

**Recipe adapted from Country Cleaver (She's hilarious! Definitely a blog worth reading!)
What do you think? Did this recipe make the cut for you or did it crumble? What would you do differently? Leave a comment below! 🙂
Megan {Country Cleaver} says
I'm so glad this recipe was a hit!! Thanks so much Caitlin!!
cutsandcrumbles says
Thank you!!?