

Now that you've gotten to know The BBQ Brothers, it's time to learn how they do what they do. Below you will find all of the basics used by The BBQ Brothers for all of their recipes. Feel free to start here if you want to know any of the science behind their techniques, or if you're already a grill aficionado like them, go ahead and skip this page and head over to The BBQ Brothers Recipes! 🙂
Disclaimer: This post contains Amazon affiliate links, meaning I will get a small portion of any sales that result from readers clicking my links. This is of no cost to you but is greatly appreciated by me! Thank you! And thank you for trying these products that I love!
**All instructions are written by or straight from the mouths of the BBQ Brothers themselves. I may have edited them a little for my own OCDness, but this is their section so I'm giving them free rein! --Caitlin.
Meat seasonings/injections/brines
The All-Purpose BBQ Rub recipe below can be used on pretty much anything you want to grill. Poultry, pork, beef, you name it. Every other rub that we do is more or less based off of this one, if we change it at all. Almost everything we grill gets this rub put on it.
- ½ Cup Brown Sugar
- 2 tablespoon Paprika
- 2 tablespoon Chili Powder
- 2 tablespoon Granulated Garlic (I like granulated because garlic powder will clump up)
- 2 tablespoon Kosher Salt
- 2 tablespoon Black Pepper
- 2 tablespoon Ground Cumin
- 2 teaspoon Cayenne for heat
The All-purpose injection below should be used with a bigger cut like brisket, chuck roast, pork butt, etc. (You do not need to inject thin cuts such as ribs.)
All-purpose injection:
- 4 parts apple juice
- 1 part apple cider vinegar
- Sprinkle of all-purpose BBQ rub (you can also use a little salt and sugar instead if you prefer)
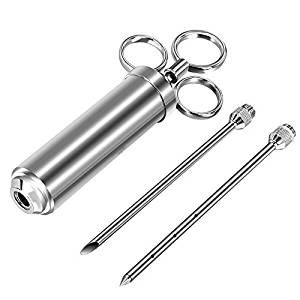
- (**We recommend using a BBQ Brine Injector
, like the one pictured below)
Meat Preparation
I usually like to rub whatever cuts I am doing the night before, mostly because I want to get as much sleep as I can the next day, but also because this will act as a dry brine/marinade of sorts for the meat. This will especially help keep chicken juicy since it usually dries out more than other meats.
Most of the rub can't really penetrate the meat like some people say it can. The only thing that will is the salt, which helps in keeping it juicy and moist.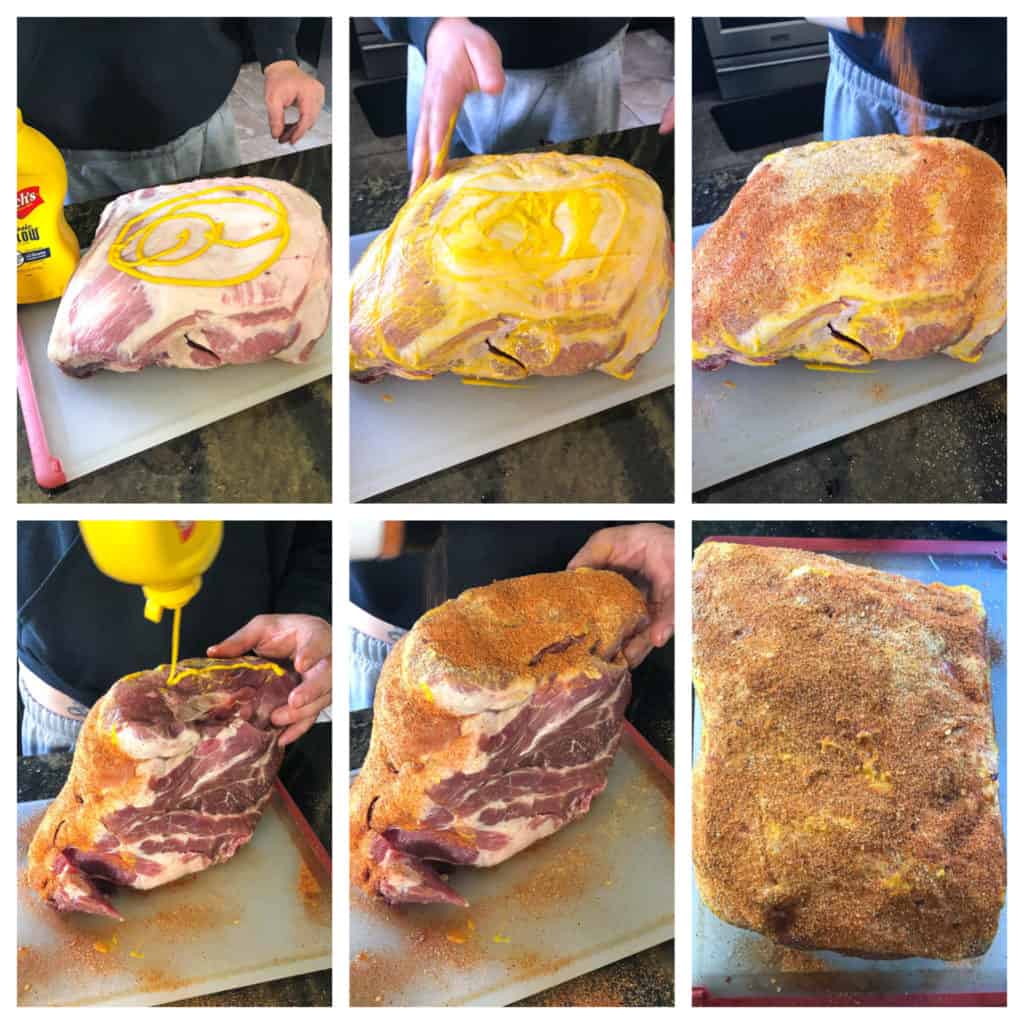
I've found that the easiest way to apply the rub is to put it in a large shaker and sprinkle it down onto the meat. Now even though it's called a "rub" we don't actually rub it into the meat since that will cause it to cake up and the smoke won't penetrate to the meat as well as it should. You want to dust it on then pat it in until you've got all of your meat covered, including the sides.
After this, you'll want to put the meat into a sealed container or wrap it in saran wrap overnight.
Side Note: When we apply a rub for a long smoke (a few hours of grilling), we want to make sure that it sticks to the meat as much as possible. There are two different ways of doing this:
- Matthew: I like to brush on vegetable oil since it helps the rub stick and doesn't impart any flavors I don't want on my meat like you'll sometimes have with mustard, for example.
- Andrew: He's just saying that because he hates mustard. I always use yellow mustard for my rubs. It burns off as the meat cooks so it has no taste and helps to develop a bark on the outside of the meat which you don't get with vegetable oil.
Grill Preparation
As far as the grill goes, no matter which type you have you want to use indirect heat for pretty much any kind of BBQ. Otherwise, it will get too hot, you'll burn the meat over the coals, and it won't cook low and slow enough. We only use charcoal grills (specifically this Weber grill), unless we have to use a gas one, but below are recommendations for each kind.
 If you are using a gas grill you can turn on one of the side burners and put your meat on the other side. You'll also want to make a foil packet with holes in the top for your wood chips.
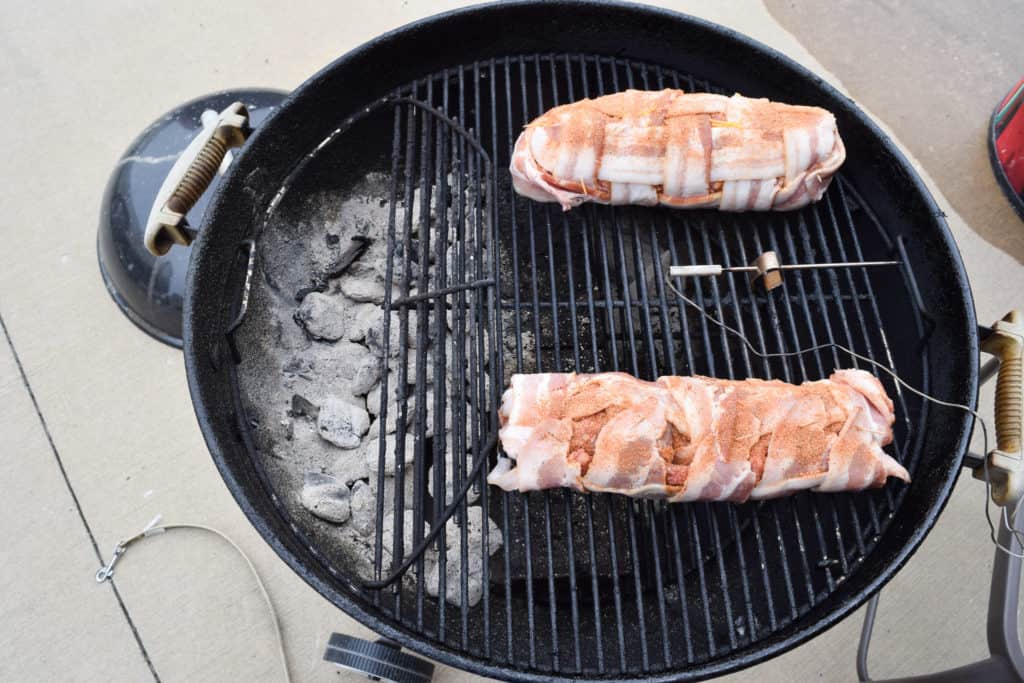
On a charcoal grill you want to do pretty much the same: put your coals on one side of the grill and your meat on the other. You can add your wood chips directly to the coals. (There is no need to soak the wood since all that will do is make it steam when you first put them on).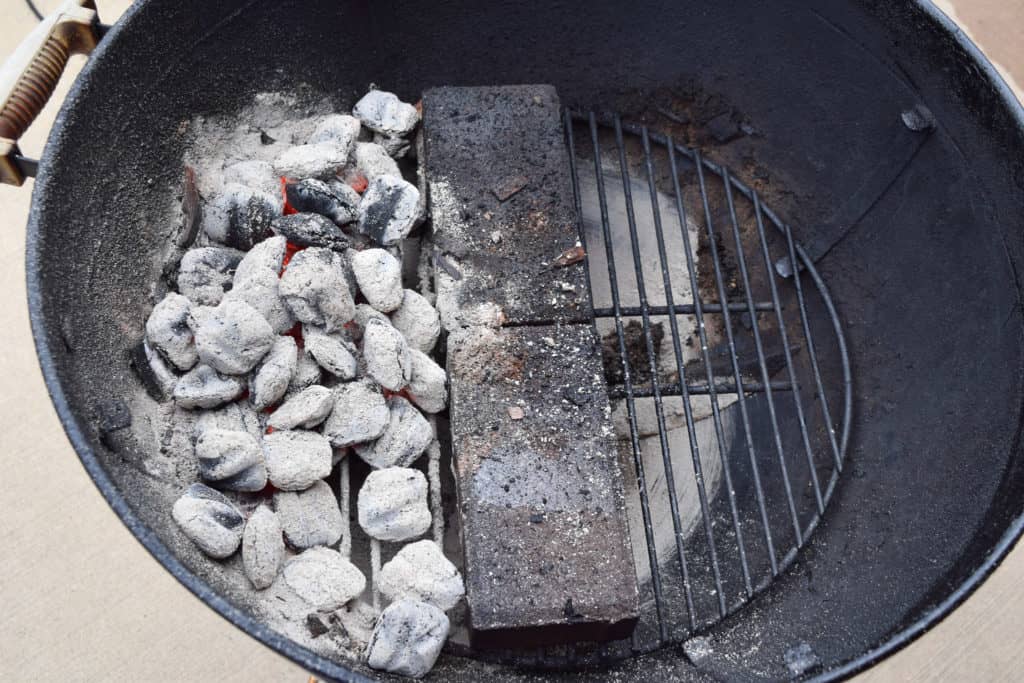
I also like to put up some kind of physical divider between the coal side and the empty side to keep the coals from spilling over. There are pre-made setups that you can buy to do this or, as in our case, a couple of bricks work fine. If you are using a charcoal grill with a vent on one side of the lid, like a Weber, you always want to make sure that the vent is opposite the coals so that the smoke and heat have to circulate over the meat and not just straight up and out of the grill.
Lighting a charcoal grill
If you are using charcoal, either lump or briquettes, there are a few ways to get them started.
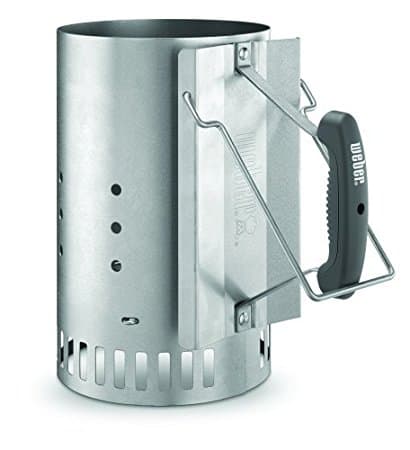
The easiest way is to get a charcoal chimney, fill it up about halfway and dump those coals in. You will be adding more coals as time goes on to make sure that temperature is stable throughout.
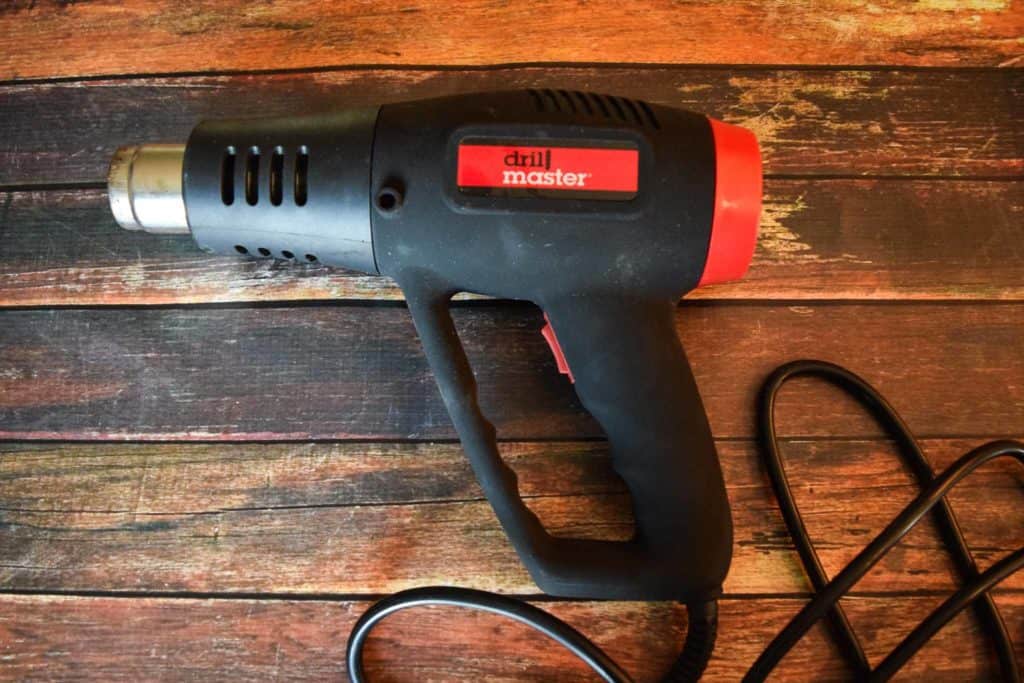
 The other options would be an electric starter or charcoal cube starters. Any of these methods work so whatever you feel most comfortable with is fine. We use the Drill Master heat gun
 (shown below) to heat the charcoal, if we're not using the charcoal chimney
.
Wood chips
As far as wood goes, for more delicate flavors like poultry and pork I really prefer to use fruit tree wood like apple or cherry. You don't want to go too strong like mesquite, and even hickory can be overpowering. You want to save those for more hearty cuts like beef or lamb. 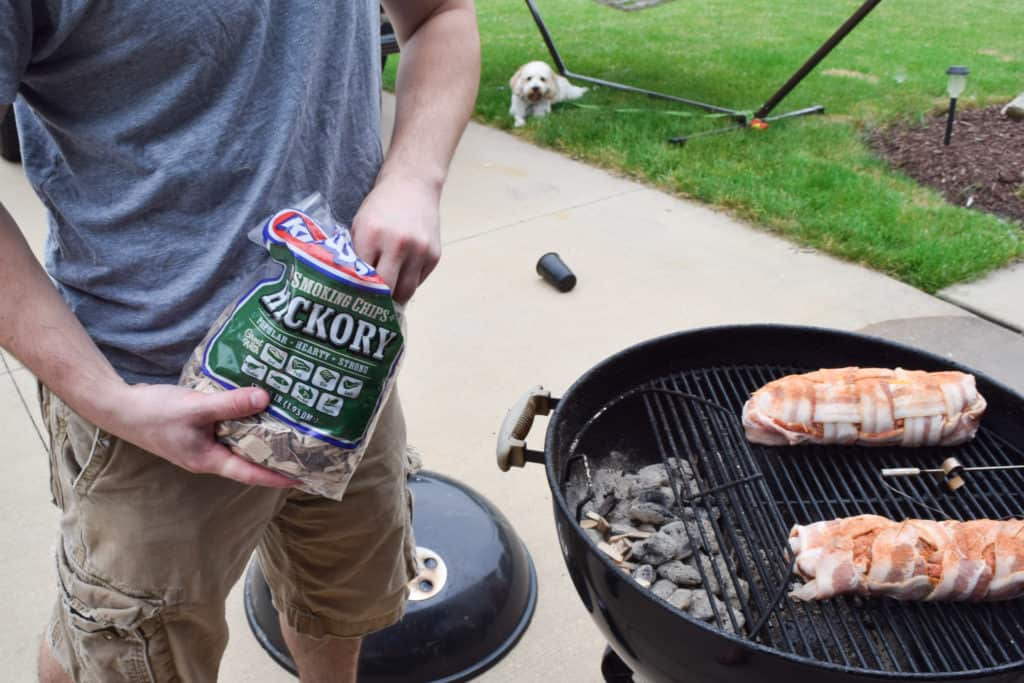 You can use as much wood as you want. The more you use, the stronger the flavor will be. But whenever you're smoking you don't want your grill or smoker to look like Rome is burning under the lid. If it does, you probably don't have good airflow and that smoke is going to be acrid and you definitely don't want that. You just want a light blue smoke to trickle out of the top like it's dancing over your meat and into your nose.
Temperature
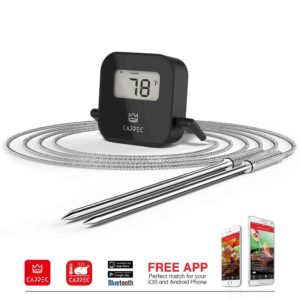
As far as temperature goes, 225-250 F is the ideal range to be in throughout a long cook. (Other cooks, such as steaks, will vary in temperature and will be listed on the individual recipe). One of the best investments you can make in order to make good BBQ is a good thermometer.
The temperature in any kind of BBQ is paramount to not drying out your meat. I prefer a digital thermometer (such as the Smoker Friendly Bluetooth Wireless BBQ Thermometer by Cappec's [pictured above]) that you can check without opening the lid because if you're lookin' you ain't cookin', and most of the probes that come with grills or smokers just aren't very accurate.
Humidity
If you are using any kind of smoker or grill that is not ceramic you will want some sort of water pan. This is any kind of heatproof vessel to have your liquid in as you smoke your meat. (Such as a microwave-safe mug).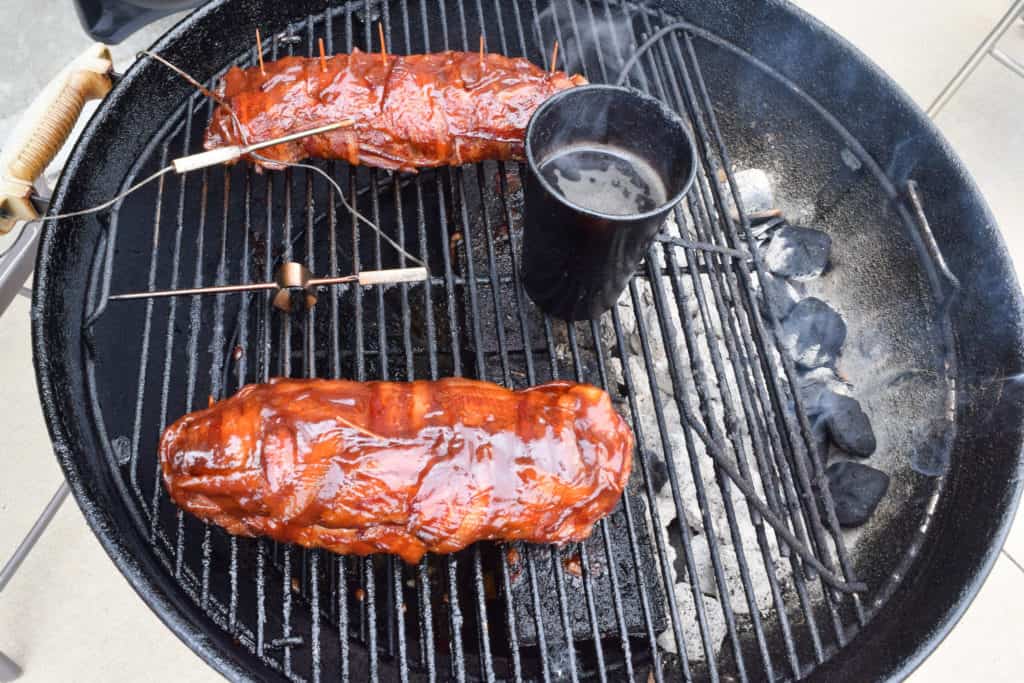 This is crucial because you'll need to make sure that the humidity inside your grill is high enough that the meat doesn't dry out. As far as what liquid you want to use, the world is your oyster (hell, you could use oyster sauce but I wouldn't recommend it). For a bit more sweetness you can use things like fruit juices or pop. You can obviously use water, or as in our case, we go with beer. It's not going to make a huge difference but it will impart a little of that beer's flavor onto your meat so use whatever you like.
Again, more important than the flavor is to keep the humidity where it needs to be. You are going to want to position your water pan directly over top of the coals. You will notice steam coming off of the liquid after a while but it shouldn't simmer or boil, that would be a sign of being too hot in the grill. Take a look every once in a while so it all doesn't evaporate, and add more as needed.
Also, in order to help with moisture, I like to spritz the meat every once in a while with a mixture of apple juice and apple cider vinegar used for the injections.
Other tips and tricks
- For long cooks, drying out your meat and getting impatient are your biggest enemies.
- Always give yourself enough grilling time. Every cook is different and you have to go by temperature, not time.
- Remember, for wood chips, use fruit tree wood like apple or cherry for more delicate flavors like poultry and pork. Save strong flavors like mesquite and hickory for more hearty cuts like beef or lamb.
- If your meat finishes faster than you wanted it to, you can wrap it in foil and stick it in a cooler lined with towels. It will stay hot and good for hours.
So now that you're a grilling expert, grab a beer and meet us over at our BBQ Brothers' recipes so we can start smokin'!
Mary says
I love the BBQ Brothers