
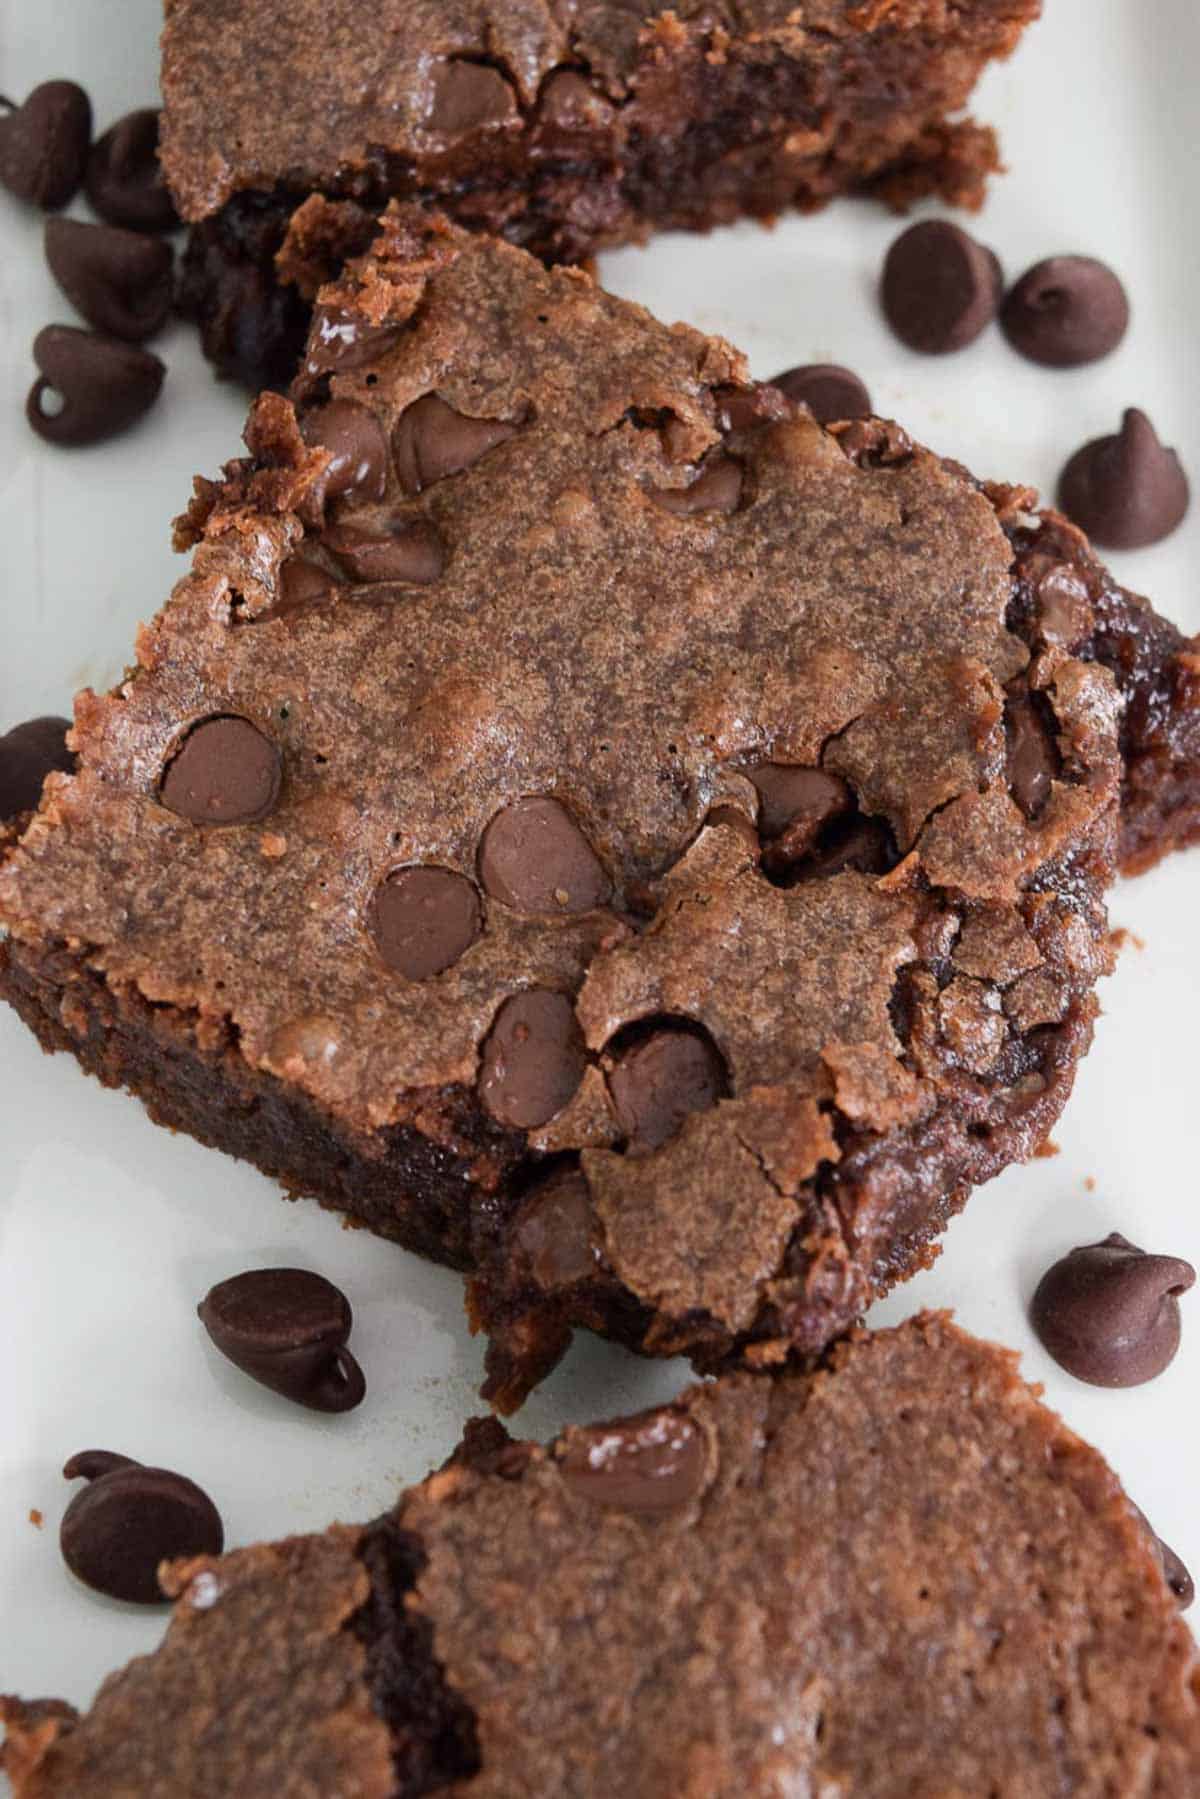
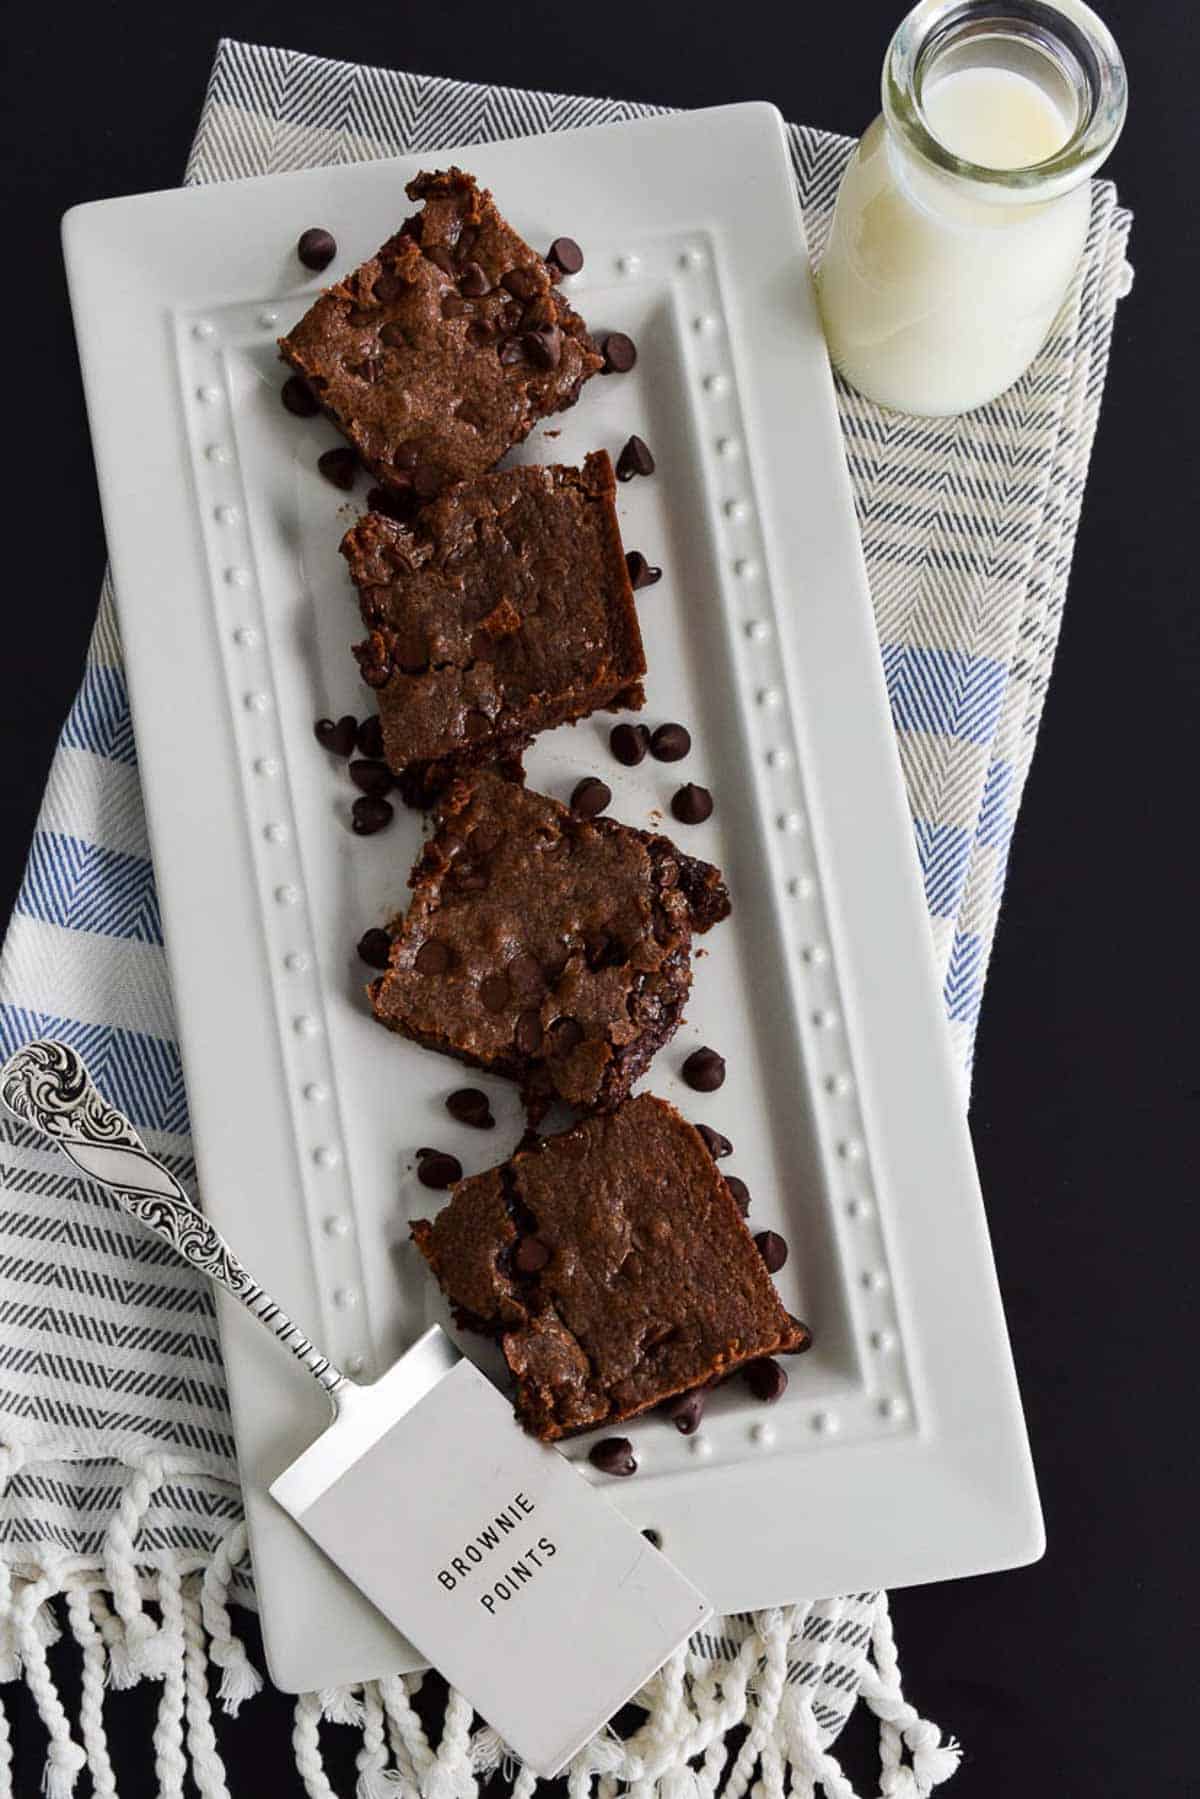
These decadent chocolate chip brownies require only one bowl and are ready to be devoured in just 30 minutes! Just make sure you have a big glass of milk ready!
Why Make This Recipe?
- They only require one bowl: Less time doing dishes means more time doing something more enjoyable, like eating these delicious chocolate chip brownies!
- They're beyond decadent: These are not diet-friendly and not for the faint of heart, but if you're a true chocolate fanatic you're going to love these ooey-gooey brownies!
- You can be eating these in just 30 minutes: In the time it would take for you to run to the store to buy and then make a box mix of brownies, you could have already devoured one of these melty marvels!
- They're customizable: No chocolate chips in the pantry? No problem! You can toss in your favorite candy or chopped nuts or just make regular brownies, sans chocolate chips!
Ingredient Notes
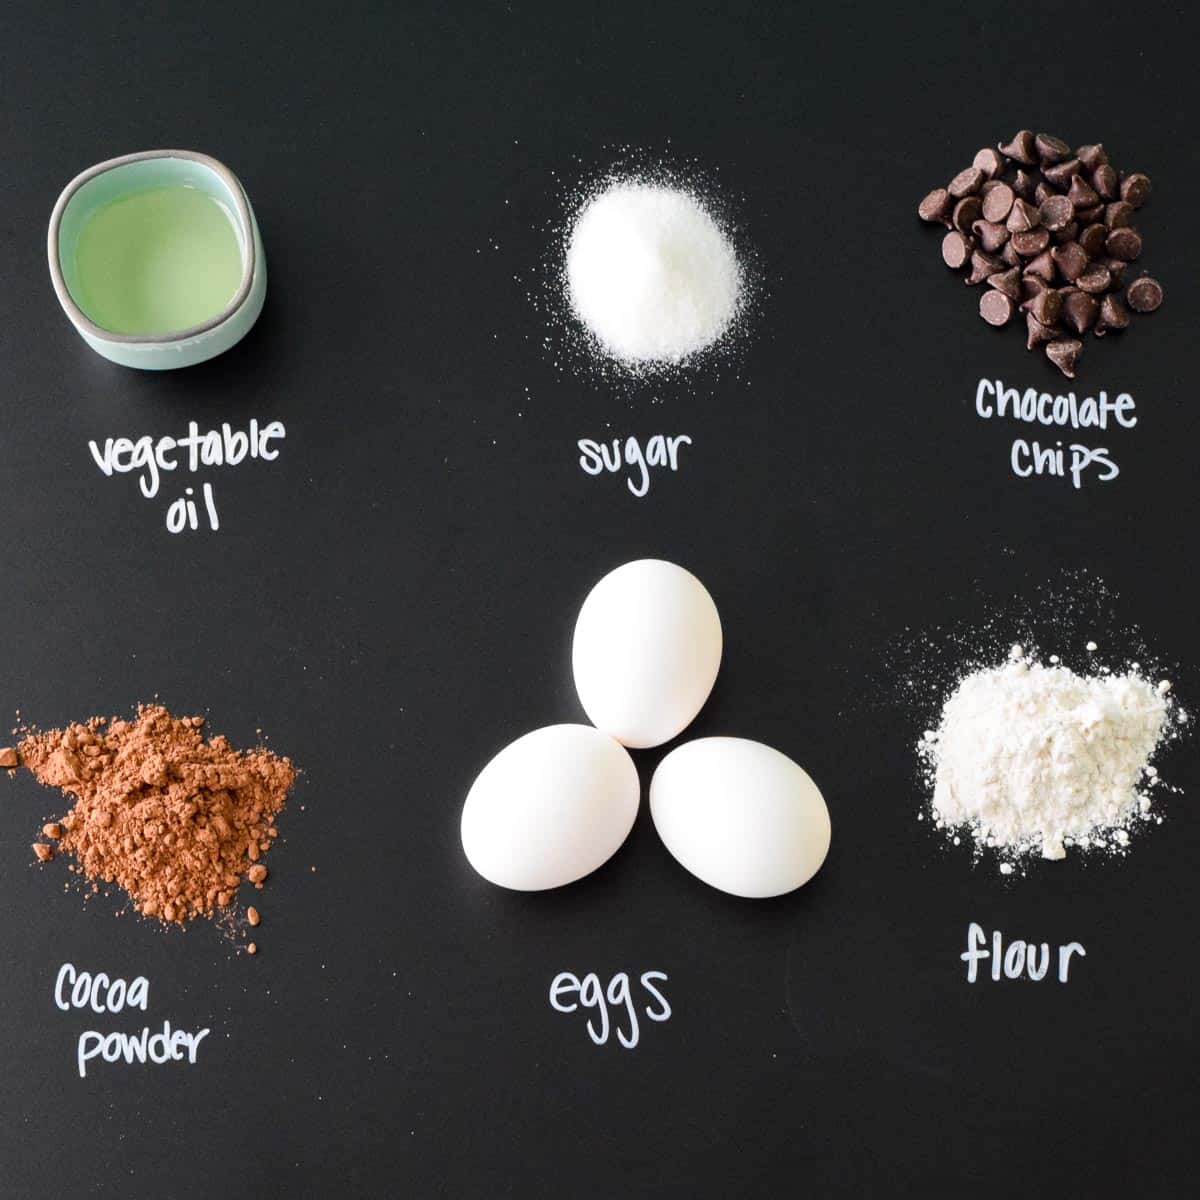
- Granulated sugar: You'll need 2 cups sugar for these chocolate chip brownies, which seems like a lot but it's important for flavor since we are also using unsweetened cocoa powder.
- Chocolate chips: You can't have chocolate chip brownies without chocolate chips! You'll need 1 cup and can use any flavor you'd like, but I prefer the flavor of semi-sweet chips for most of my brownie and cookie recipes! (And of course for my Ohio State Buckeyes!)
- Cocoa powder: I like to use unsweetened cocoa powder for brownies, as it provides a deep, rich, undiluted chocolate flavor. You'll need ½ cup for this recipe.
- Eggs: You're going to need 5 large eggs, and yes this matters! When it comes to baking, different sized eggs mean a different amount of liquid which can affect the texture of your final product. (Although feel free to leave out 1-2 eggs if you'd prefer a fudgier style brownie!)
- All-purpose flour: Be sure to carefully measure 1 ¾ C of flour for this recipe, as adding in extra will cause them to taste more cake-y. All-purpose flour is the best option for brownies due to its optimal protein level. (If you use a lower protein content flour, such as cake flour, your brownies will end up flakey.)
- You're also going to need ½ teaspoon of salt, 1 C of vegetable oil and 1 teaspoon of vanilla extract for these chocolate chip brownies.
Step by Step Photos
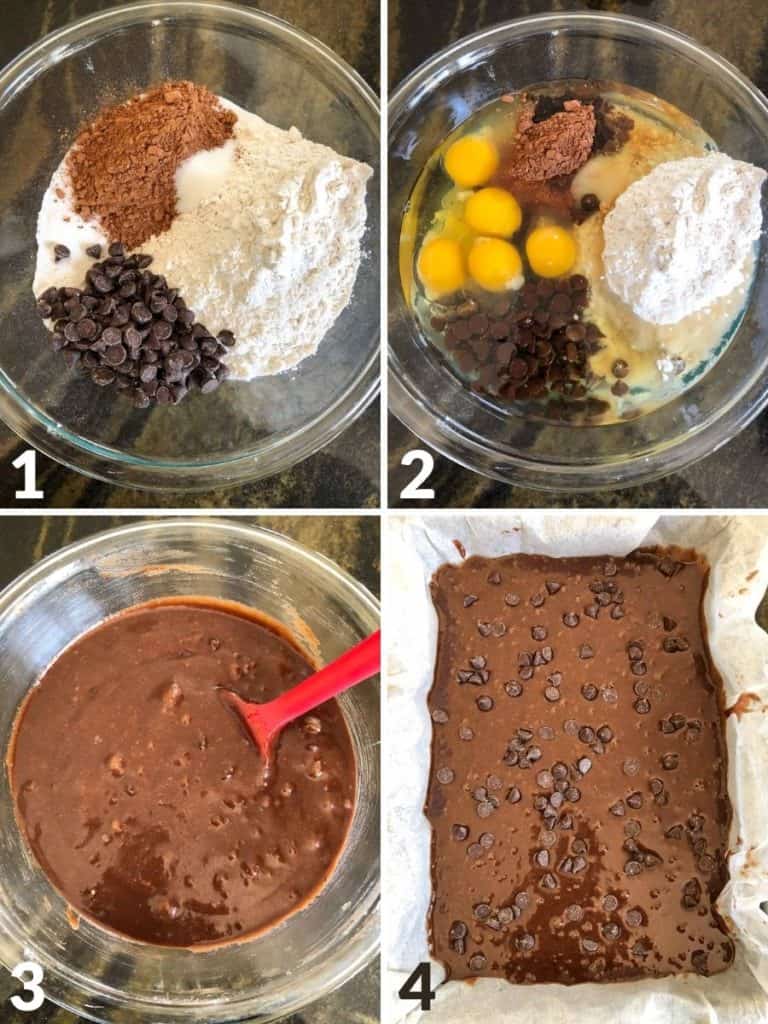
- Start by preheating your oven to 350 degrees. In a large bowl, add in 2 C of sugar, 1 ¾ C of flour, 1 teaspoon of salt, ½ C unsweetened cocoa powder, and ½ C semi-sweet chocolate chips.
- Next, add in 1 C of vegetable oil, and 1 teaspoon of vanilla extract, and 5 large eggs.
- Use a spatula to mix all ingredients together until combined.
- Line an aluminum 9x13 pan with parchment paper, spray with cooking spray then pour in the brownie batter and spread across the pan evenly. Sprinkle the brownies with another ½ C of chocolate chips.
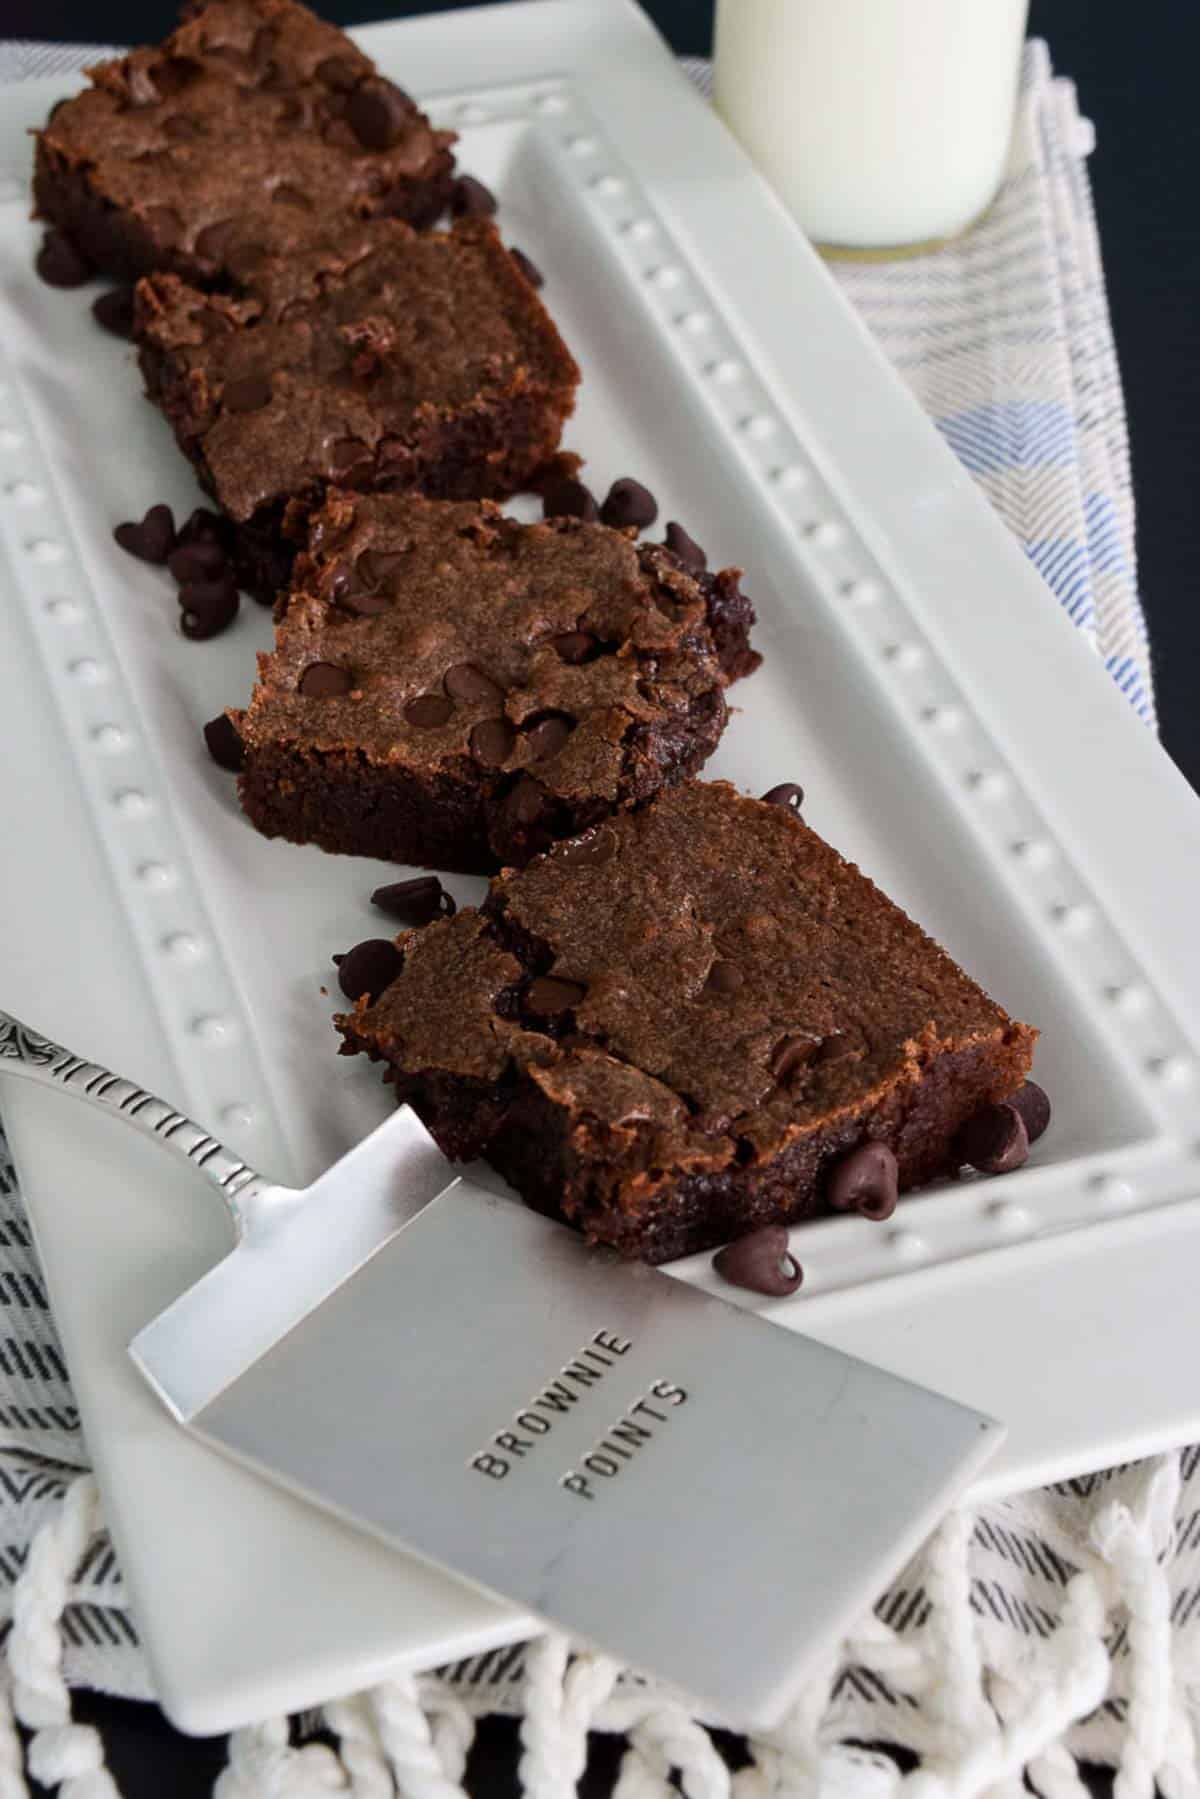
- Bake for 30 minutes, rotating the pan halfway. Your brownies are done when you start to see a crackle forming on top!
- Allow the brownies to cool (the most agonizing part of this whole recipe), then cut and enjoy! 🙂
Leftover brownies can be stored at room temperature in an air-tight container for up to 5 days. You can also freeze the brownies for up to 3 months (I recommend storing only a few brownies per container so you can thaw them as you crave them! 🙂 )
FAQs and Expert Tips
- Shopping: If you bake frequently, you'll probably have most of the ingredients for this recipe at home. The most important thing is making sure you have all-purpose flour, unsweetened cocoa, and large eggs. Plus, be sure you have enough granulated sugar, vegetable oil, and vanilla extract before you hit the store!
- Substitutions: You can use the base of this brownie recipe and get crazy with adding in any of your favorite flavors! Feel free to try out chocolate chunks, chopped nuts, or your favorite candy instead of chocolate chips. (And if you have any extra toppings, you can whip up these easy dark chocolate discs as well!)
- Prep: The great thing about this recipe is that no real prep work is required. Simply measure, dump and mix!
- Baking: For the evenest baking (and easiest brownie removal) you want to use a light aluminum baking pan lined with parchment paper that has been sprayed with cooking spray. Be sure to rotate your pan halfway through the 30-minute bake. Your brownies are done when you start to see them crackle on top. (Because these brownies are studded with chocolate chips, the old toothpick method won't work here!)
- Storage: Store leftover brownies at room temperature in an air-tight container for up to 5 days.
- Freezing: You can freeze these brownies in an air-tight container for up to 3 months. I like to place just a few per container so I can treat each craving with a small batch rather than having to thaw an entire pan!
- Reheating:
- If fresh: Of course you can eat these straight out of the pan, but I like to reheat my leftover brownies in the microwave for about 15-20 seconds to remelt the chocolate chips!
- If frozen: Allow brownies to thaw then reheat as noted above.
A few tips to make sure these chocolate chip brownies bake evenly is to first make sure you're using a light aluminum pan. Glass pans are thicker and heavier which will slow down baking time and dark pans will bake too quickly, resulting in brown bottoms and dried out edges.
Additionally, make sure your pan is the right size. If it is too small, the brownie batter will have a hard time baking through. You also want to be sure to rotate your pan halfway through the cook to help facilitate even baking.
If you find that your brownies are cooking too quickly on the edges, remove the pan from the oven for about 15 minutes then resume cooking as directed. This break from baking allows the edges of the batter to cool rather than continuing to over-bake and can help create more evenly baked brownies.
These brownies do come out a little more cake-like in texture than standard box brownies. I personally like the texture but if you want them to be a little denser and fudgier then you can try decreasing the number of eggs to 3 or 4. You can also slightly under bake the brownies for a fudgier texture.
Yes! Although this brownie batter is super easy to whip together, if you need to make it ahead of time you can simply refrigerate the batter until ready to bake. Just cover the batter tightly in the refrigerator and use within 24 hours. This is actually a common practice in brownie making, as it will make the tops of the brownies glossier and increases the chewy texture!
Related Recipes
- Chocolate Chip Brownie Bites with Homemade Icing
- Hocus Pocus Book Brownies
- Brownie Batter Dip
- Red Velvet Oreo Valentine Cups
What do you think? Did this recipe make the cut for you or did it crumble? What would you do differently? Leave a comment below! 🙂
Print
Chocolate Chip Brownies
- Prep Time: 5 mins
- Cook Time: 30 mins
- Total Time: 35 mins
- Category: Dessert
- Method: Baked
- Cuisine: American
Description
These decadent chocolate chip brownies require only one bowl and are ready to be devoured in just 30 minutes! Just make sure you have a big glass of milk ready!
Ingredients
- 2 cups sugar
- 1 ¾ cups flour
- 1 tsp salt
- ½ cup unsweetened cocoa powder
- 1 cup vegetable oil
- 1 tsp vanilla extract
- 5 large eggs
- 1 cup semi sweet chocolate chips
Instructions
- Start by preheating your oven to 350 degrees. In a large bowl, add in 2 C of sugar, 1 ¾ C of flour, 1 teaspoon of salt, ½ C unsweetened cocoa powder, and ½ C semi-sweet chocolate chips.
- Next, add in 1 C of vegetable oil, and 1 teaspoon of vanilla extract, and 5 large eggs.
- Use a spatula to mix all ingredients together until combined.
- Line an aluminum 9x13 pan with parchment paper, spray with cooking spray then pour in the brownie batter and spread across the pan evenly. Sprinkle the brownies with another ½ C of chocolate chips.
- Bake for 30 minutes, rotating the pan halfway. Your brownies are done when you start to see a crackle forming on top!
- Allow the brownies to cool (the most agonizing part of this whole recipe), then cut and enjoy! 🙂
Notes
Shopping: If you bake frequently, you'll probably have most of the ingredients for this recipe at home. The most important thing is making sure you have all-purpose flour, unsweetened cocoa, and large eggs. Plus, be sure you have enough granulated sugar, vegetable oil, and vanilla extract before you hit the store!
Substitutions: You can use the base of this brownie recipe and get crazy with adding in any of your favorite flavors! Feel free to try out chocolate chunks, chopped nuts, or your favorite candy instead of chocolate chips.
Prep: The great thing about this recipe is that no real prep work is required. Simply measure, dump and mix!
Baking: For the evenest baking (and easiest brownie removal) you want to use a light aluminum baking pan lined with parchment paper that has been sprayed with cooking spray. Be sure to rotate your pan halfway through the 30-minute bake. Your brownies are done when you start to see them crackle on top. (Because these brownies are studded with chocolate chips, the old toothpick method won't work here!)
Storage: Store leftover brownies at room temperature in an air-tight container for up to 5 days.
Freezing: You can freeze these brownies in an air-tight container for up to 3 months. I like to place just a few per container so I can treat each craving with a small batch rather than having to thaw an entire pan!
Reheating: If fresh: Of course you can eat these straight out of the pan, but I like to reheat my leftover brownies in the microwave for about 15-20 seconds to remelt the chocolate chips! If frozen: Allow brownies to thaw then reheat as noted above.

**Recipe from Show Me the Yummy
Jennifer @ Show Me the Yummy says
So happy you loved my recipe so much!!! <3
cutsandcrumbles says
Hi Jennifer! That's an understatement!! They were INCREDIBLE!!! Thank you!