Follow this recipe to make a perfectly grilled steak! These Big Green Egg Steaks can be made on any grill and are sure to please even the biggest barbarian!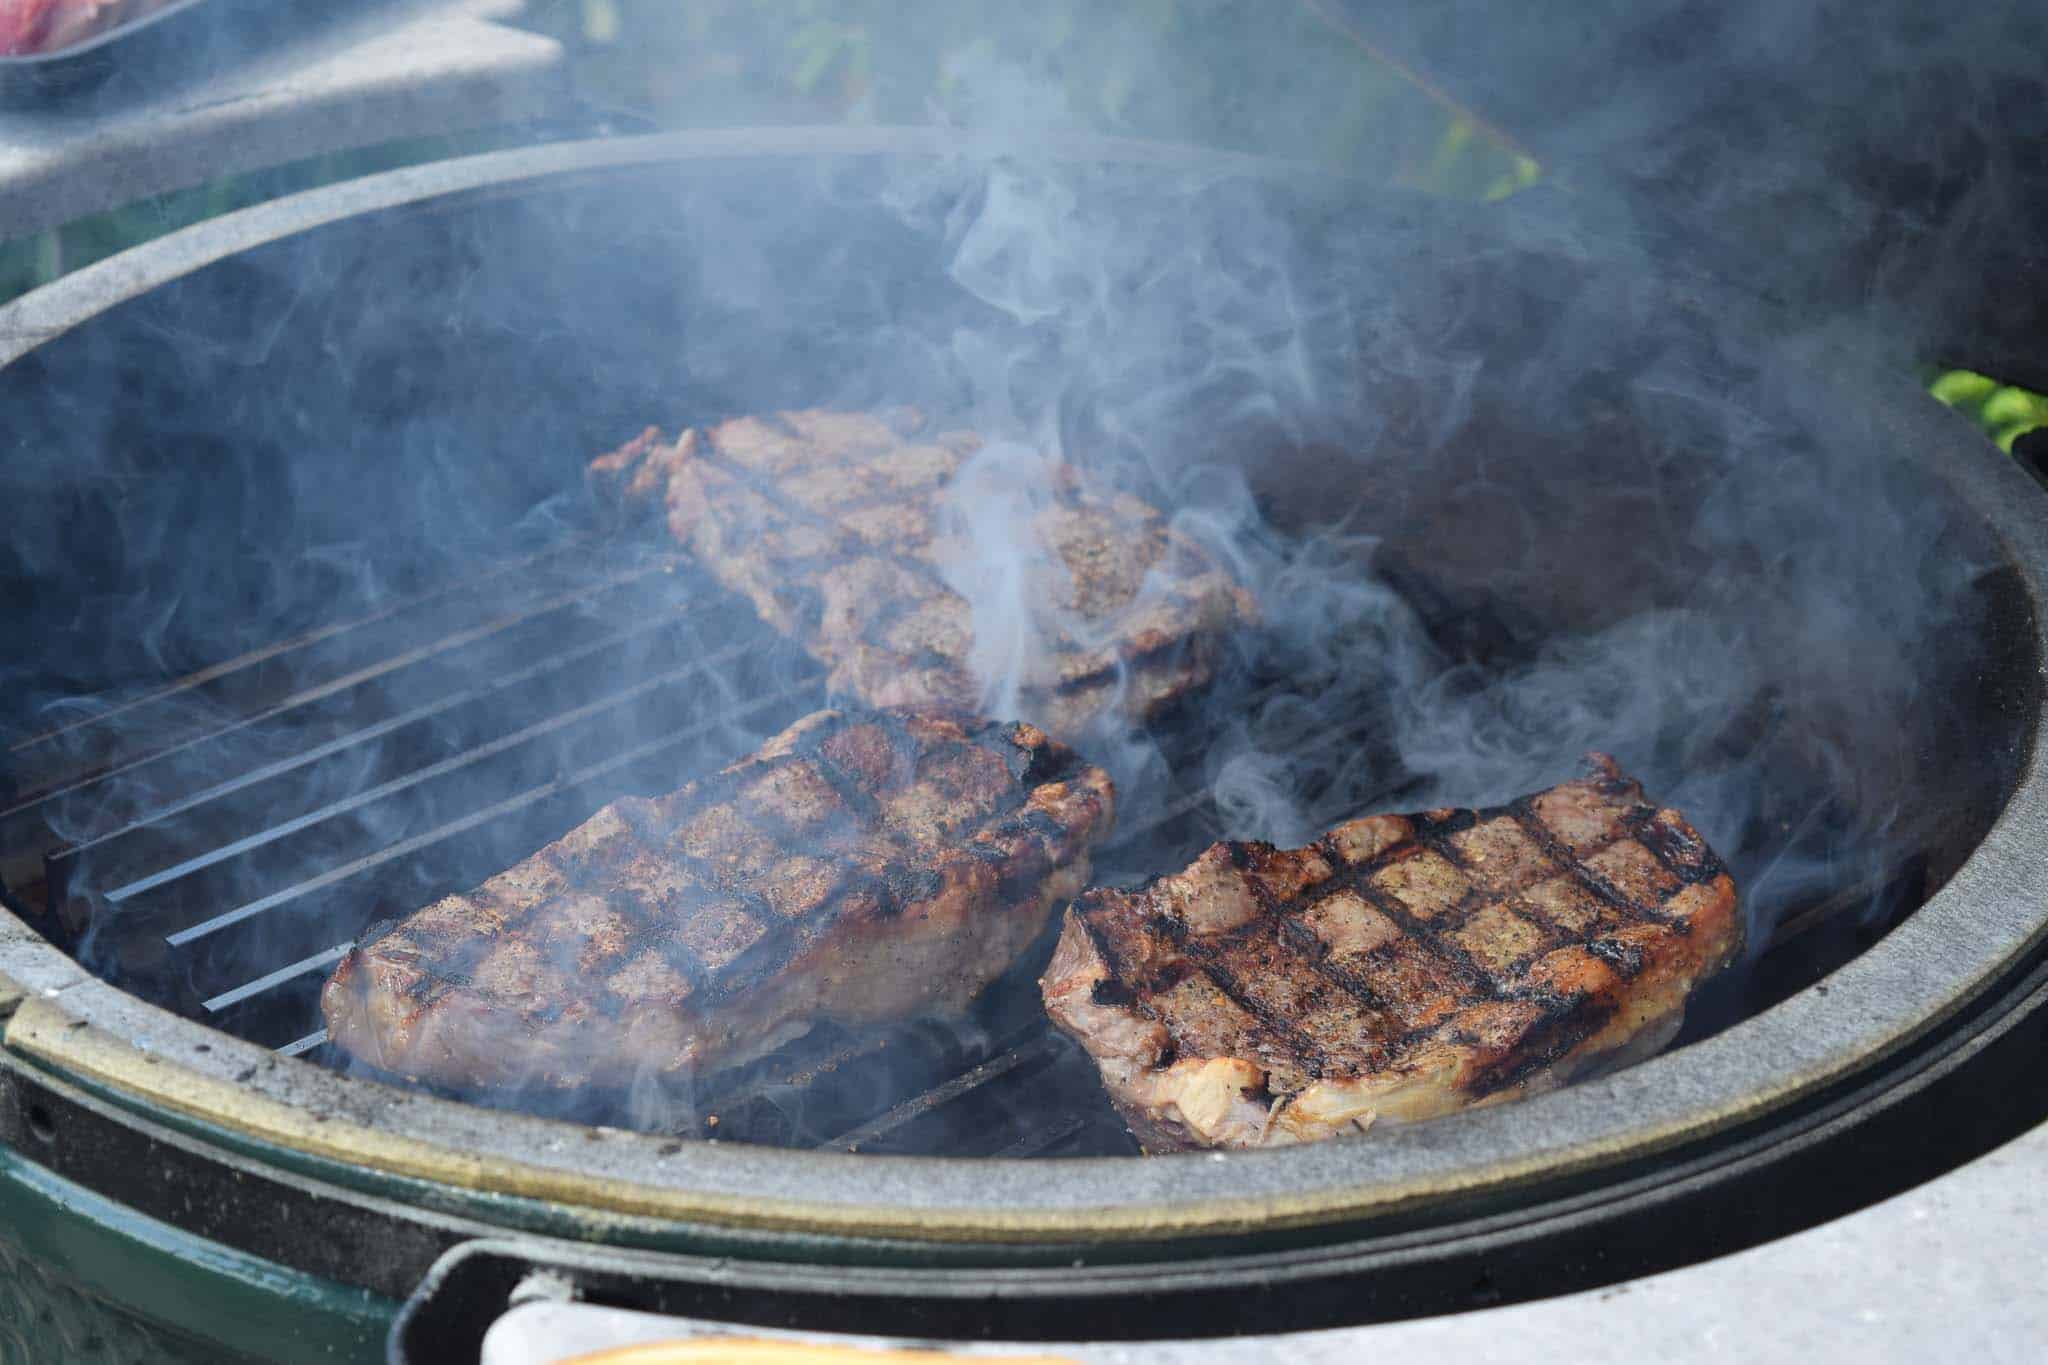
**Post written by The BBQ Brothers. For all meat prep, grill set up, temperature and humidity control, recommended tools, and techniques for The BBQ Brothers recipes, check out The BBQ Brothers Beginner's Guide To Grilling first, then get to cookin!
Back from our hiatus since Caitlin and Andrew had to get their new fancy home in order (how selfish!) We have an old summer recipe that's as good in the winter as it is when the sun is shining and the birds are chirping. Today we're going to tackle one of the easiest, yet most easily messed up things there are: steaks!
BIG GREEN EGG* STEAKS
(*can be made on any grill!)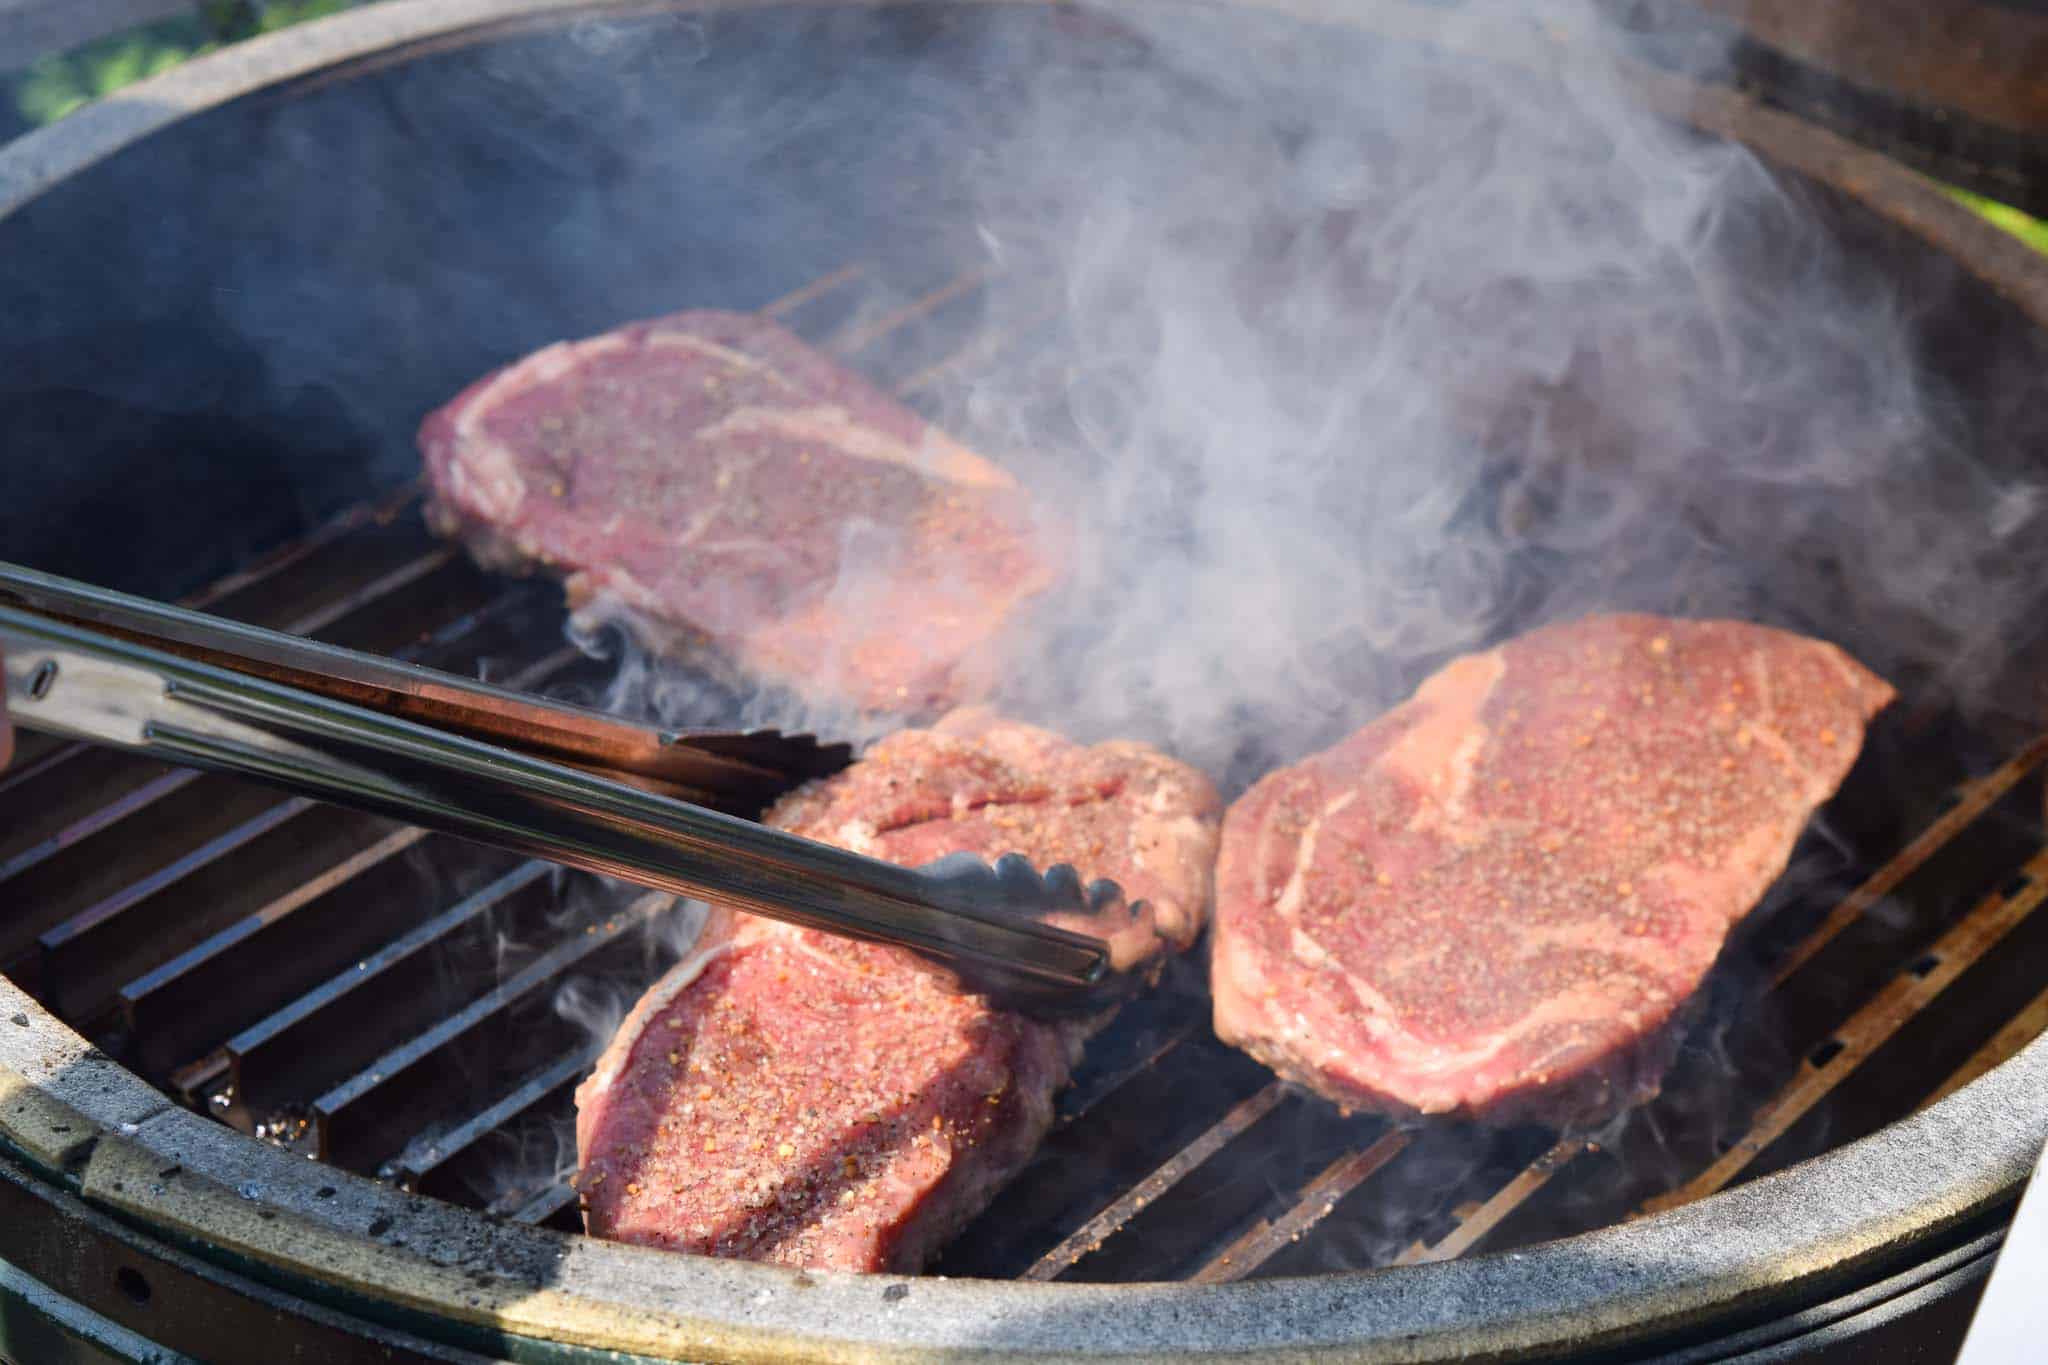
For our purposes today we are going to be using ribeyes but you can duplicate it with any kind of grilling steak: strip, filet mignon, hanger, flat iron, etc. Now the reason that I think so many people have issues making steaks is one of three things: impatience, losing track of time, or intimidation. The intimidation factor can be real since a lot of these cuts are expensive and you don't want to waste them, and many times grilling steaks involves having people over and you want everyone to be happy with their meal. Hopefully after reading how easy steaks can be, we can get rid of the butterflies in your stomach and replace them with yummy, perfectly cooked steak.
The other two big issues go hand in hand. When you're grilling hot and fast you have to keep your eye on what you're doing so that you don't over cook your steaks; but you don't want to be shuffling everything around so much that don't get a good sear, which gives us that nice crispy crust on the outside.
So first things first we need to buy our steaks. The biggest things that you want to look for if your buying steaks for home is marbling and thickness.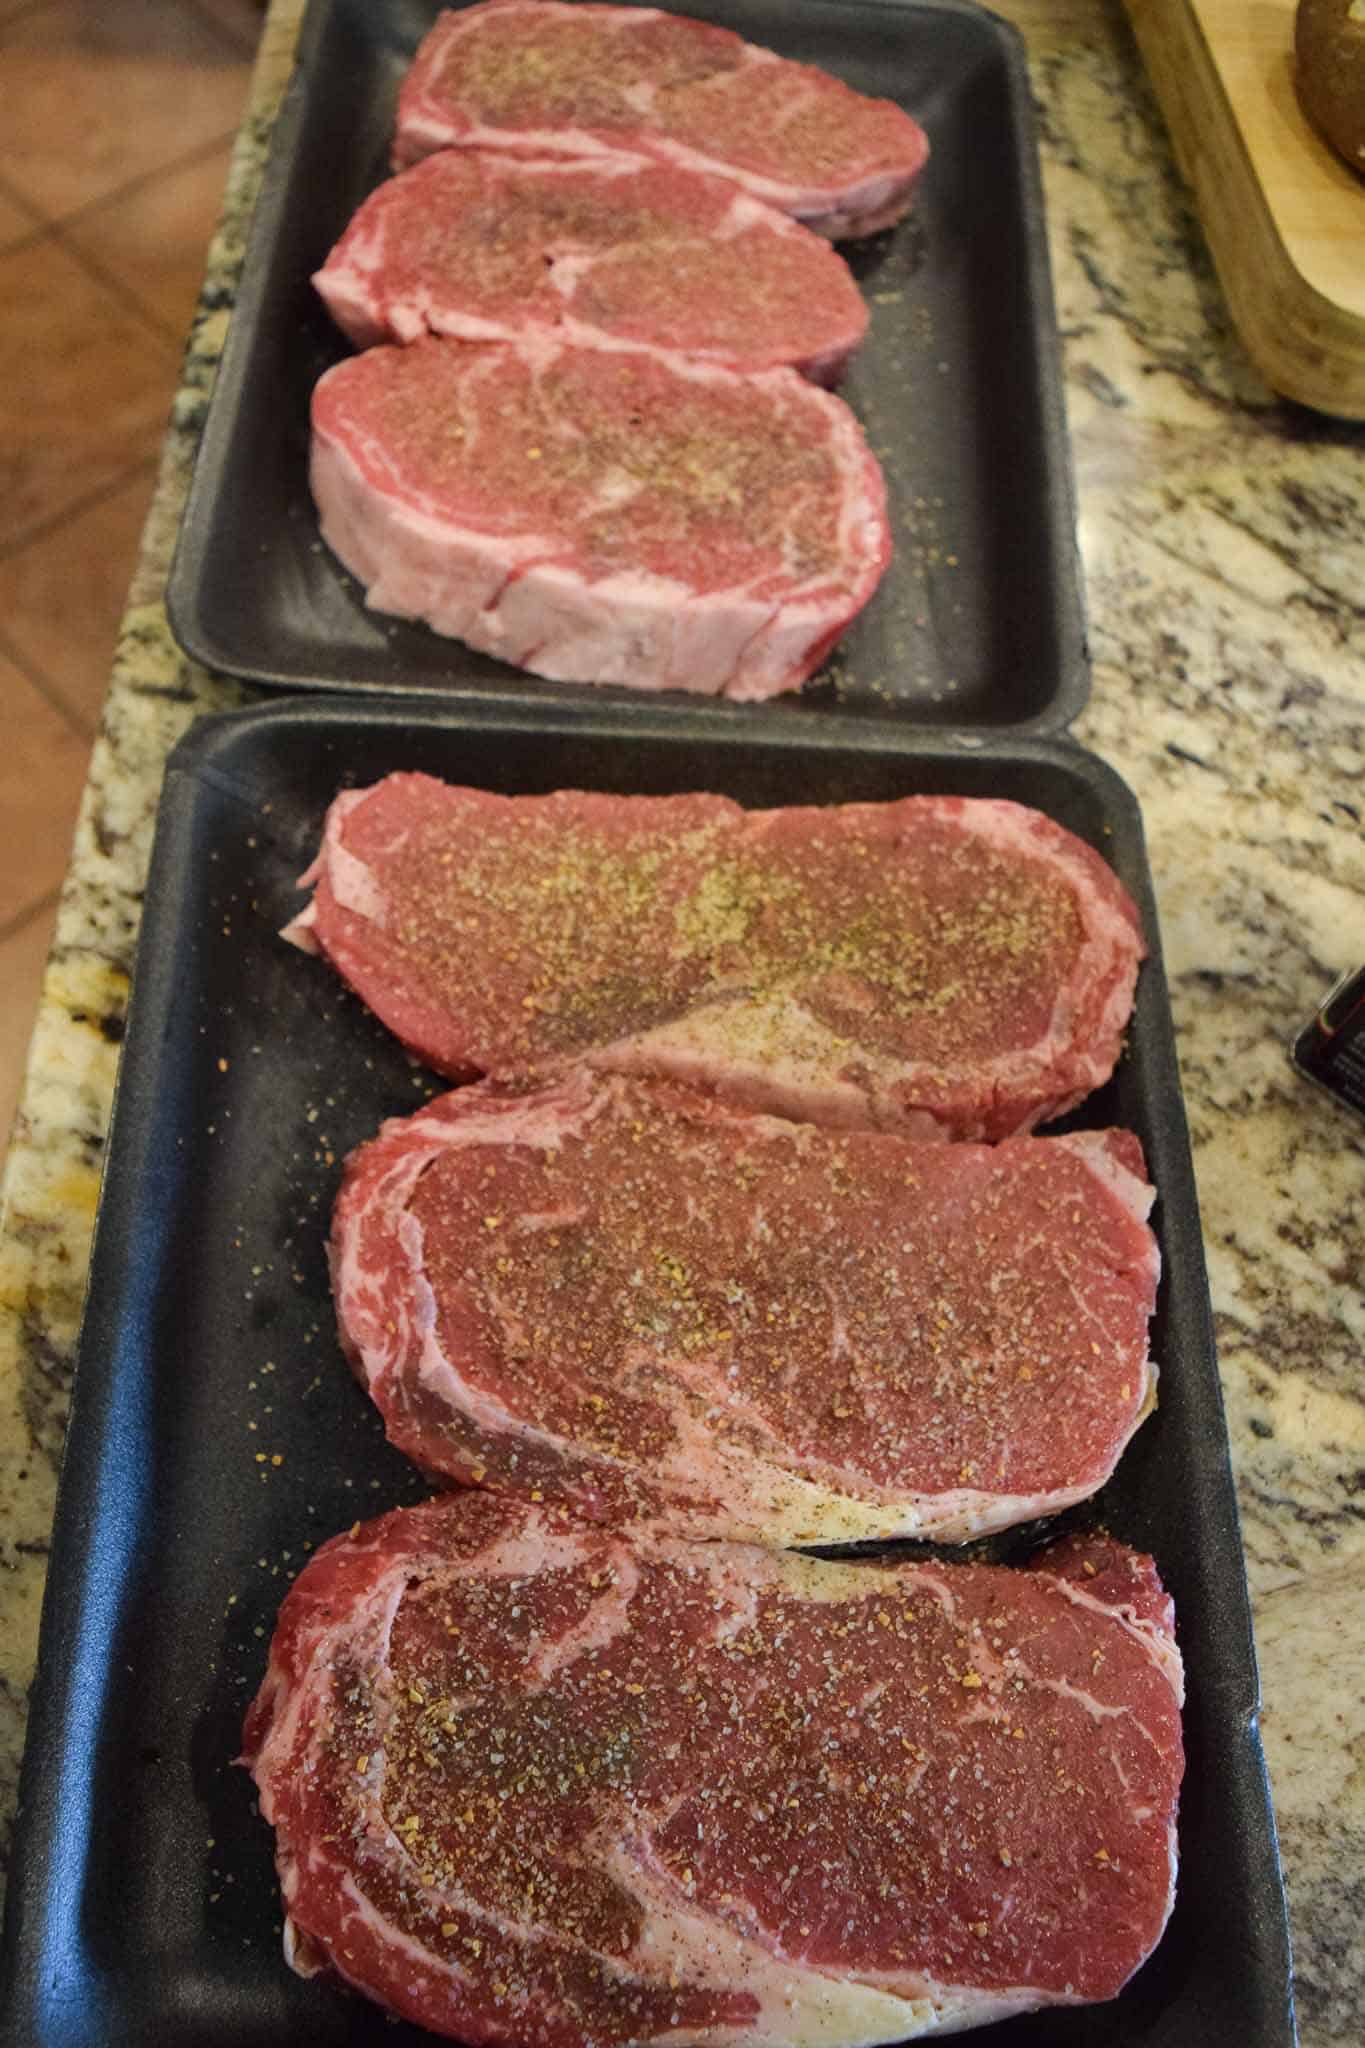 Marbling refers to the amount of intramuscular fat that runs through the cut. This isn't talking about fat on the outside, like the big band that you get on the outside of a strip steak. Here we are talking about the little white flecks that you see throughout the steak. The reason that this is so important is that this fat will render and melt as we cook that will give us great tenderness as well as flavor.
You will see when you go to the grocery store or butcher that the cuts are labeled select, choice, and prime.
- Select will have the least amount of marbling and isn't the best for steaks.
- Choice more often than not will be what you see and is usually just fine.
- Lastly there's prime which, while beautifully marbled and delicious, I would only use once you are confident in your ability to cook them since you will be paying a premium for that high of grade. (But hey once you're confident, go try out our smoked prime rib!)
The second part is thickness. The reason that we want a nice thick cut is that it gives us the ability to get the outside nice and crisp while not overcooking the center of the steak. With skinny steaks, by the time you get the outside done, the inside is grey and tough. With a nice thick cut, however, it takes that heat longer to get to the center so you can achieve a nice medium rare or rare while still getting the outside the way you want.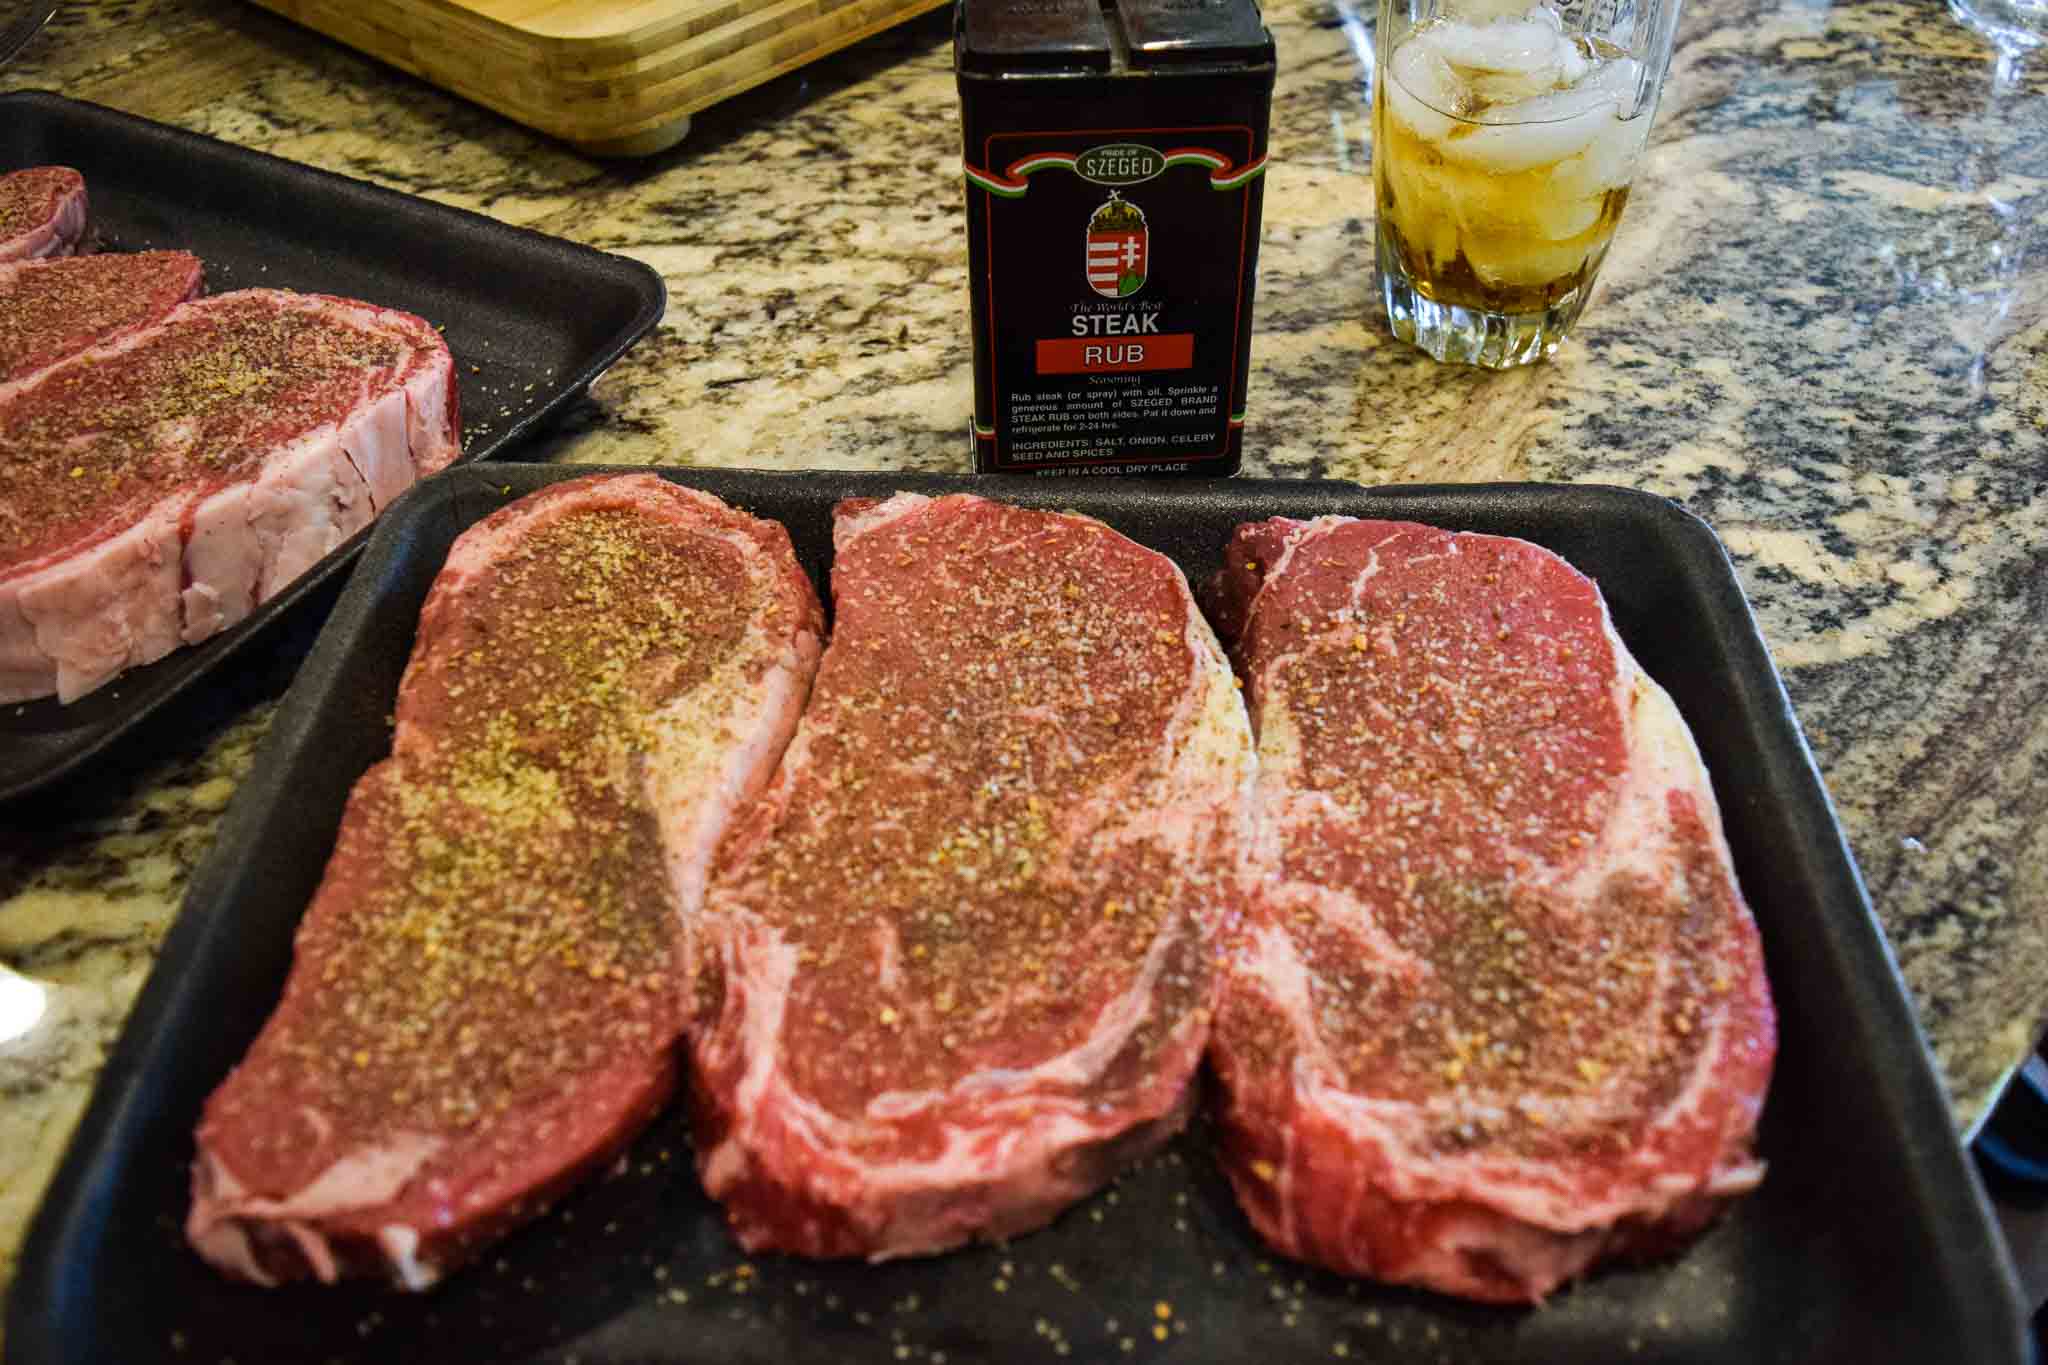 Alright...so we've got our nice marbled, thick-cut steaks and brought them home, our next step is to season them up and let them sit for about 15 minutes. For this cook we used some commercial steak rub but in all honesty you don't need anything more than a generous helping of salt and pepper. For steaks we don't want to go crazy with exotic rubs or marinades since we want the beef flavor to be the star here. As it sits you'll notice that the surface has begun to get moist in areas as the salt draws out some of the moisture. Don't worry! This will not cause a dry steak at all. As a matter of fact, you're essentially getting a dry brining action going on that will actually improve the juiciness of your final product.
While our steaks are sitting out and getting their brine on, let's go get our grill going. For this kind of cook we are going hot and fast. I'm talking HOT and FAST. We used the BBQ Dad's Big Green Egg for this cook but you can use any grill you want. For a gas grill you want to crank it up as high as you can and get the grates ripping hot. If you're using charcoal, you want to take a full chimney, or about 3-4 lbs of charcoal. And if you can, we like to have a direct and indirect heat zone.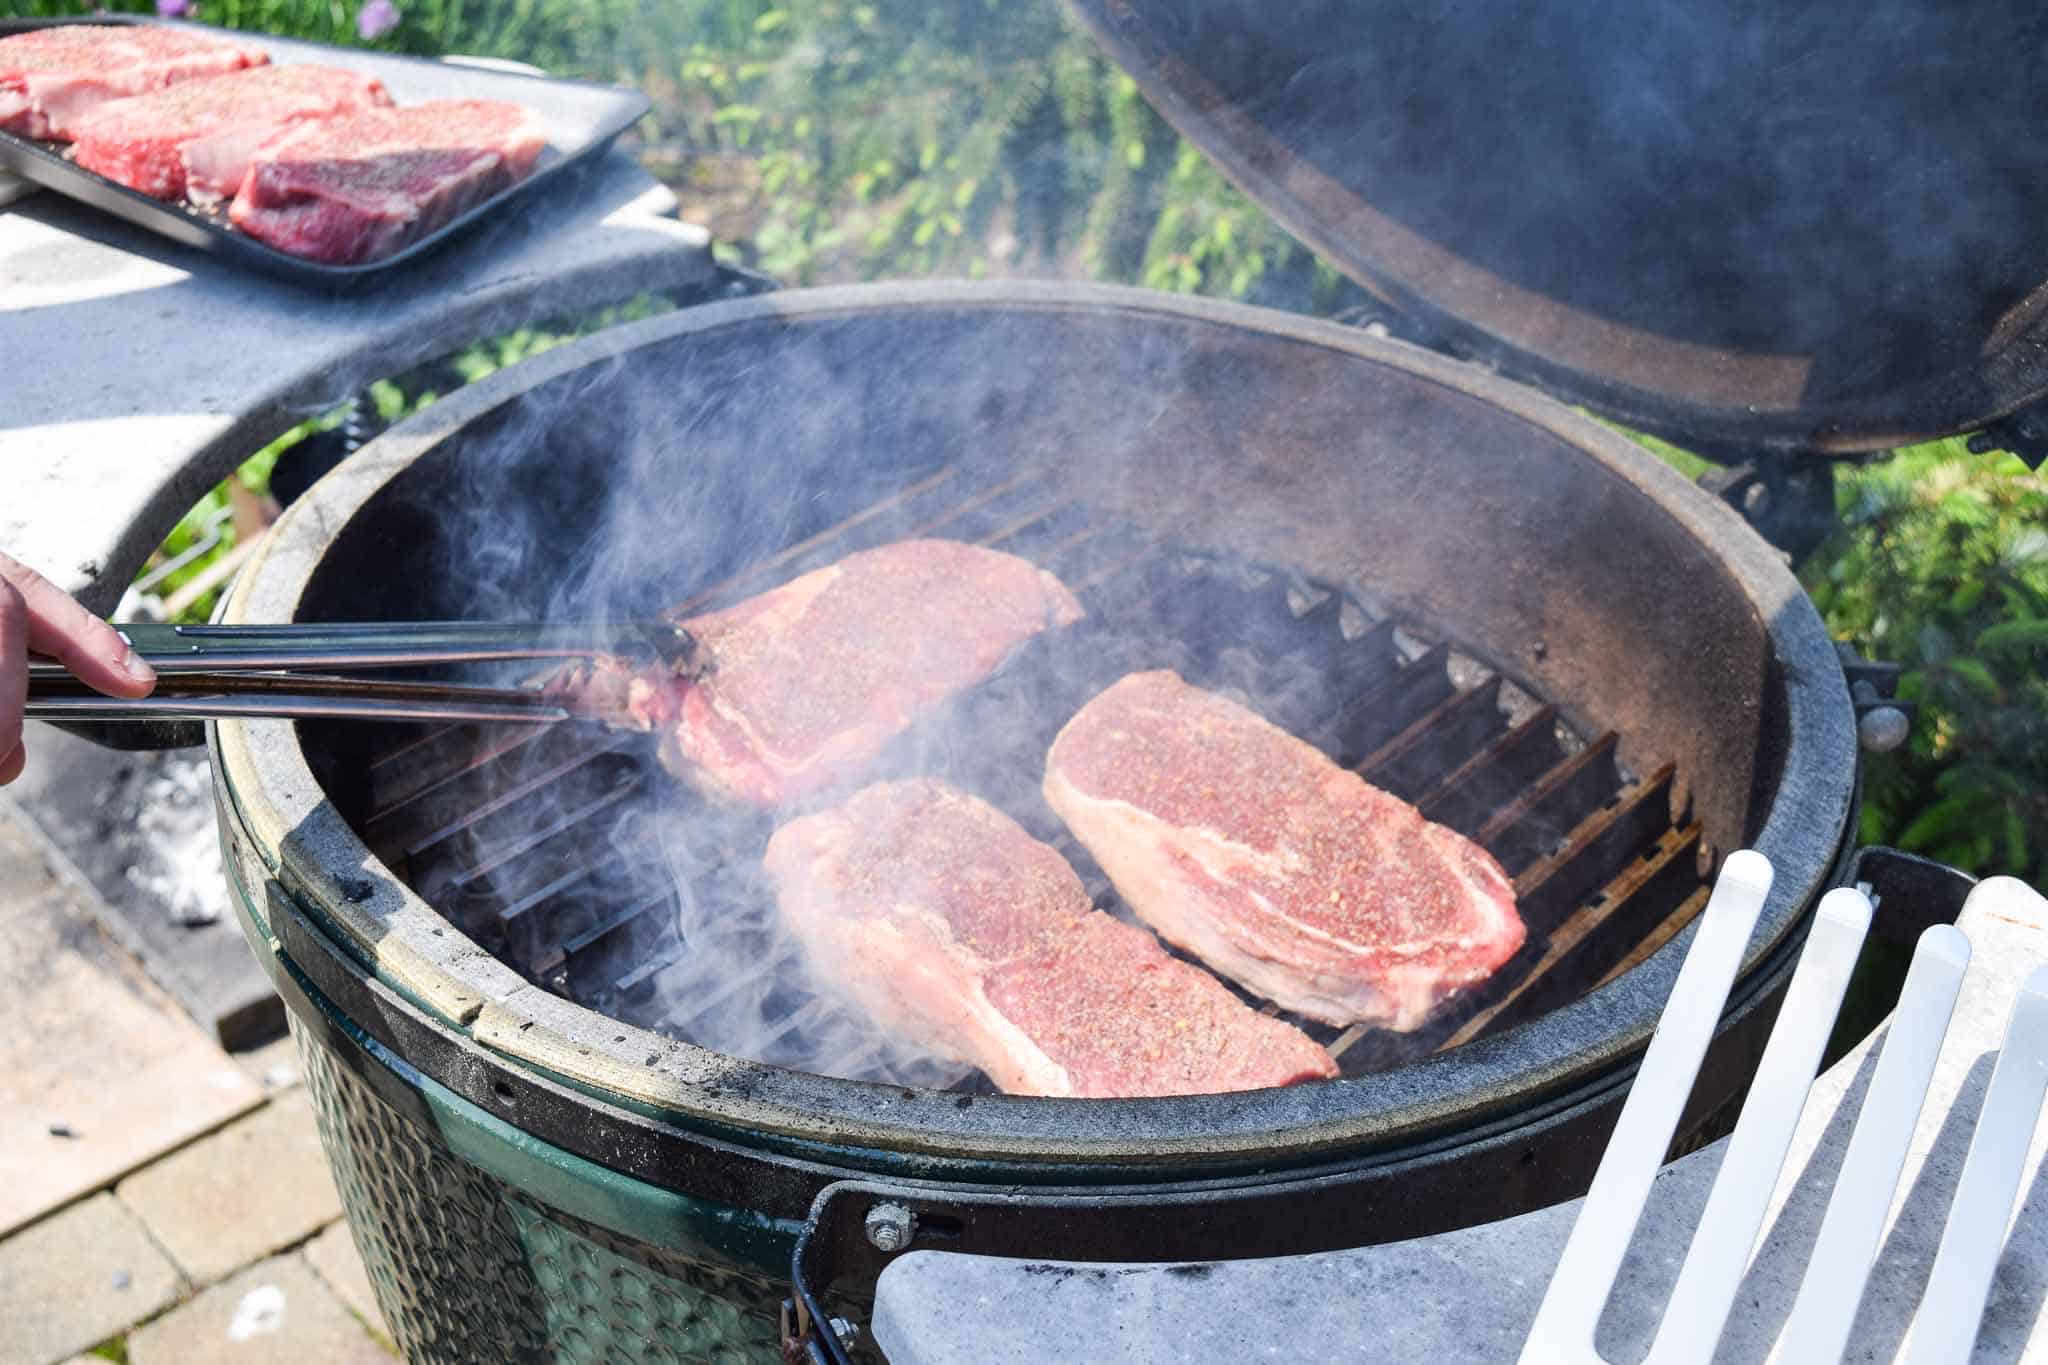 Once you have your grill smoking hot we can take the steaks out to the grill. Now one last step before you toss them on is we want to take a paper towel and dry off the surface of the meat the best that we can. The dryer the surface the better grill marks and crust you're going to get. If there is moisture on the surface we have to waste energy from the grates to essentially boil that water and get it to evaporate before we see any browning, and we want as much browning as we can get.
So now that our fire is hot and our steaks are dry feel free to plop them on the grates but don't run too far. Remember it's hot and FAST. We are only going to have these boys on there for about 3-4 minutes per side for a medium rare to rare. But DO NOT go by feel on this don't be afraid to check them with a meat thermometer to be absolutely certain that your meat is where you want it.
You're looking for about 120 degrees for rare, 130 degrees for medium rare, and 140 degrees for medium. Anything after that is going to start getting a tough texture, but by all means eat your steak how you like it! You'll want to take it off slightly before it's to your specifications since there will be a little bit of carryover cooking. Alternatively, if you don't have a thermometer (but we recommend you do), you can also cut a portion and take a look-see. Don't worry about the loss of moisture; it's going to be minimal and you'll never notice it. Also, if you see the outside getting done before the inside is cooked enough, go ahead and toss it on that indirect side to slowly come up to temp without burning the outside.
The last thing you need to do is sometimes the most difficult: let it rest. You'll want to have your steak sit for about 5-10 minutes to let juices redistribute throughout the meat. This will lead to more juices in your stomach and less on your plate.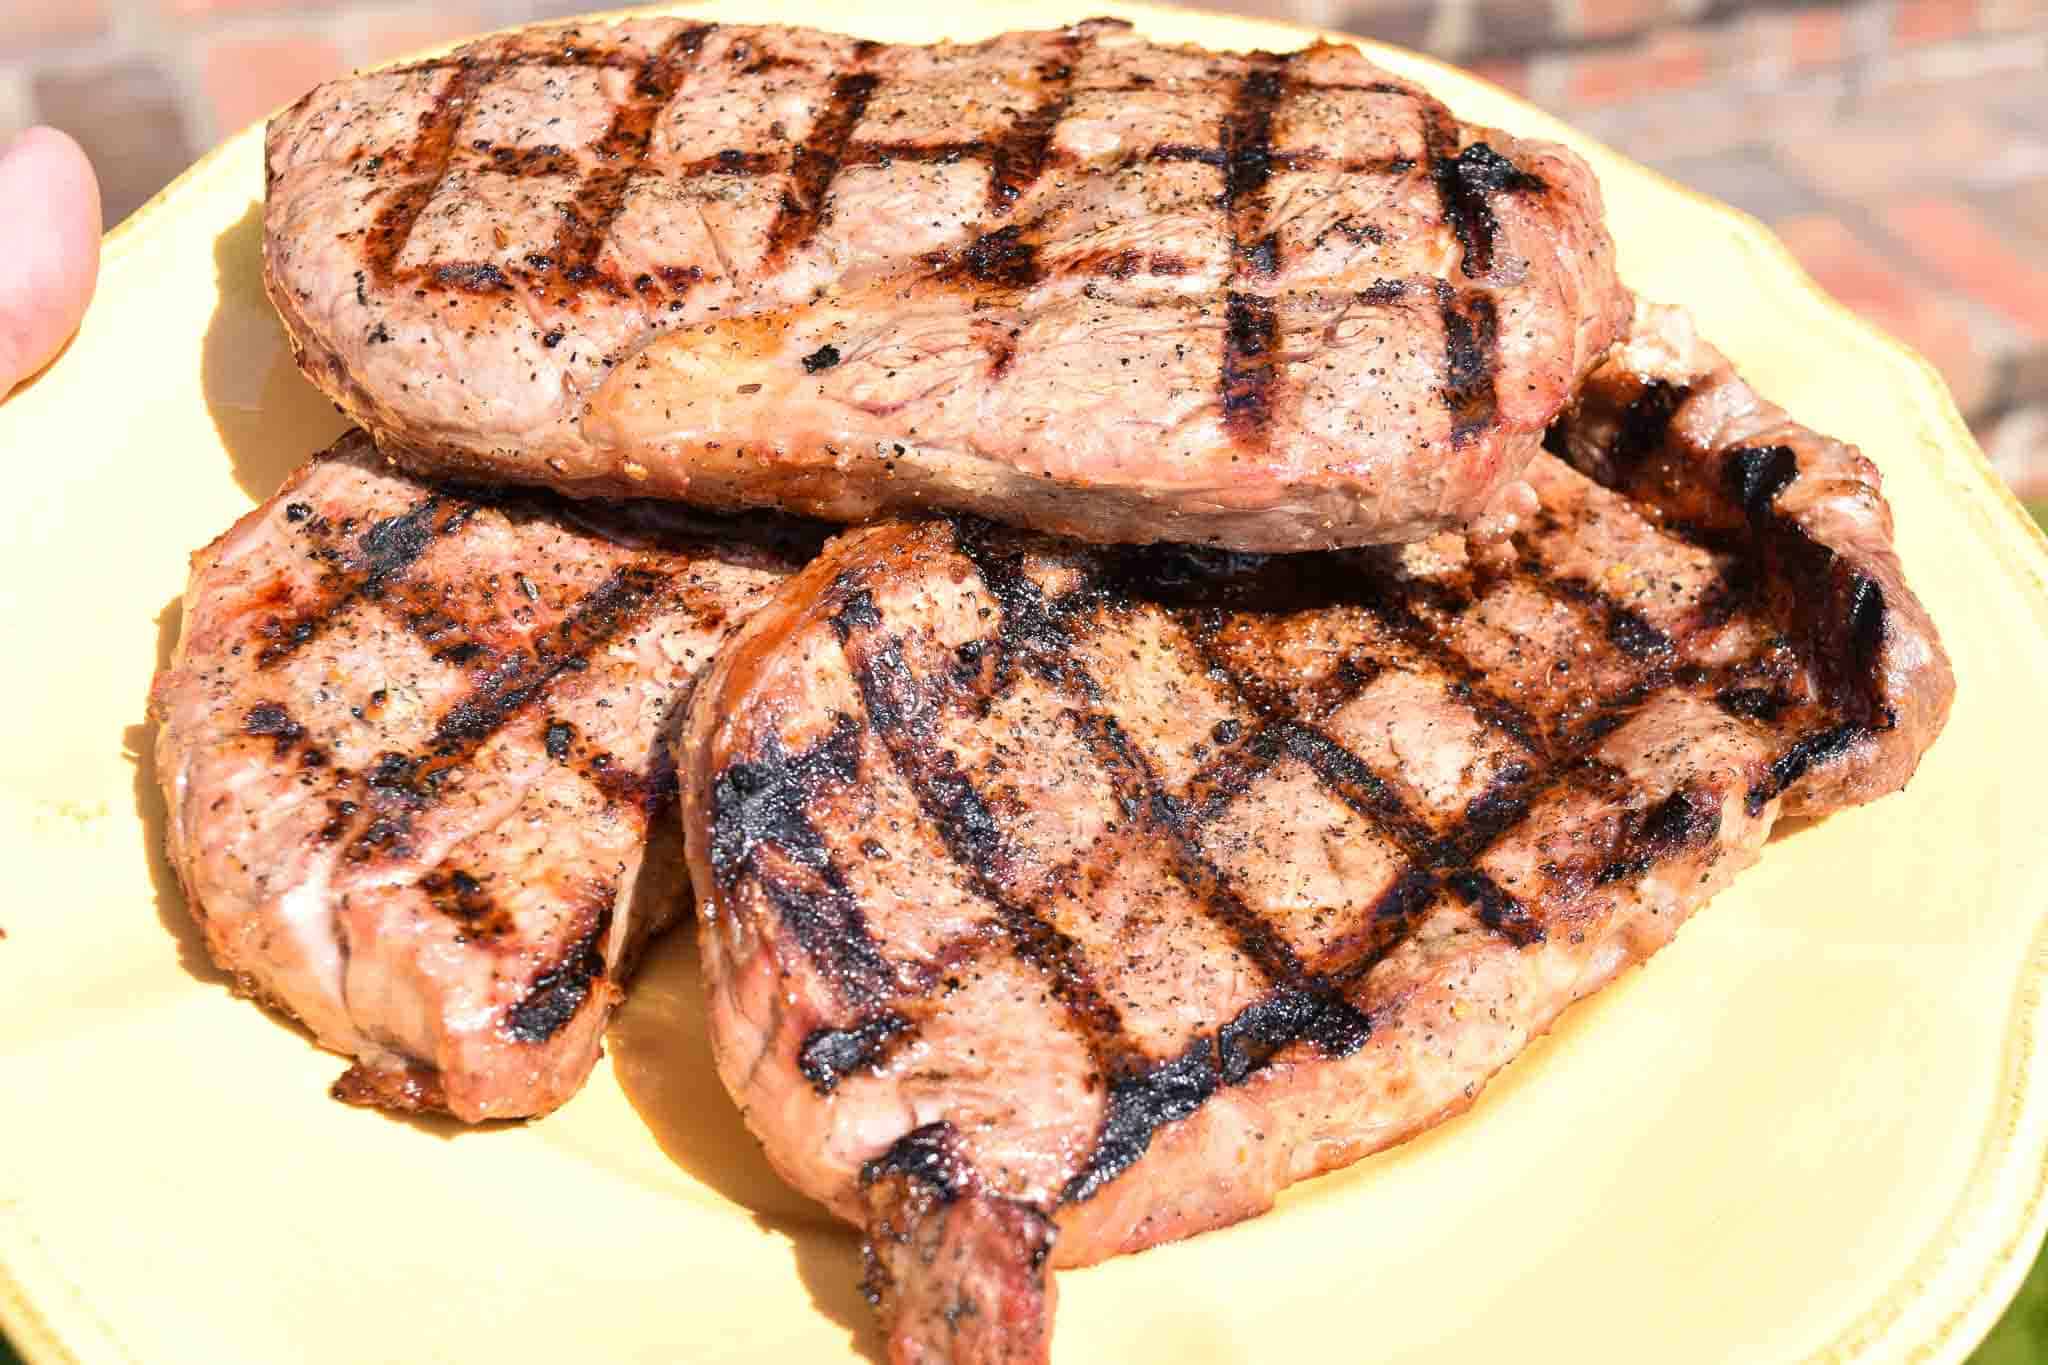 All that's left to do now is grab your handy dandy steak knife and dig in like the barbarian you were born to be.
Love steaks? Check out this Reverse Sear Steak or these Caveman Style Flank Steaks! Also, try out our Spiced Up Arby’s Horsey Steak Sauce or this homemade Chimichurri Sauce to pair with your perfect steak!
Print
Big Green Egg Steaks
- Prep Time: 15 minutes
- Cook Time: 3-4 minutes
- Total Time: 0 hours
- Category: Main Course
- Method: Grilled
- Cuisine: American
Description
Follow this recipe to make a perfectly grilled steak! These Big Green Egg Steaks can be made on any grill and are sure to please even the biggest barbarian!
Ingredients
Meat used: Ribeye
Seasoning: Salt and pepper (or your favorite steak rub)
Grill Temperature: As hot as you can get it
Grill time: 3-4 minutes per side
Instructions
- So we've got our nice marbled, thick-cut steaks and brought them home, now our first step is to season them up and let them sit for about 15 minutes. For this cook we used some commercial steak rub but in all honesty you don't need anything more than a generous helping of salt and pepper.
- While our steaks are sitting out and getting their brine on, let's go get our grill going. For this kind of cook we are going hot and fast. I'm talking HOT and FAST. We used the BBQ Dad's Big Green Egg for this cook but you can use any grill you want. For a gas grill you want to crank it up as high as you can and get the grates ripping hot. If you're using charcoal, you want to take a full chimney, or about 3-4 lbs of charcoal. And if you can, we like to have a direct and indirect heat zone.
- Once you have your grill smoking hot we can take the steaks out to the grill. Now one last step before you toss them on is we want to take a paper towel and dry off the surface of the meat the best that we can. The dryer the surface the better grill marks and crust you're going to get.
- So now that our fire is hot and our steaks are dry feel free to plop them on the grates but don't run too far. Remember it's hot and FAST. We are only going to have these boys on there for about 3-4 minutes per side for a medium rare to rare. But DO NOT go by feel on this don't be afraid to check them with a meat thermometer
to be absolutely certain that your meat is where you want it.
- You're looking for about 120 degrees for rare, 130 degrees for medium rare, and 140 degrees for medium. You'll want to take it off slightly before it's to your specifications since there will be a little bit of carryover cooking. Also, if you see the outside getting done before the inside is cooked enough, go ahead and toss it on that indirect side to slowly come up to temp without burning the outside.
- The last thing you need to do is sometimes the most difficult: let it rest. You'll want to have your steak sit for about 5-10 minutes to let juices redistribute throughout the meat. This will lead to more juices in your stomach and less on your plate.
- All that's left to do now is grab your handy dandy steak knife and dig in like the barbarian you were born to be.
Notes
See notes in post about choosing steaks based on marbling and thickness
So let us know what you think….did this recipe smoke the competition or go up in flames? Leave a comment below! 🙂


Leave a Reply