
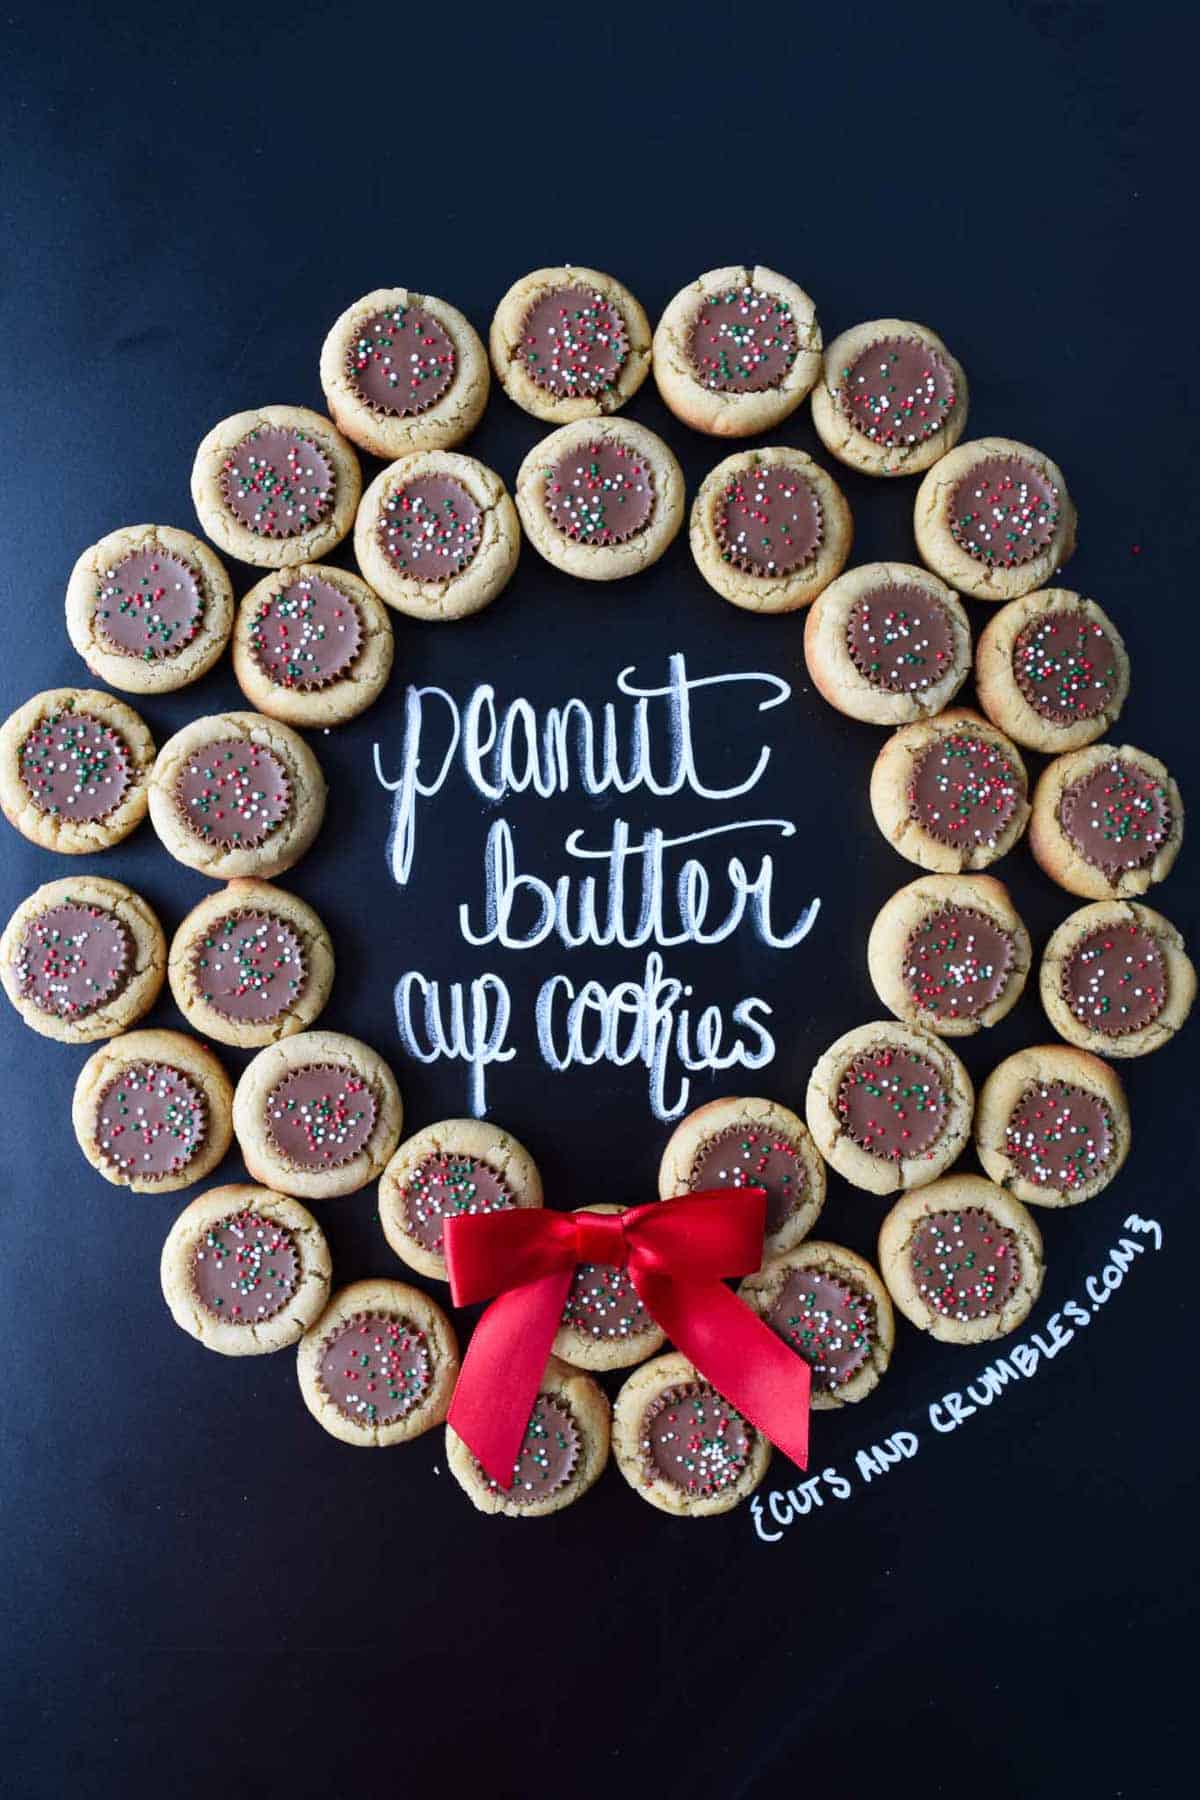
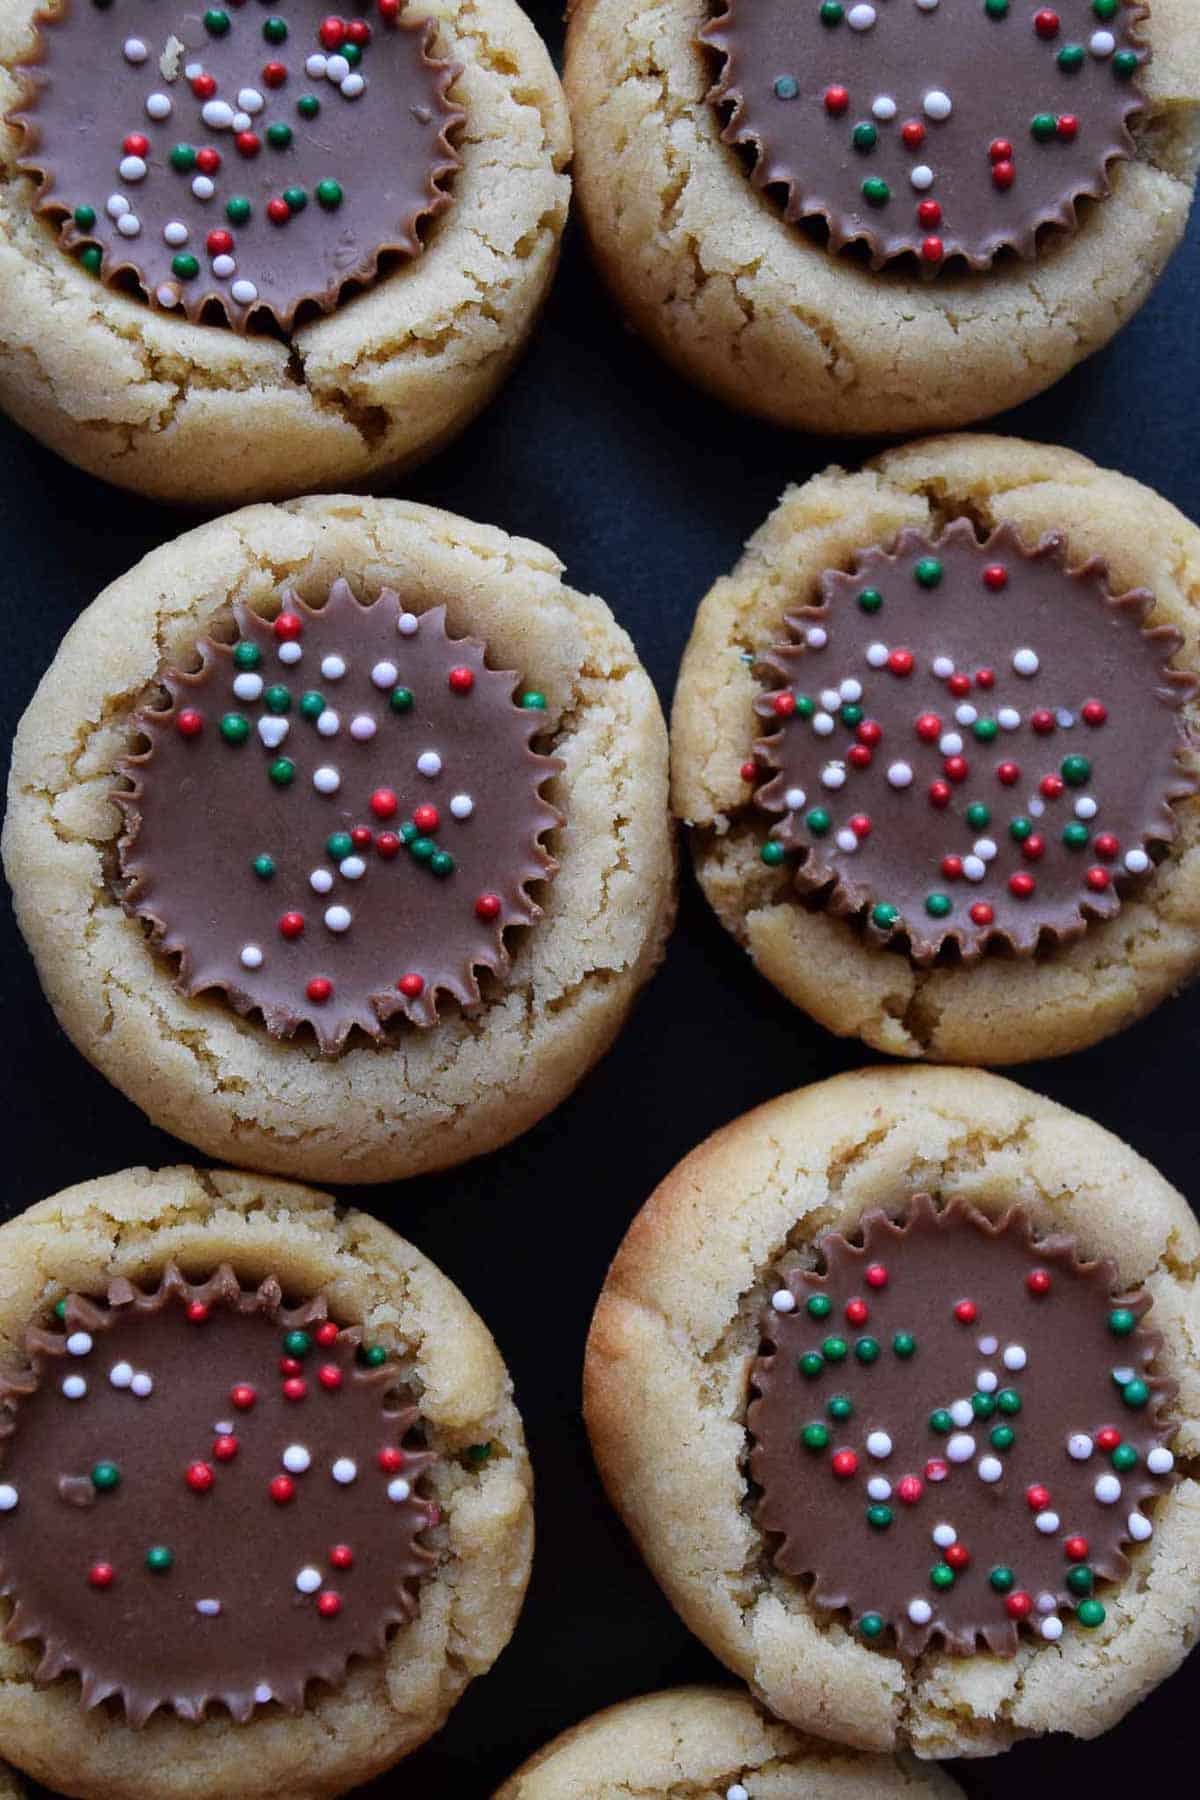
These peanut butter cup cookies are the PERFECT Christmas cookie: soft yet chewy, salty yet sweet. Santa will thank you! (And so will everyone else!) 🙂
Jump to:
Why Make This Recipe?
- They're easy and delicious: These peanut butter cup cookies are a Christmas favorite! The dough is super simple to whip together and they turn out soft and chewy with the perfect amount of peanut butter flavor!
- They store perfectly: These cookies can be stored for up to a week (or frozen for up to 2 months!) and they taste just as delicious and chewy after a few days as they do fresh!
- The recipe is versatile: If you're not a fan of peanut butter cups, you can make the peanut butter cookie dough and either smash them with a fork to make plain peanut butter cookies or top with your favorite candy such as Hershey kisses (also known as Blossom cookies!)
Ingredient Notes
- All-purpose flour: Be sure to use 1 ¾ C all-purpose flour for these peanut butter cup cookies! Alternatively, pastry flour is okay, but other types of flour (such as cake or bread) won't have the right amount of protein, causing the dough to be the wrong consistency.
- Butter: Since this recipe calls for additional salt, you can use unsalted or salted butter. I personally prefer to use salted butter for these cookies. You'll need ½ C, or 1 stick.
- Peanut butter: I recommend using the most off-brand creamy peanut butter you can find (think Giant Eagle brand). I find that the natural versions or high-end brands have too much oil, which changes the consistency and flavor of the dough.
- Peanut butter cup minis: For this recipe, you'll need 40 miniature peanut butter cups, unwrapped. Be sure to unwrap them before baking your dough, as you'll be pressing them into the dough as soon as they come out of the oven!
- Milk: Including a little milk makes these cookies nice and chewy (instead of hard and crunchy). I use 2 tablespoon of skim milk, but any kind will work well.
- You'll also need some additional cookie dough basics such as salt, baking soda, white sugar, brown sugar, vanilla extract and one egg. Sprinkles are optional but highly encouraged!
Step by Step Instructions
- Begin by mixing 1 ¾ C of flour, ½ teaspoon of salt, and 1 teaspoon of baking soda into a small bowl. Set aside.
- In a large bowl, melt ½ C of butter, then add in ½ C white sugar, ½ C creamy peanut butter, and ½ C packed brown sugar and mix until fluffy. Beat in 1 egg, then add in 1 teaspoon vanilla extract and 2 tablespoon of milk. Mix to combine all ingredients.
- Slowly add the flour mixture into the wet ingredient bowl and mix well. Eventually you may have to use your hands (that's the fun part!) Once mixed, you can either continue with making the cookies or you can cover and refrigerate the dough overnight until you're ready to bake.
- Preheat your oven to 375 degrees. Begin rolling the dough into 1 inch balls and place them into an ungreased mini muffin pan
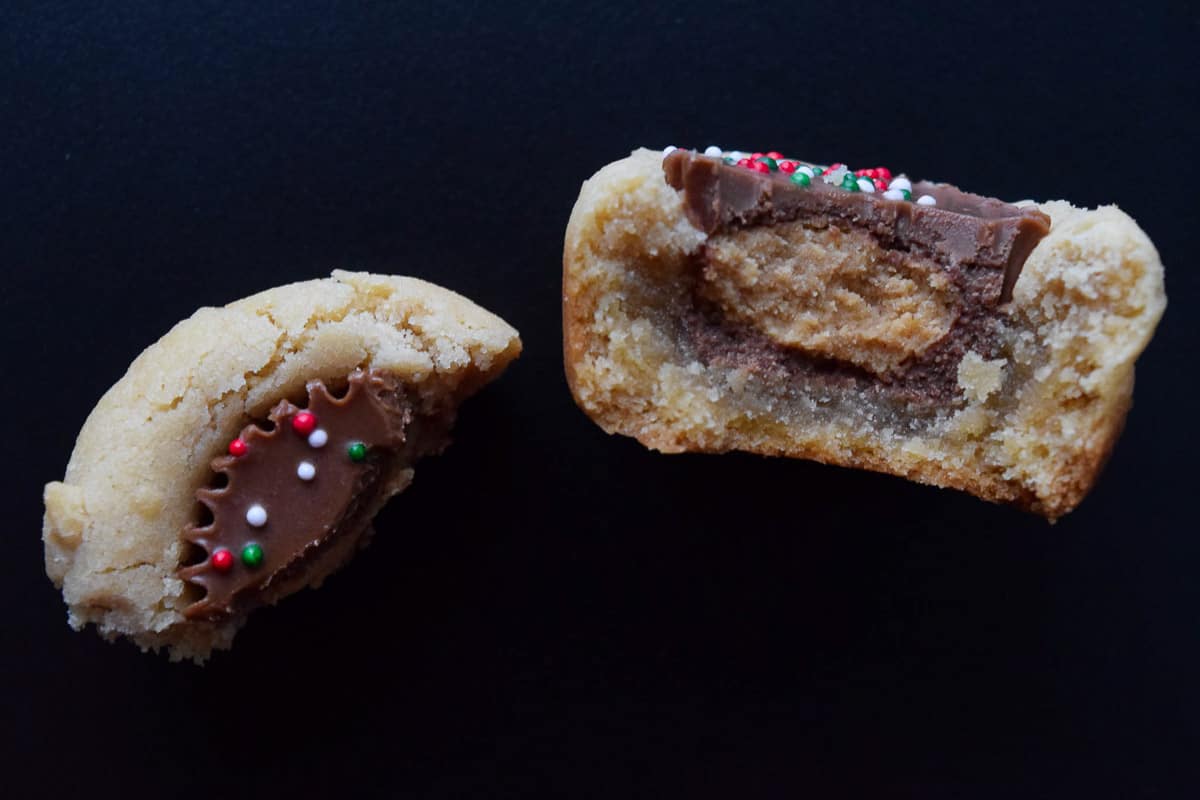
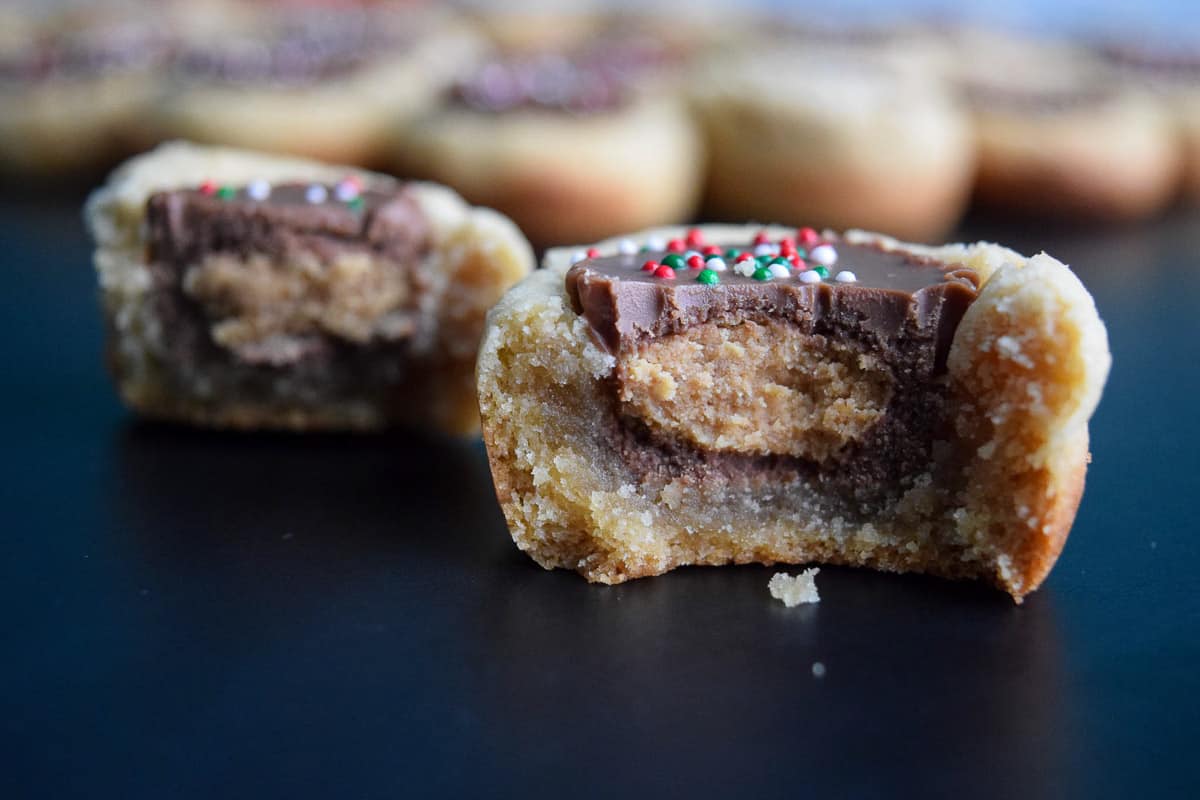
. Bake for 8 minutes then remove from oven and immediately press one mini peanut butter cup into each ball, until flush with the top of the dough. (*The dough might seem underbaked after 8 minutes but it's not, it's perfect, trust me!)
- Allow to melt slightly for a few minutes, then top with sprinkles. Move the pan to the refrigerator or freezer until set (or mostly set), then you can easily remove each cookie by popping it out of the mini muffin pan with a butter knife.
- Enjoy!! Store in an airtight sealed container for up to 1 week. If you have to stack them, be sure to refrigerate them until solid, as the chocolate stays runny for quite a while!
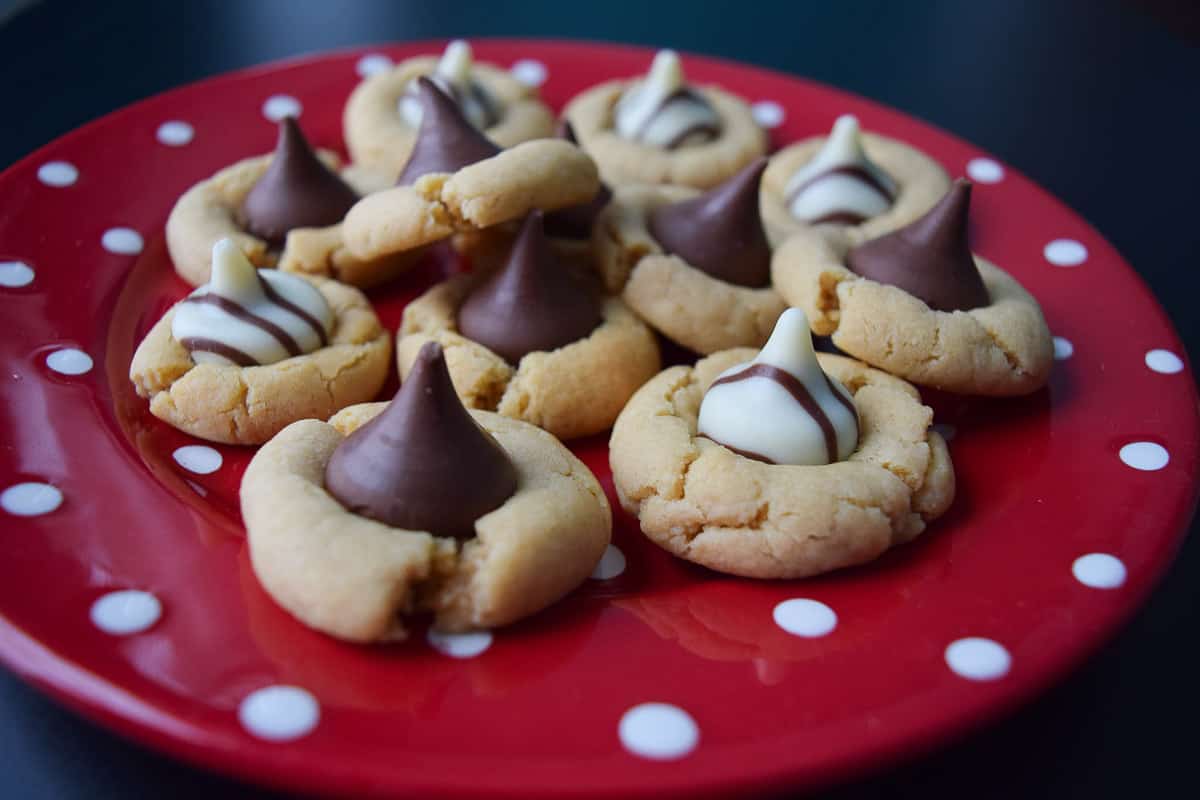
As a side note, I also use this peanut butter cookie recipe as the base for my blossoms (my lifelong favorite Christmas cookie!)
All you have to do is put the balls on an ungreased cookie sheet instead of a mini muffin pan, bake for 8 minutes at 375, then top with a Hershey kiss or hug. Refrigerate to set up, if needed. Boom. You just got two recipes in one. Merry Christmas! 😛
FAQs and Expert Tips
- Shopping: In addition to making sure you have enough cookie baking staples (all-purpose flour, salt, butter, white sugar, brown sugar, baking soda, vanilla extract, and eggs) you'll also want to pick up a jar of off-brand creamy peanut butter, a bag of miniature peanut butter cups, and some milk! (For the recipe and for devouring these delicious peanut butter cup cookies!)
- Substitutions: If you don't like peanut butter cups or don't have a mini muffin pan, you can make the peanut butter cookie dough and smash them with a fork to make regular peanut butter cookies, or top with a Hershey kiss to make a blossom cookie! (See post notes for details on making blossoms.)
- Prep: The biggest note for prep is to make sure you unwrap your peanut butter cups before you begin baking the dough. You'll need to press them into the baked dough immediately after baking so you won't have time to unwrap all of them before the cookies cool!
- Baking: These peanut butter cup cookies bake at 375 degrees for only 8 minutes and may appear to be underbaked when you remove them after that time but they're not! They're the perfect level of chewy and any further baking will result in the cookie becoming hard. Also note, placing the cookies in the refrigerator or freezer after inserting the peanut butter cup allows the chocolate to cool enough to easily remove them from the muffin pan.
- Storage: If you're short on time, the prepped dough can be covered and refrigerated overnight before baking. Finished cookies can be stored in an airtight container for up to 1 week.
- Freezing: Leftover cookies (whatever those are) can be stored in an airtight container in the freezer for up to 2 months. Simply allow set them out to allow them to reach room temperature before eating.
Yes! This peanut butter cookie dough can be made in advance if needed. Simply cover and refrigerate for up to 24 hours before baking.
Yes! Simply place your dough balls onto an ungreased baking sheet and press the peanut butter cup into them as soon as they finish baking. Keep in mind, the dough will spread out a bit on the baking sheet so you may not end up with perfectly formed cookies.
Alternatively, top with a Hershey kiss to make a blossom style cookie instead! (Or even smash the cookie with a fork to make standard peanut butter cookies.)
This dough is greasy enough that you don't need to spray the pan before baking but the peanut butter cup cookies definitely need to cool before trying to remove them. (Or they'll be a mess!)
The fastest way to do this is to place your muffin pan in the fridge or freezer until the chocolate has set. Then use a butter knife to slightly loosen the cookie and pop them out!
Related Recipes
What do you think? Did this recipe make the cut for you or did it crumble? What would you do differently? Leave a comment below! 🙂
Print
Peanut Butter Cup Cookies
- Prep Time: 10 mins
- Cook Time: 8 mins
- Total Time: 18 mins
- Yield: 40 cookies 1x
- Category: Dessert, Holiday
- Method: Baking
- Cuisine: American
Description
The PERFECT Christmas cookie: soft yet chewy, salty yet sweet. Santa will thank you! (And so will everyone else!) 🙂
Ingredients
- 1 ¾ C all-purpose flour
- ½ tsp salt
- 1 tsp baking soda
- ½ C butter
- ½ C white sugar
- ½ C peanut butter (I recommend using an off brand)
- ½ C packed brown sugar
- 1 egg, beaten
- 1 tsp vanilla extract
- 2 Tbsp milk
- 40 mini Reese's, unwrapped (see notes for a different option)
- Sprinkles for decorating (optional)
Instructions
- Begin by mixing 1 ¾ C of flour, ½ teaspoon of salt, and 1 teaspoon of baking soda into a small bowl. Set aside.
- In a large bowl, melt ½ C of butter, then add in ½ C white sugar, ½ C creamy peanut butter, and ½ C packed brown sugar and mix until fluffy. Beat in 1 egg, then add in 1 teaspoon vanilla extract and 2 tablespoon of milk. Mix to combine all ingredients.
- Slowly add the flour mixture into the wet ingredient bowl and mix well. Eventually you may have to use your hands (that's the fun part!) Once mixed, you can either continue with making the cookies or you can cover and refrigerate the dough overnight until you're ready to bake.
- Preheat your oven to 375 degrees. Begin rolling the dough into 1 inch balls and place them into an ungreased mini muffin pan. Bake for 8 minutes then remove from oven and immediately press one mini peanut butter cup into each ball, until flush with the top of the dough. (*The dough might seem underbaked after 8 minutes but it's not, it's perfect, trust me!)
- Allow to melt slightly for a few minutes, then top with sprinkles. Move the pan to the refrigerator or freezer until set (or mostly set), then you can easily remove each cookie by popping it out of the mini muffin pan with a butter knife.
- Enjoy!! Store in an airtight sealed container for up to 1 week. If you have to stack them, be sure to refrigerate them until solid, as the chocolate stays runny for quite a while!
Notes
Shopping: In addition to making sure you have enough cookie baking staples (all-purpose flour, salt, butter, white sugar, brown sugar, baking soda, vanilla extract, and eggs) you'll also want to pick up a jar of off-brand creamy peanut butter, a bag of miniature peanut butter cups, and some milk! (For the recipe and for devouring cookies!)
Substitutions: If you don't like peanut butter cups or don't have a mini muffin pan, you can make the peanut butter cookie dough and smash them with a fork to make regular peanut butter cookies, or top with a Hershey kiss to make a blossom cookie! (See post notes for details on making blossoms.)
Prep: The biggest note for prep is to make sure you unwrap your peanut butter cups before you begin baking the dough. You'll need to press them into the baked dough immediately after baking so you won't have time to unwrap all of them before the cookies cool!
Baking: These peanut butter cup cookies bake at 375 degrees for only 8 minutes and may appear to be underbaked when you remove them after that time but they're not! They're the perfect level of chewy and any further baking will result in the cookie becoming hard. Also note, placing the cookies in the refrigerator or freezer after inserting the peanut butter cup allows the chocolate to cool enough to easily remove them from the muffin pan.
Storage: If you're short on time, the prepped dough can be covered and refrigerated overnight before baking. Finished cookies can be stored in an airtight container for up to 1 week.
Freezing: Leftover cookies (whatever those are) can be stored in an airtight container in the freezer for up to 2 months. Simply allow set them out to allow them to reach room temperature before eating.

**Recipe from Baked Perfection (appropriately named for this amazing recipe!)
Kayle (The Cooking Actress) says
yay! These are always one of my favorite Christmas cookies-they look amazing!
cutsandcrumbles says
Thank you! I am so obsessed with them and so sad they're gone now. 🙁 Until next year!! 🙂